
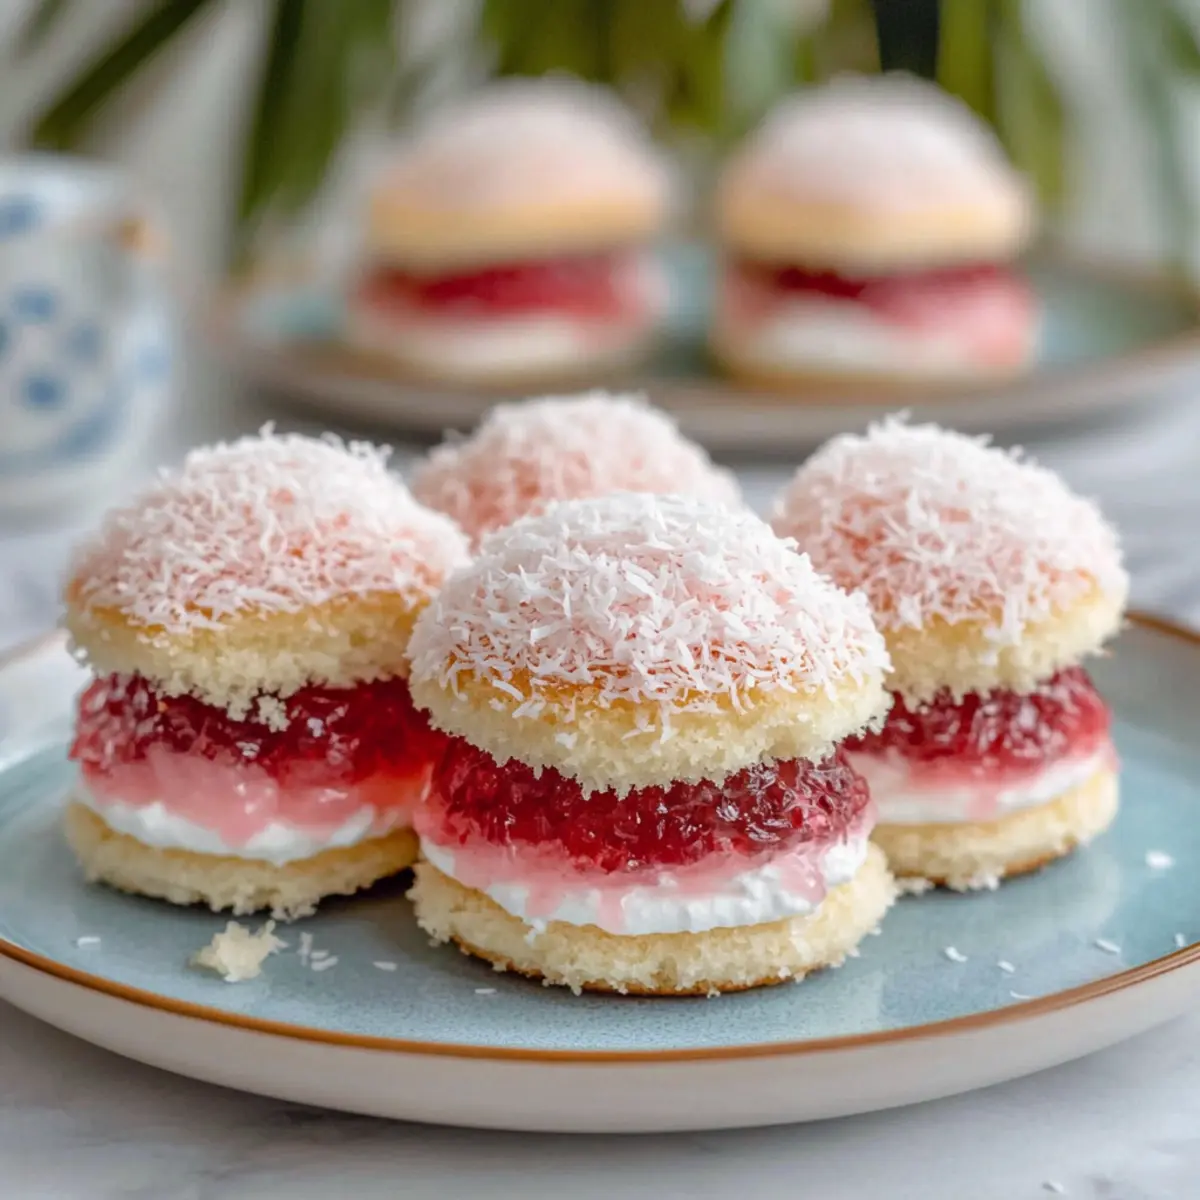
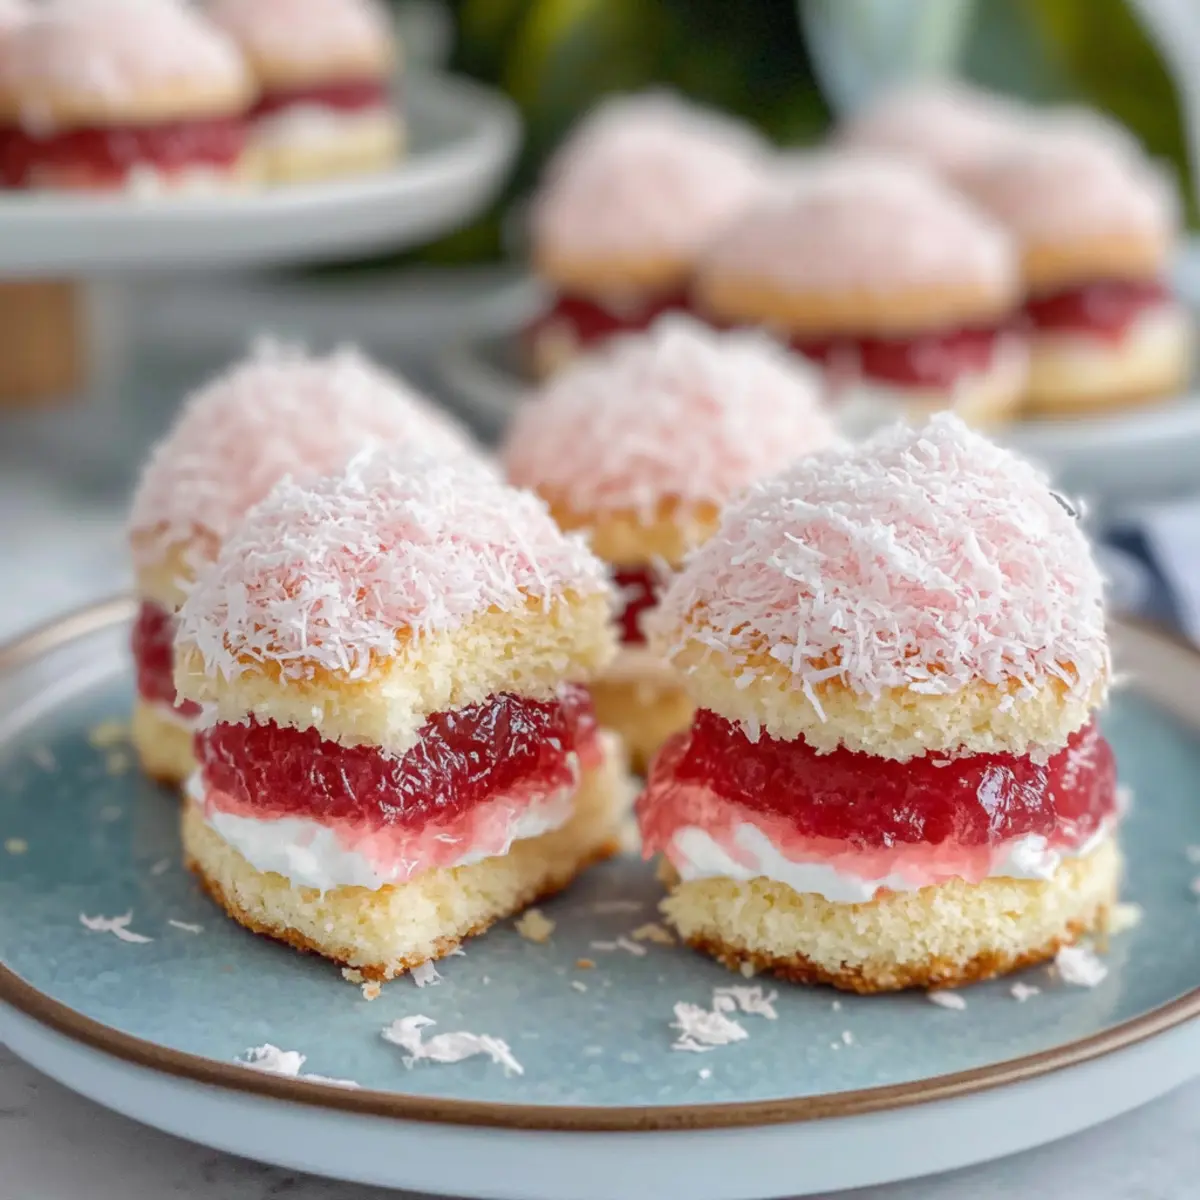
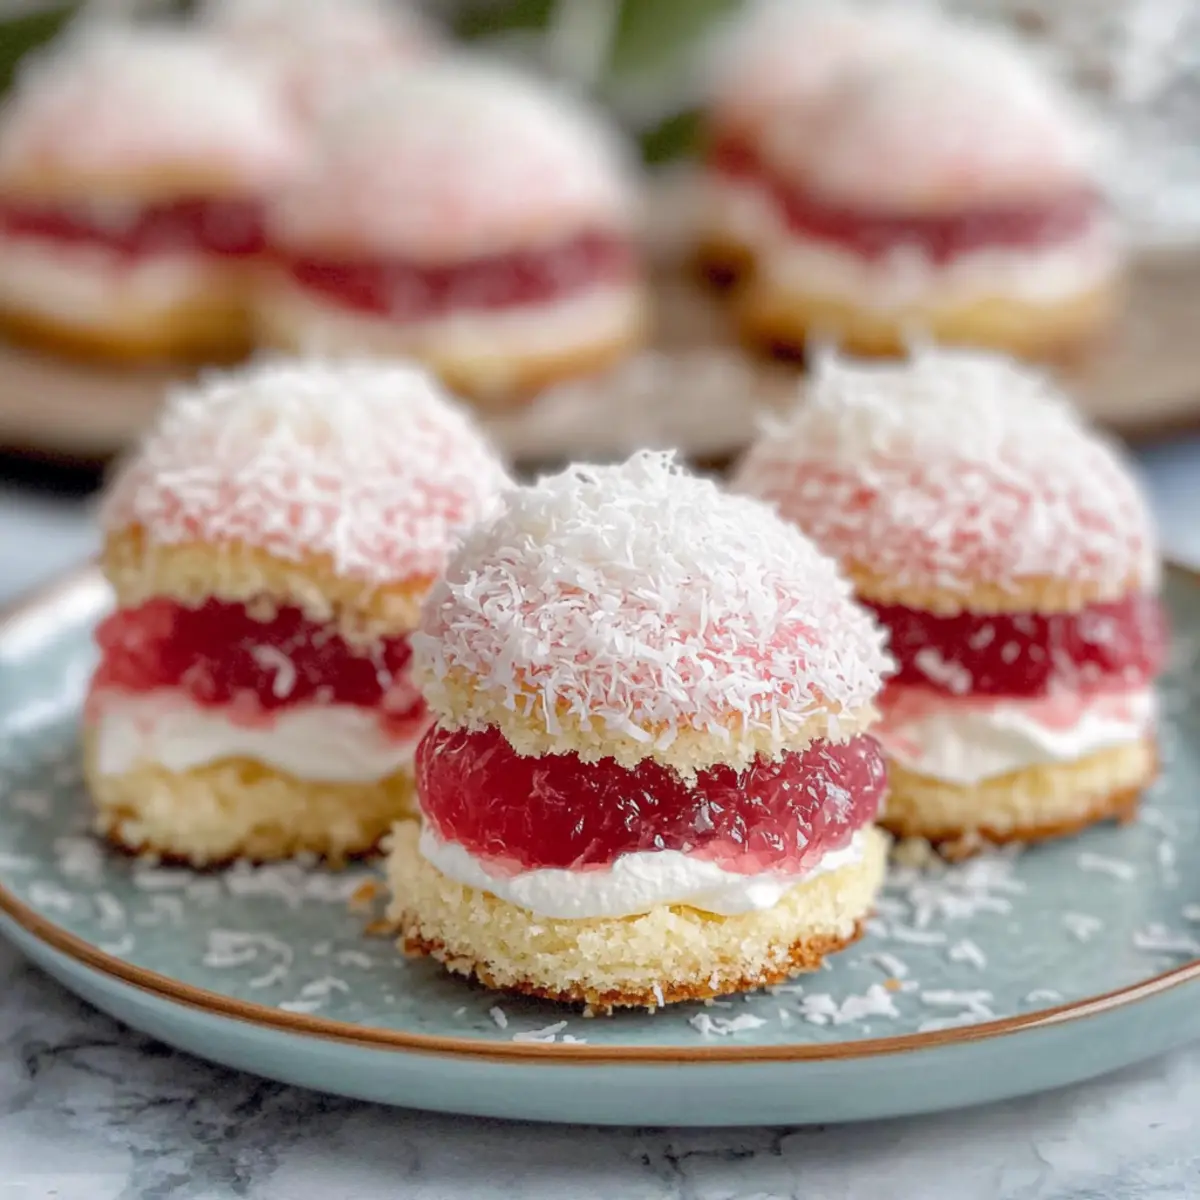
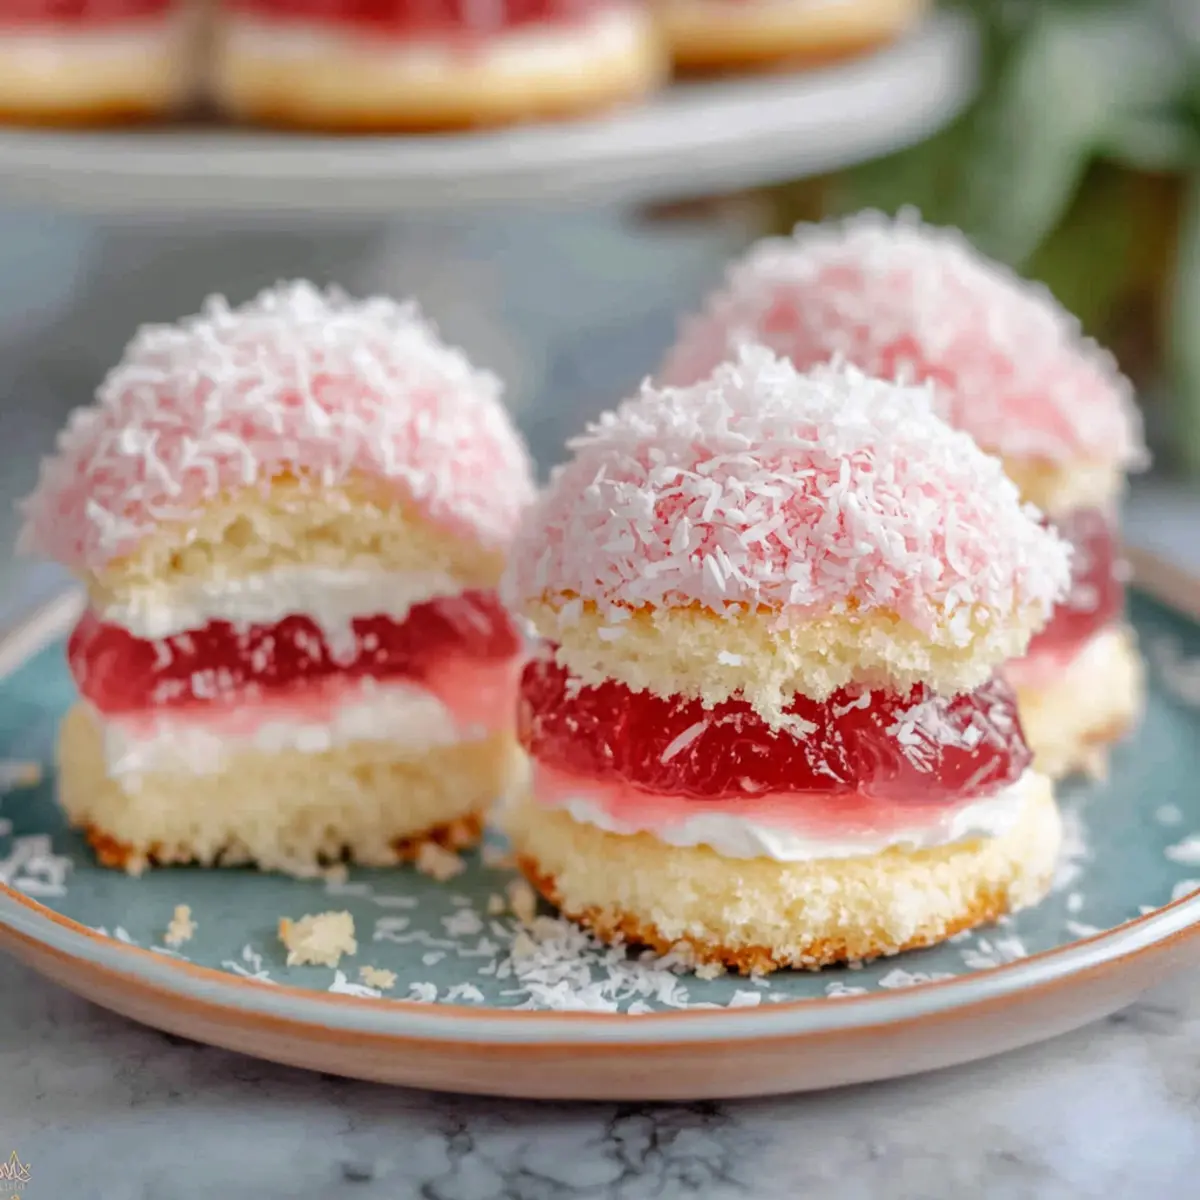
If you’re yearning for a bite of nostalgia that whisks you back to sunny afternoons and cheerful gatherings, look no further than my Old-Fashioned Pink Jelly Cakes. These fluffy delights, dipped in luscious strawberry jelly and rolled in desiccated coconut, are not just a feast for the taste buds but also a trip down memory lane. Delightfully simple to prepare, they’re perfect for those of us who cherish homemade goodness over fast food. Plus, the versatility of this recipe allows for creative jelly variations—raspberry, orange, or even passionfruit—to match your mood or occasion. So, grab your apron and let’s bake something that’s bound to become a cherished favorite in your home—what flavor will you choose for your first batch?
Why Are Old-Fashioned Pink Jelly Cakes Special?
Nostalgic: These delightful cakes take you back to sunny days and sweet childhood memories!
Versatile Flavors: Experiment with jelly flavors like raspberry or orange to suit your taste.
Easy to Make: Minimal baking skills required—perfect for novice chefs!
Perfect for Any Occasion: Whether it’s a birthday party or afternoon tea, these cakes fit right in.
Crowd-Pleasing Treat: Their cheerful appearance and delightful flavor will make them a hit with everyone!
For a unique twist, try pairing them with Cinnamon Roll Pancakes for breakfast or brunch!
Old-Fashioned Pink Jelly Cakes Ingredients
For the Cake
- Vanilla Sponge Flour – Provides the cake’s structure and softness; gluten-free flour works well as a substitute.
- Sugar – Adds sweetness and moisture; coconut sugar can be a healthier alternative.
- Baking Powder – Helps the sponge rise; make sure it’s fresh for the best texture.
- Eggs – Provide moisture and richness; substitute with chia or flaxseed eggs for a vegan option.
- Milk – Adds richness to the batter; use plant-based milk for a dairy-free version.
For the Topping
- Strawberry Jelly – Offers a sweet and tart coating; feel free to substitute with raspberry or orange jelly for variation.
- Desiccated Coconut – Adds a chewy texture and flavor; can be switched out for a lighter version.
- Whipped Cream – Provides a rich, creamy filling; opt for whipped coconut cream for a lighter treat.
Elevate your Old-Fashioned Pink Jelly Cakes experience and let memories flood back with every delightful bite!
Step‑by‑Step Instructions for Old-Fashioned Pink Jelly Cakes
Step 1: Prepare Sponge
Preheat your oven to 180°C (350°F) and grease a muffin tin with butter. In a large mixing bowl, whisk together vanilla sponge flour, baking powder, and sugar until well combined. In a separate bowl, beat eggs, milk, and a splash of vanilla extract until smooth. Gradually fold the wet ingredients into the dry mixture, stirring gently until a thick, homogenous batter forms.
Step 2: Bake
Pour the batter evenly into the prepared muffin tin, filling each cup about two-thirds full. Place the tin in the preheated oven and bake for 15-20 minutes or until the sponge cakes puff up and turn a golden brown. To check for doneness, insert a toothpick into the center; it should come out clean. Once baked, remove the tin from the oven.
Step 3: Cool
Let the sponge cakes cool in the muffin tin for about 5 minutes before carefully transferring them to a wire rack. Allow them to cool completely; this will help maintain their fluffy texture and ensure they don’t crumble when you dip them in jelly. Patience here will lead to the best Old-Fashioned Pink Jelly Cakes.
Step 4: Prepare Jelly
While the cakes are cooling, prepare the strawberry jelly according to the package instructions. Typically, this involves dissolving jelly crystals in boiling water and then adding cold water. Stir well until fully dissolved. Allow the mixture to cool slightly; it should be thick but still pourable, making it perfect for dipping.
Step 5: Assemble
Once the cakes are cool, dip each cake halfway into the prepared jelly, allowing any excess to drip off. Immediately roll the coated section in desiccated coconut, pressing gently so it adheres well. This will give your Old-Fashioned Pink Jelly Cakes that delightful coconut crunch. Repeat with all the cakes.
Step 6: Chill
After assembling, place the cakes on a serving platter and refrigerate them for at least 30 minutes to set the jelly. This step enhances the flavor and helps the jelly firm up, ensuring each bite delivers the perfect combination of textures. The chilling process also intensifies the nostalgic sweetness of these delightful treats.
Make Ahead Options
These Old-Fashioned Pink Jelly Cakes are a fantastic treat to prep in advance, making them perfect for busy weeknights or upcoming gatherings! You can prepare the sponge cakes up to 24 hours ahead of time; simply follow the baking and cooling instructions, then store them in an airtight container to maintain their fluffy texture. The jelly can also be made a day ahead and stored in the fridge until you’re ready to assemble. When you’re set to serve, just dip the cakes in the jelly, roll in coconut, and chill them for at least 30 minutes to set the jelly. This way, your retro dessert will be just as delicious and evoke those sweet memories, saving you time to enjoy with family and friends!
Expert Tips for Old-Fashioned Pink Jelly Cakes
- Perfect Sponge: Beat the eggs until pale yellow to achieve a fluffier sponge that rises beautifully.
- Jelly Consistency: Allow the jelly to cool slightly until it thickens before dipping the cakes for a better coating.
- Chilling is Key: Refrigerate the assembled cakes for at least 30 minutes to enhance flavor and ensure the jelly sets properly.
- Whipped Cream Choice: For an authentic taste, opt for real whipped cream; however, feel free to skip it or use whipped coconut cream for a lighter option.
- Avoid Overmixing: Gently fold wet ingredients into the dry to keep the batter airy, preventing dense Old-Fashioned Pink Jelly Cakes.
Old-Fashioned Pink Jelly Cakes Variations
Customize your Old-Fashioned Pink Jelly Cakes and create your own sweet memories with delightful variations that will surprise your taste buds!
- Raspberry Jelly: Swap out the strawberry jelly for raspberry for a tangy twist bursting with flavor. You might just find this is your new favorite!
- Orange Bliss: Use orange jelly for a bright, citrusy twist that adds a refreshing zing to the classic taste. Each bite will evoke sunny summer days!
- Passionfruit Twist: For an exotic flavor, try passionfruit jelly; it enhances the sweetness with a delightful tropical flair. You’ll feel like you’re celebrating on a faraway beach!
- Gluten-Free: Replace vanilla sponge flour with a gluten-free flour mix to make these cakes suitable for gluten-sensitive friends. Everyone deserves a taste of nostalgia!
- Vegan Option: Substitute eggs with chia or flaxseed eggs and dairy milk with plant-based milk for a vegan-friendly dessert that doesn’t compromise on flavor.
- Coconut Cream Fill: Instead of whipped cream, fill them with whipped coconut cream for a dairy-free delight with a tropical vibe! This twist adds a creamy texture that sings in harmony with the coconut flakes.
- Nutty Addition: Add a handful of chopped nuts like almonds or pistachios for extra crunch and flavor. Who knew a little nuttiness could make such a difference?
- Chocolate Dipping: For a decadent treat, dip the cakes in melted dark chocolate after jelly, then roll in coconut for a truly indulgent dessert experience that combines flavors wonderfully.
Explore even more delicious ideas, like pairing your nostalgic cakes with Cinnamon Roll Pancakes for breakfast or a cozy afternoon tea. Whether you stick to tradition or venture into new flavors, each cake will serve up a taste of joy!
How to Store and Freeze Old-Fashioned Pink Jelly Cakes
Fridge: Store the assembled Old-Fashioned Pink Jelly Cakes in an airtight container for up to 2 days. This keeps them fresh, but they’re best enjoyed soon after making.
Freezer: If you want to save some for later, freeze the unassembled sponge cakes (without jelly or coconut) in a freezer-safe container for up to 3 months. Thaw and assemble when you’re ready!
Reheating: To refresh, avoid microwaving; instead, allow the sponge cakes to come to room temperature. Consider re-dipping them in fresh jelly for added moisture before serving.
Jelly Tip: If assembling ahead of time, prepare the jelly just before dipping to maintain the best texture!
What to Serve with Old-Fashioned Pink Jelly Cakes?
Create the perfect setting for enjoying these delightful treats!
- Fresh Berries: Their juicy sweetness balances the cake’s fluffiness and adds a burst of color to your dessert plate.
- Creamy Ice Cream: A scoop of vanilla or coconut ice cream enhances the nostalgic flavor profile and adds a delightful chill.
- Fruit Salad: A refreshing mix of seasonal fruits complements the cake’s sweetness while introducing a light, zesty crunch.
- Sparkling Water with Lemon: This refreshing drink brightens up the palate, making each bite of the cake even more enjoyable.
- Chocolate Dipping Sauce: Drizzling warm chocolate sauce over your jelly cakes transforms them into a decadent dessert affair.
- Herbal Tea: Select a soothing herbal tea, like chamomile or mint, to round off your sweet experience with calming flavors.
- Lemonade: The tanginess of freshly squeezed lemonade brings a refreshing brightness that beautifully contrasts the cake’s sweetness.
- Custard Sauce: This classic addition elevates the flavor, creating a luscious experience that soothes the soul as you indulge.
- Chocolate-Covered Strawberries: Elevate the dessert table with these delightful bites that add a touch of elegance and rich flavor to your treat lineup.
- Mini Pastries: Offering a variety of mini pastries creates a delightful dessert spread that complements the playful vibe of the jelly cakes!
Old-Fashioned Pink Jelly Cakes Recipe FAQs
What is the best way to select ripe eggs for baking?
Absolutely! When choosing eggs, ensure they are fresh by checking the expiration date on the carton. You can also perform a simple freshness test: place them in a bowl of water; fresh eggs will sink, while older ones will float. Opt for large eggs for the best results and a fluffy sponge.
How should I store my Old-Fashioned Pink Jelly Cakes?
To maintain their delightful texture, store assembled Old-Fashioned Pink Jelly Cakes in an airtight container in the refrigerator for up to 2 days. This helps to keep the jelly fresh and the sponge moist. However, for optimal flavor and texture, it’s always best to enjoy them soon after making.
Can I freeze the sponge cakes for later use?
Yes, you can! I often freeze unassembled sponge cakes for later enjoyment. Simply place them in a freezer-safe container, separated by parchment paper to prevent sticking. They can last in the freezer for up to 3 months. When you’re ready to enjoy, just thaw them at room temperature, and then dip in your prepared jelly and coconut.
What if my sponge cakes turn out too dense?
If you find your Old-Fashioned Pink Jelly Cakes are dense, it might be due to overmixing the batter. Be gentle when combining wet and dry ingredients; fold until just combined to keep the air in. Also, ensure your baking powder is fresh, as expired leaveners can result in flat, heavy cakes.
Are there any allergen considerations with this recipe?
Indeed! This recipe contains common allergens such as eggs and dairy. For a vegan option, substitute eggs with chia or flaxseed eggs and use plant-based milk. If you’re catering to gluten sensitivities, try using gluten-free flour instead of vanilla sponge flour. Always check the jelly ingredients, as some brands may have allergens like gelatin derived from animal sources.
How can I switch up the flavors for my Old-Fashioned Pink Jelly Cakes?
The more the merrier! You can easily customize the jelly flavor to suit your taste. Try using raspberry, orange, or even passionfruit jelly for a unique twist. Additionally, consider infusing the sponge batter with almond or vanilla extract to enhance the overall flavor profile of your cakes.
Old-Fashioned Pink Jelly Cakes: Sweet Nostalgia in Every Bite
Ingredients
Equipment
Method
- Preheat your oven to 180°C (350°F) and grease a muffin tin with butter.
- In a mixing bowl, whisk together vanilla sponge flour, baking powder, and sugar until well combined.
- In a separate bowl, beat eggs, milk, and a splash of vanilla extract until smooth.
- Fold the wet ingredients into the dry mixture until a thick batter forms.
- Pour the batter into the muffin tin, filling each cup two-thirds full and bake for 15-20 minutes.
- Cool the sponge cakes in the tin for 5 minutes before transferring them to a wire rack to cool completely.
- Prepare the strawberry jelly according to the package instructions and allow it to cool slightly.
- Dip each cooled cake halfway into the jelly and roll in desiccated coconut.
- Place the cakes on a platter and refrigerate for at least 30 minutes to set the jelly.
Leave a Reply