
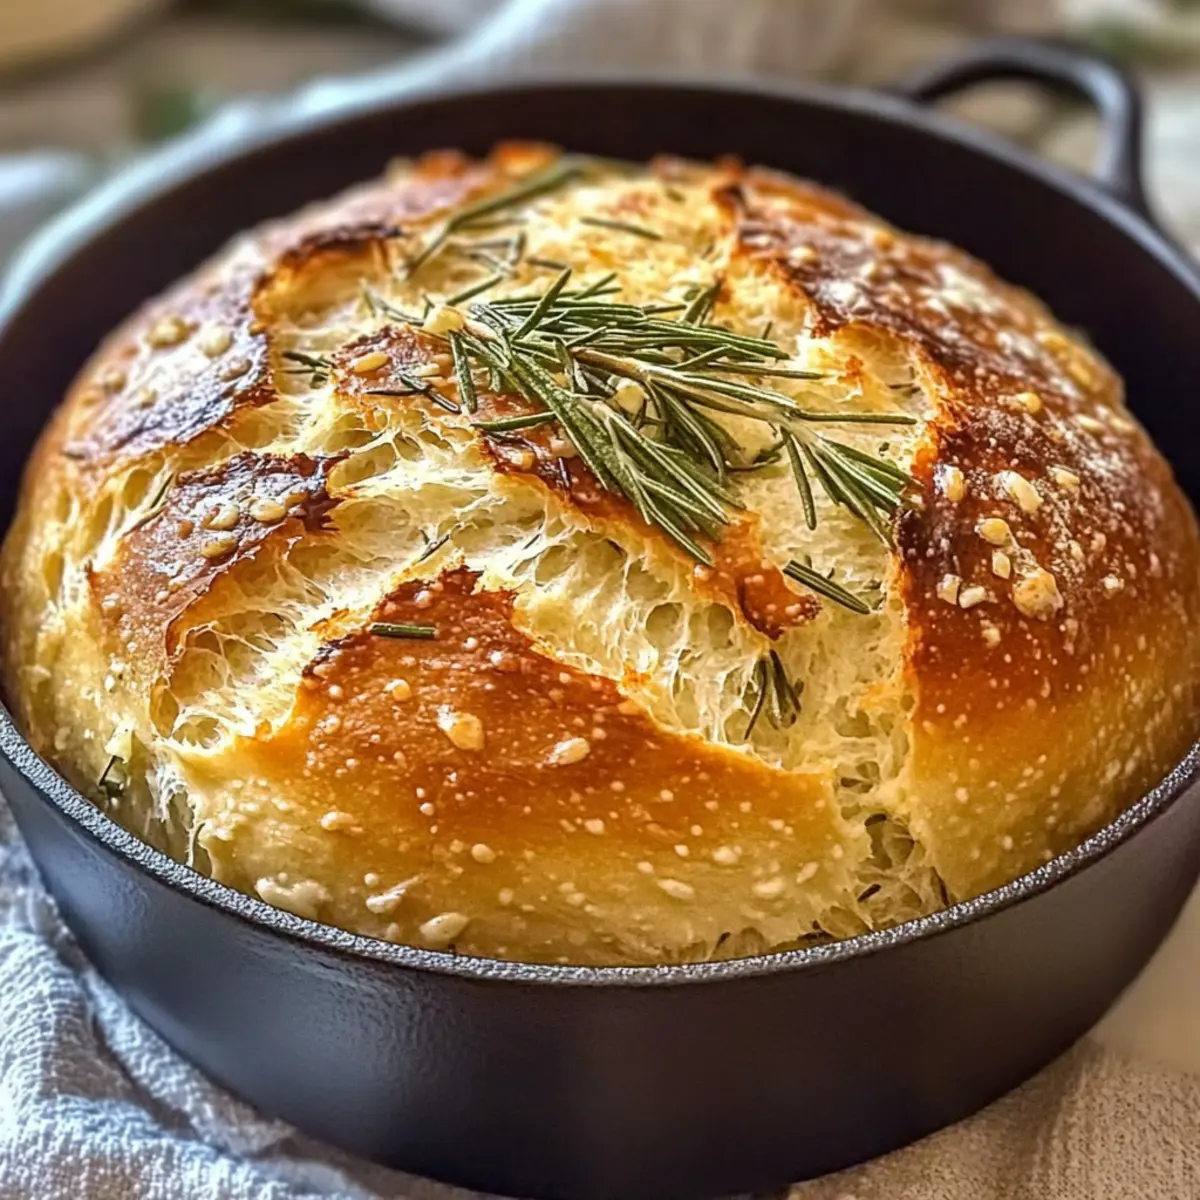
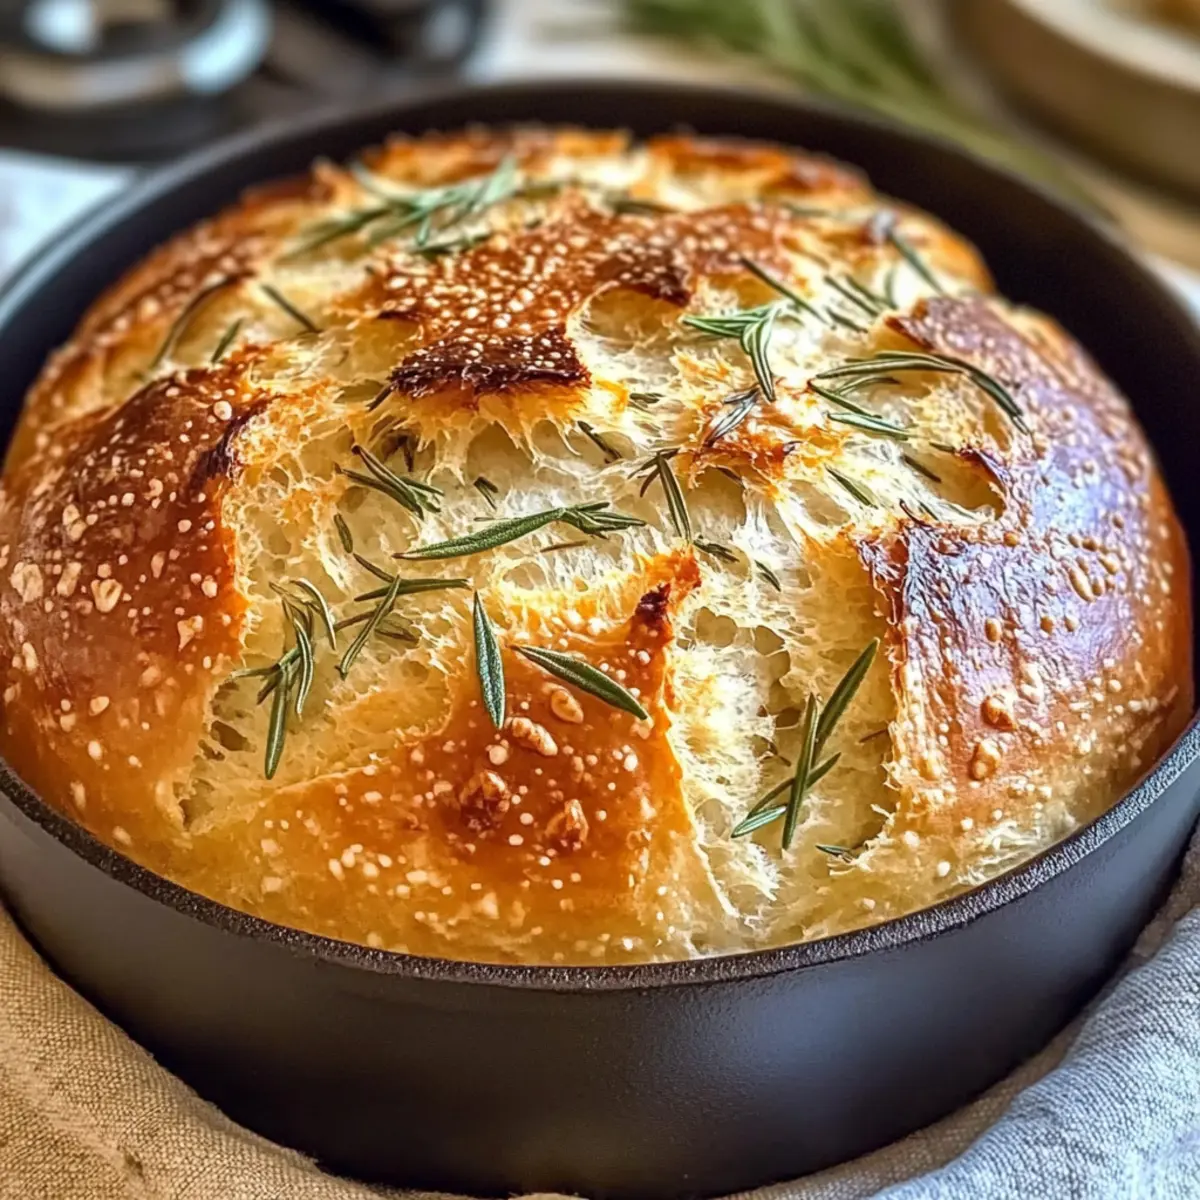
As I pulled freshly baked bread from the oven, the intoxicating aroma of garlic and rosemary wrapped around me like a warm hug. There’s something undeniably satisfying about creating homemade treats that fill your home with delightful scents. My Easy Dutch Oven Garlic Rosemary Bread is not just a recipe; it’s a testament to simplicity and comfort. With just a handful of straightforward ingredients, you can whip up a bakery-quality loaf that boasts a marvelous crispy crust and a soft, tender interior. Perfect for feeding family or impressing friends, this beginner-friendly recipe brings a world of flavors to your table without the fuss. Ready to delight your taste buds and elevate your meals? Let’s get baking!
Why Is This Bread So Irresistible?
Baking your own bread fills your kitchen with an aroma that’s simply mouthwatering. Beginner-friendly, this recipe is perfect for anyone looking to try their hand at bread-making without feeling overwhelmed. Savory garlic and fresh rosemary come together, delivering an explosion of flavor that elevates any meal. Versatile serving options let you pair it with everything, from soups to cheese platters. Plus, with its golden crust and tender interior, every slice will be a crowd-pleaser that leaves everyone asking for more! Don’t forget to try it alongside a warm bowl of Country French Garlic for an unforgettable experience.
Dutch Oven Garlic Rosemary Bread Ingredients
For the Bread
- All Purpose Flour – Provides structure and texture; you can use bread flour for a chewier experience.
- Sugar – Adds a touch of sweetness to balance the savory flavors; substitute with honey but reduce water slightly.
- Salt – Essential for enhancing flavor and strengthening gluten; do not skip this ingredient.
- Quick Yeast – Enables the dough to rise quickly without long fermentation; active dry yeast works as an alternative if needed.
- Warm Water – This hydrates the flour and activates the yeast; ensure it’s between 100-110°F for best results.
- Fresh Rosemary – Infuses the bread with its aromatic flavor; if unavailable, use dried rosemary in lesser amounts.
- Garlic – Gives the bread a robust savory taste; you can substitute with garlic powder but use less for a milder flavor.
Step‑by‑Step Instructions for Dutch Oven Garlic Rosemary Bread
Step 1: Combine Ingredients
In a large mixing bowl, whisk together 3 cups of all-purpose flour, 1 tablespoon of sugar, 1 tablespoon of salt, and 1 tablespoon of quick yeast. Gradually pour in 1 ¼ cups of warm water (100-110°F), and add 2 tablespoons of chopped fresh rosemary and 3 minced garlic cloves. Stir until the mixture forms a sticky dough, ensuring all dry ingredients are well incorporated.
Step 2: First Rise
Cover the bowl with a clean kitchen towel or plastic wrap and place it in a warm, draft-free area for about 60 minutes. During this time, the dough should double in size, becoming puffy and airy. This rise is crucial for achieving that tender texture in your Dutch Oven Garlic Rosemary Bread.
Step 3: Shape Dough
Once the dough has risen, lightly flour a sheet of parchment paper and transfer the dough onto it. With floured hands, gently shape the dough into a round ball, flipping it smooth side up. Allow it to rest covered for about 20 minutes, which will help relax the gluten, making it easier to bake and shape.
Step 4: Preheat Dutch Oven
While the dough rests, preheat your oven to 450°F and place an empty Dutch oven inside. Allow it to heat for at least 30 minutes. This will create the perfect steam environment for your bread, ensuring a beautifully crusty exterior once baked.
Step 5: Prepare for Baking
After resting, carefully lift the dough using the parchment paper and place it into the hot Dutch oven. Using a sharp knife, score a shallow x-pattern or a few slashes on the top of the dough. This step is vital as it allows steam to escape and prevents the bread from bursting during baking.
Step 6: Bake
Cover the Dutch oven with its lid and bake for 30 minutes. Then, carefully remove the lid and bake for an additional 10 minutes to achieve a gorgeous golden-brown crust. Keep an eye on the bread as it bakes—your kitchen will smell heavenly!
Step 7: Cool
Once baked to perfection, carefully remove the Dutch oven from the oven and lift the bread out using the parchment paper. Transfer it to a wire rack and let it cool for at least 30 minutes before slicing. This cooling period allows the textures to set, resulting in the ultimate enjoyment of your Dutch Oven Garlic Rosemary Bread!
What to Serve with Dutch Oven Garlic Rosemary Bread?
Warm homemade bread invites delicious accompaniments that transform a simple meal into something extraordinary.
-
Creamy Tomato Soup: The bright flavors of tomato soup perfectly complement the savory notes of garlic and rosemary. It’s a classic pairing that warms the soul!
-
Garden Salad: Crisp greens and fresh vegetables add a refreshing contrast, while a zesty vinaigrette highlights the bread’s rich flavors, making each bite a delightful experience.
-
Cheese Platter: Soft cheeses like Brie or tangy goat cheese spread attention to the herbs in the bread, creating a beautiful picnic-style meal your family will love.
-
Olive Oil and Balsamic Vinegar: A simple dipping sauce enhances the bread’s flavors. The peppery olive oil and tangy vinegar make a festive addition to your table.
-
Roasted Vegetables: Smoky, caramelized veggies bring out the earthy tones of the rosemary, turning your bread into a base for a wholesome and hearty main dish.
-
Herbed Butter: Elevate each slice by spreading fresh herb-infused butter over warm bread, transforming your simple loaf into an indulgent treat that’s impossible to resist.
-
Wine Pairing: A light white wine, such as Pinot Grigio, balances the savory flavors while adding a layer of sophistication to your meal, making it perfect for entertaining.
With these delightful pairings, your Dutch Oven Garlic Rosemary Bread will shine at the center of any gathering!
Storage Tips for Dutch Oven Garlic Rosemary Bread
-
Room Temperature: Store your bread in a paper bag at room temperature for up to 3 days. This helps maintain its crusty exterior while keeping the interior soft.
-
Fridge: Avoid refrigerating your bread as it can dry out. If you must refrigerate, wrap it tightly in plastic wrap for up to 5 days, though the texture may suffer.
-
Freezer: For longer storage, freeze the bread in an airtight container or freezer bag for up to 3 months. To thaw, leave it at room temperature, then warm it in the oven for a few minutes to revive its fresh-baked taste.
-
Reheating: To enjoy your delicious Dutch Oven Garlic Rosemary Bread warm, preheat your oven to 350°F and bake slices for 5-10 minutes. This will restore its crispy crust and soft, fluffy interior.
Make Ahead Options
Baking your Dutch Oven Garlic Rosemary Bread ahead of time can save you precious moments during busy mealtimes! You can prepare the dough up to 24 hours in advance—simply mix all the ingredients and let them rise as usual. After the first rise, shape the dough, cover it tightly with plastic wrap, and refrigerate overnight. When you’re ready to bake, remove it from the fridge and let it come to room temperature for about 30 minutes. Preheat your Dutch oven as instructed, score the dough, and bake it for that delightful crust, ensuring your bread remains just as delicious as freshly baked! Prep in advance, and enjoy homemade bread with minimal fuss!
Expert Tips for Perfect Dutch Oven Garlic Rosemary Bread
-
Proper Temperature: Ensure the warm water is between 100-110°F; too hot can kill the yeast and prevent rising effectively.
-
Kneading Technique: Avoid over-kneading the dough; you want it to be sticky and only mixed until ingredients are harmoniously blended to achieve that delightful texture.
-
Pan Preheating: Always preheat your Dutch oven thoroughly. This crucial step helps create that bakery-quality crust everyone loves.
-
Cooling Time: Patience is key! Let the bread cool for at least 30 minutes before slicing; this enhances the flavors and improves the texture of your Dutch Oven Garlic Rosemary Bread.
-
Experiment with Herbs: While rosemary and garlic are fantastic, don’t hesitate to play with other herbs like thyme or sage for a unique twist in flavor.
Variations & Substitutions for Dutch Oven Garlic Rosemary Bread
Feel free to make this delicious bread your own by trying out these fun substitutions and enhancements!
-
Cheesy Delight: Add 1 cup of grated cheese like Parmesan or cheddar to the dough for a savory depth.
-
Herb Swap: Substitute fresh rosemary with fresh thyme or sage for a unique twist on flavor.
-
Mediterranean Twist: Mix in sun-dried tomatoes or kalamata olives for a burst of excitement in each bite.
-
Add Some Heat: Include a teaspoon of red pepper flakes to the dough for an extra kick that complements the garlic beautifully.
-
Nutty Flavor: Toss in ½ cup of chopped walnuts or pistachios to add delightful crunch and texture that’s simply irresistible.
-
Garlic Infusion: If you love garlic, roast a head of garlic and mash the cloves into the dough for an even richer garlic flavor.
-
Sweeten the Deal: Add a tablespoon of honey to the warm water to bring a touch of sweetness to your savory bread.
-
Chilled Version: Substitute half the water with beer for a rich, complex flavor that pairs perfectly with the bread’s crispy crust.
These variations will help ignite your creativity in the kitchen! Also, if you’re in the mood for more garlicky goodness, consider trying Spicy Garlic Butter or a comforting Country French Garlic. Enjoy experimenting!

Dutch Oven Garlic Rosemary Bread Recipe FAQs
How do I select the best ingredients for this bread?
Absolutely! When choosing rosemary, look for vibrant green leaves with no dark spots or signs of wilting. For garlic, plump heads with tight skin are recommended. Make sure your flour is fresh, and your yeast is not expired—fresh yeast gives the best rise!
What’s the best way to store my Dutch Oven Garlic Rosemary Bread?
I often recommend storing your bread in a paper bag at room temperature for up to 3 days. This helps retain its crust while keeping the inside soft. If you choose to refrigerate it, wrap tightly in plastic wrap, but be aware that the texture might become tougher.
Can I freeze Dutch Oven Garlic Rosemary Bread?
Yes, you can! To freeze, let your bread cool completely, then wrap it tightly in plastic wrap or place it in an airtight container. It can last in the freezer for up to 3 months. When you’re ready to enjoy it, thaw at room temperature and warm it in the oven for about 10 minutes at 350°F to bring back its fresh-baked goodness.
What should I do if my bread doesn’t rise properly?
If your bread isn’t rising, first check the temperature of your warm water—it needs to be between 100-110°F. Also, ensure your yeast is fresh! If your dough seems dense during the first rise, consider warming the area where it sits. A warm, draft-free place is ideal; try placing it near an oven or using a proofing box if you have one.
Are there any dietary considerations I should keep in mind?
Certainly! This recipe is vegetarian, but it’s essential to note that bread can affect those with gluten sensitivities. If you’re baking for anyone allergic to garlic, consider substituting it with a mild spice like onion powder or leaving it out altogether. For those with other dietary restrictions, be mindful of the ingredients in any substitutes you plan to use.

Savor Homemade Dutch Oven Garlic Rosemary Bread Today
Ingredients
Equipment
Method
- In a large mixing bowl, whisk together 3 cups of all-purpose flour, 1 tablespoon of sugar, 1 tablespoon of salt, and 1 tablespoon of quick yeast.
- Gradually pour in 1 ¼ cups of warm water (100-110°F), and add 2 tablespoons of chopped fresh rosemary and 3 minced garlic cloves. Stir until the mixture forms a sticky dough.
- Cover the bowl and place it in a warm area for about 60 minutes until the dough doubles in size.
- Lightly flour a sheet of parchment paper and transfer the dough onto it. Shape the dough into a round ball and let it rest covered for about 20 minutes.
- Preheat your oven to 450°F and place an empty Dutch oven inside to heat for at least 30 minutes.
- Lift the dough using the parchment paper and place it into the hot Dutch oven. Score the top with a sharp knife.
- Cover the Dutch oven and bake for 30 minutes, then remove the lid and bake for an additional 10 minutes for a golden crust.
- Once baked, remove the bread and let it cool on a wire rack for at least 30 minutes before slicing.
Leave a Reply