
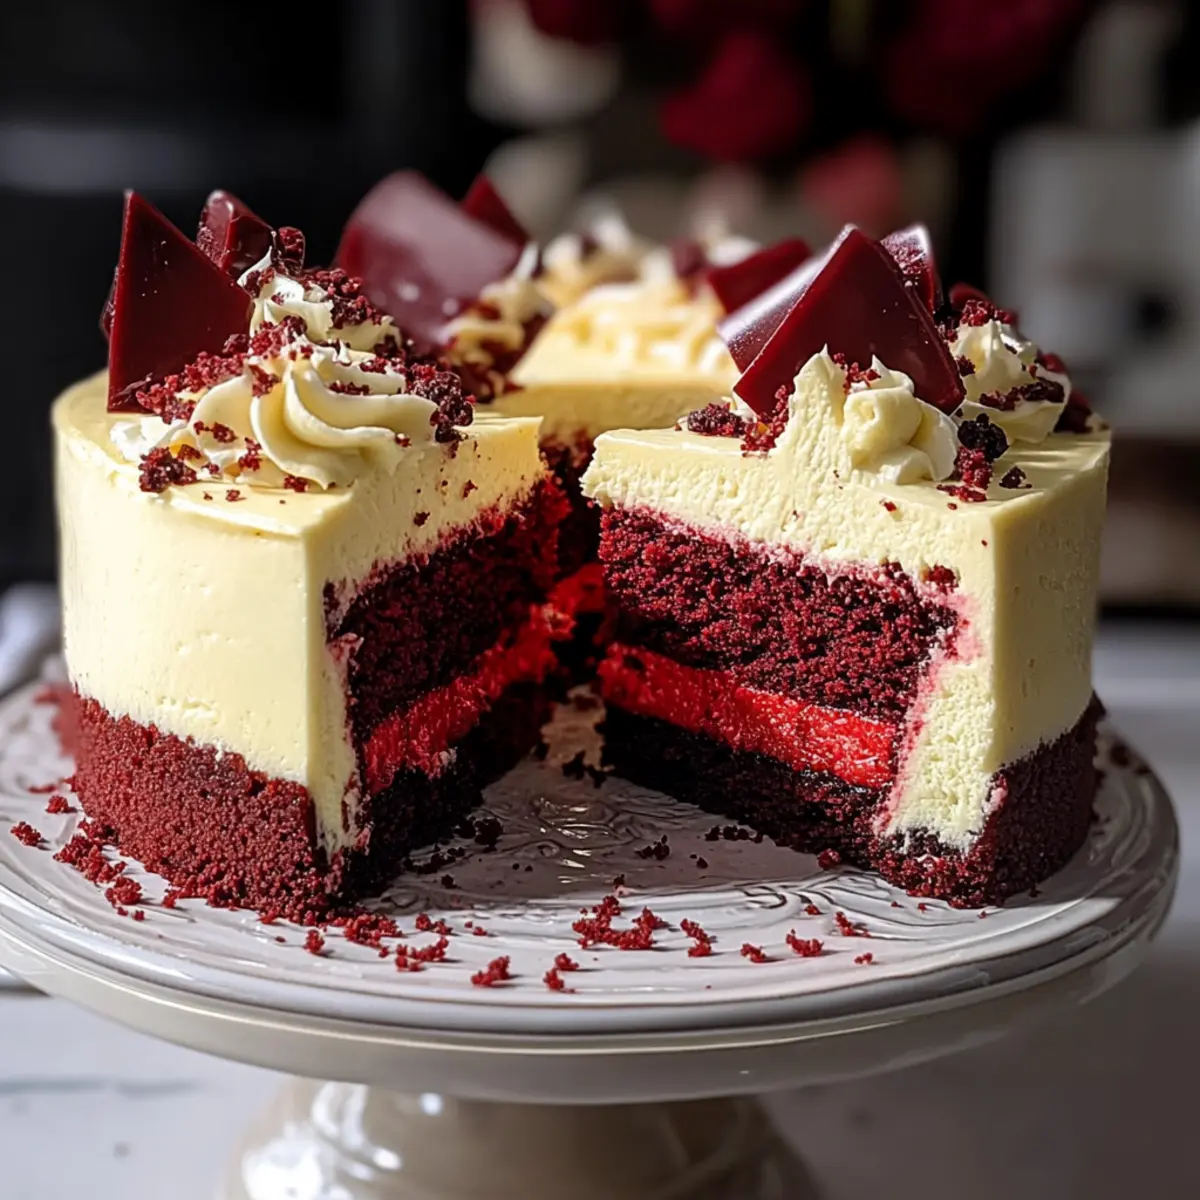
As I sifted through vibrant red velvet cake layers and creamy cheesecake filling, I couldn’t help but smile at the magic I was about to create. The Ultimate Red Velvet Cheesecake is not just a dessert; it’s a celebration of flavors that takes your baking to new heights. This irresistible treat combines the tangy richness of classic cheesecake with the moist, chocolatey allure of red velvet, making it a show-stopping centerpiece for any gathering. Plus, it’s surprisingly quick to prepare, perfect for those bustling days craving a sweet something special. And with the bonus of being completely customizable, you can put your own twist on it! What fun variations will you come up with for this stunning creation?
What makes this cheesecake so special?
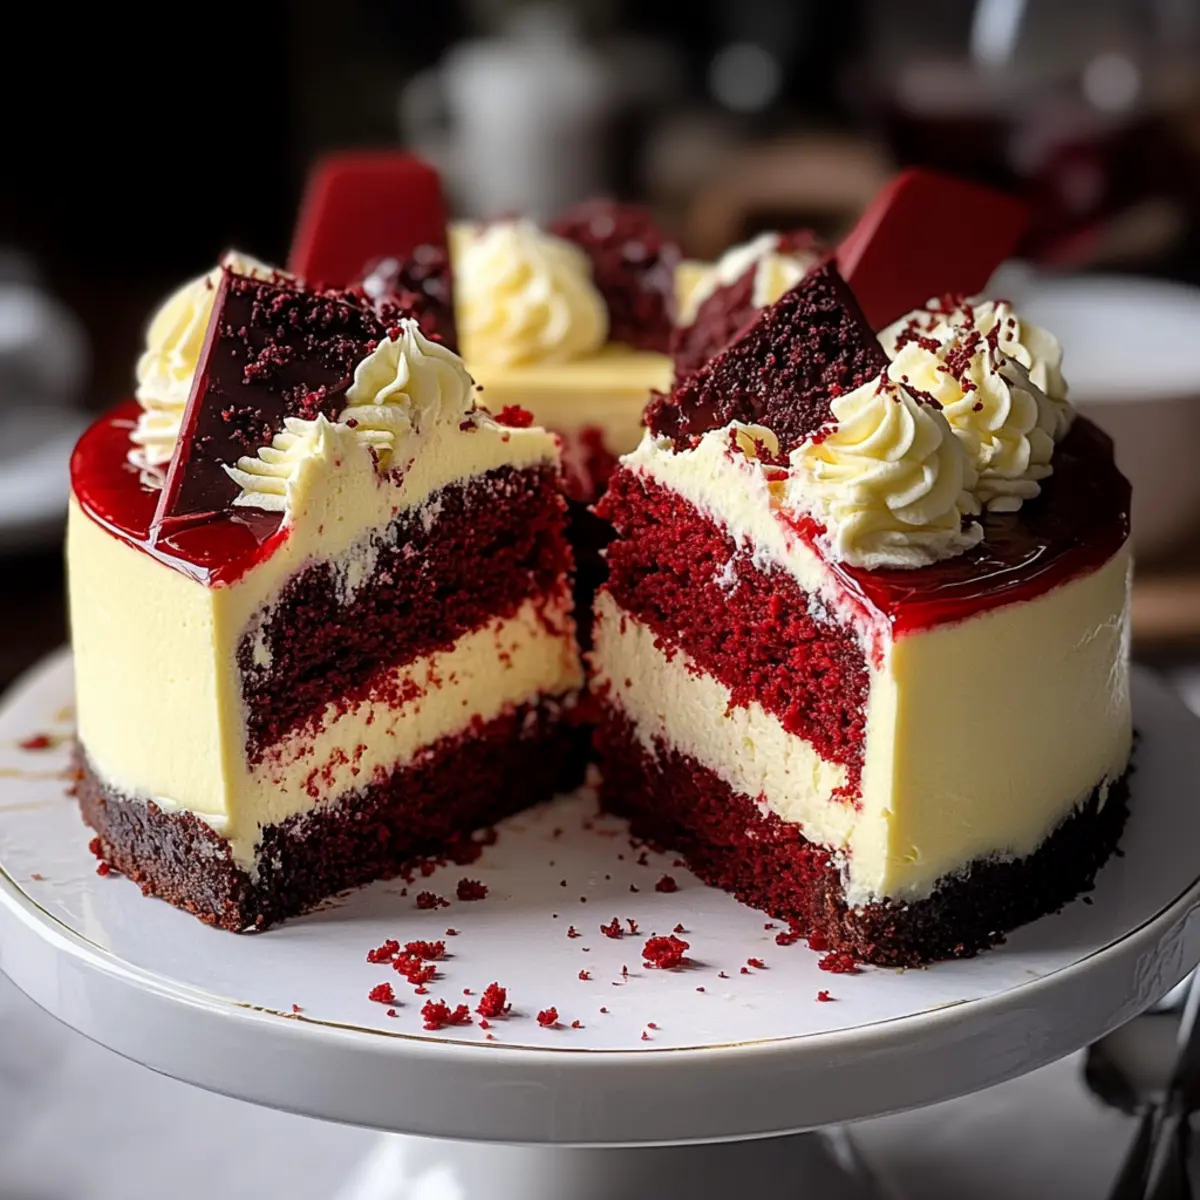
Indulgent Flavor: The Ultimate Red Velvet Cheesecake combines rich, tangy cheesecake with moist red velvet, creating a flavor harmony that will have your taste buds dancing.
Visually Stunning: Its vibrant red layers make it a showstopper, perfect for any gathering or celebration.
Easy Customization: Feel free to get creative! Add chocolate chips or use beet juice for a healthier color alternative.
Quick Preparation: Even on busy days, this dessert can be prepared swiftly, allowing you to enjoy homemade goodness without a lengthy process.
Crowd-Pleasing Appeal: Whether served at a family dinner or a festive party, its unique blend of textures and flavors ensures everyone will be clamoring for seconds, just like with my Strawberry Crunch Cheesecake.
Satisfying and Rich: This cheesecake is both creamy and dense, giving you a luxurious dessert experience that satisfies even the sweetest of cravings.
Red Velvet Cheesecake Ingredients
For the Crust
• Graham Cracker Crumbs – Provides a buttery, crunchy base; you can substitute with crushed digestive biscuits for a different flavor.
• Unsalted Butter – Binds the crust ingredients together, but you can replace it with coconut oil for a dairy-free option.
• Sugar – Sweetens the crust and cheesecake; consider using brown sugar for a richer flavor.
For the Cheesecake Filling
• Cream Cheese – The main ingredient for filling, creating that smooth texture; use full-fat for best results or Neufchâtel cheese as a lighter alternative.
• Sour Cream – Adds tanginess and creaminess; Greek yogurt can work as a substitute.
• Eggs – Provides structure and richness; for a vegan option, use an egg substitute like flaxseed meal.
• Vanilla Extract (Alcohol-free) – Enhances flavor; try almond extract or lemon extract for a unique twist.
• All-Purpose Flour – Used in the crust and cake layers; switch it out for gluten-free flour to make this a gluten-free Red Velvet Cheesecake.
• Cocoa Powder – Adds flavor to the red velvet layer; ensure it’s unsweetened for better control over sweetness.
• Red Food Coloring – Gives the cake its vibrant color; swap it for beet juice if you want a natural alternative.
• Baking Soda & Salt – Helps with leavening and balances the flavor; no substitutes needed.
• Buttermilk – Adds moisture and tenderness; if unavailable, use milk with a teaspoon of vinegar to make your own buttermilk.
• Vinegar – Reacts with baking soda for leavening; you can use white or apple cider vinegar.
For the Red Velvet Layer
• Sugar – Used to sweeten the red velvet; you can also experiment with using coconut sugar for a healthier twist.
• Eggs – Provides moisture and richness to the red velvet cake layer; replace with applesauce for an egg-free option if desired.
This Ultimate Red Velvet Cheesecake is sure to become a treasured recipe in your collection!
Step‑by‑Step Instructions for The Ultimate Red Velvet Cheesecake
Step 1: Prepare the Crust
Begin by preheating your oven to 350°F (175°C). In a mixing bowl, combine graham cracker crumbs, melted butter, and sugar until fully blended. Press this mixture firmly into the bottom of a 9-inch springform pan. Bake the crust for 8-10 minutes, until it’s lightly golden and set. Allow it to cool while you prepare the cheesecake filling.
Step 2: Make the Cheesecake Filling
In a large mixing bowl, beat the cream cheese and sugar together until smooth and creamy, about 2-3 minutes. Gradually add the eggs, one at a time, ensuring each is well incorporated before adding the next. Stir in the sour cream and vanilla extract until everything is fully combined, creating a luscious filling for your Red Velvet Cheesecake.
Step 3: Bake the Cheesecake
Pour the cheesecake filling over the cooled crust and spread it evenly. Bake it at 325°F (160°C) for 60-70 minutes. You’ll know it’s ready when the edges are set, and the center still has a slight wobble. This gentle baking ensures your cheesecake remains creamy and prevents cracking.
Step 4: Cool the Cheesecake
Once baked, turn off the oven and leave the cheesecake inside, with the door slightly ajar, for about 1 hour. This gradual cooling helps to prevent cracks in your cheesecake. Afterward, transfer it to the refrigerator and let it chill for at least 4 hours or overnight for the best flavor and texture.
Step 5: Prepare the Red Velvet Layer
In a separate bowl, combine flour, sugar, cocoa powder, baking soda, and salt. In another bowl, mix the wet ingredients, including buttermilk, eggs, and red food coloring until well blended. Gently fold the wet ingredients into the dry mixture until just combined, then reward yourself with that beautiful red hue!
Step 6: Bake the Red Velvet Layer
Spread the red velvet batter evenly over the chilled cheesecake layer. Bake this layer at 350°F (175°C) for 25-30 minutes, or until a toothpick inserted in the center comes out clean. Keep an eye on it, as you want that perfect texture to complement your Red Velvet Cheesecake.
Step 7: Cool Completely
Once baked, let the red velvet layer cool completely in the pan on a wire rack. This will help it set and make it easier to frost later. Once cool, carefully remove the cheesecake from the springform pan, ensuring you have a smooth, stunning base for your masterpiece.
Step 8: Frost and Assemble
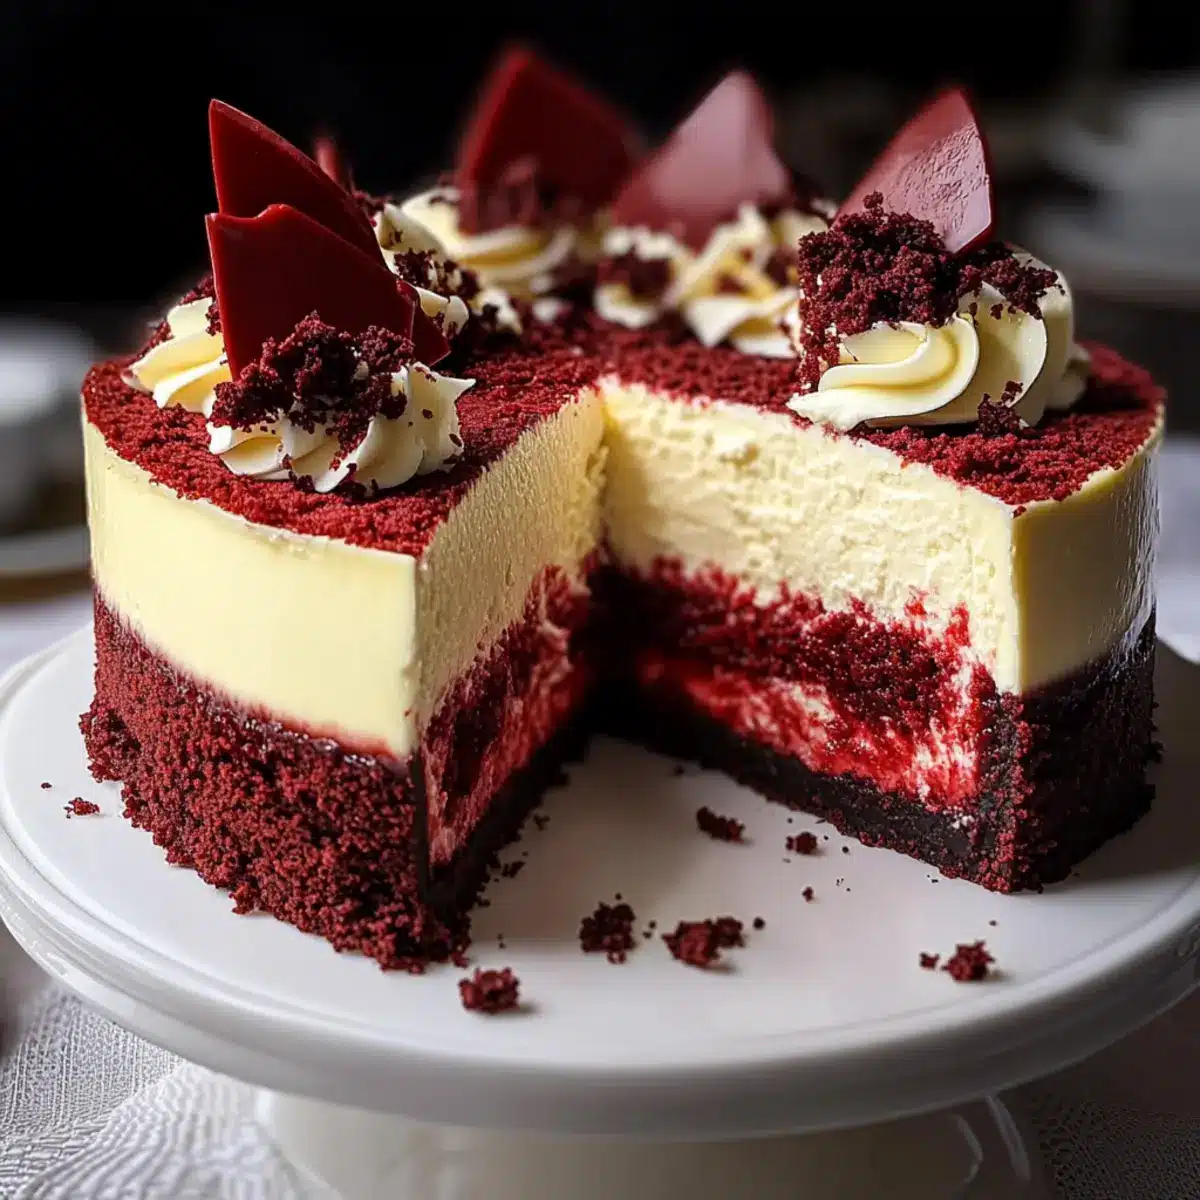
Prepare your favorite cream cheese frosting while the layers cool. Frost the top of your red velvet layer generously. When finished, slice your Ultimate Red Velvet Cheesecake and garnish with whipped cream, berries, or chocolate shavings if desired, creating an impressive presentation.
What to Serve with The Ultimate Red Velvet Cheesecake
Elevate your dessert experience by pairing this enchanting cheesecake with delightful sides that complement its rich flavors.
- Fresh Berries: Juicy strawberries or raspberries provide a tart contrast to the richness of the cheesecake, brightening each bite.
- Whipped Cream: Light, fluffy whipped cream adds a luxurious touch, enhancing the creamy texture and balancing the sweetness perfectly.
- Chocolate Ganache: A drizzle of smooth chocolate ganache adds depth and richness, creating an indulgent combination that chocolate lovers will adore.
- Nutty Crumble: A crunchy topping of toasted nuts adds satisfying texture and a rustic feel, making each slice even more enjoyable.
- Mint Leaves: Fresh mint leaves not only add a pop of color but also offer a refreshing note that cuts through the cheesecake’s richness.
- Spiced Chai Latte: A warm, spiced chai latte complements the flavors of the red velvet cheesecake, creating a cozy dessert experience perfect for any season.
- Vanilla Ice Cream: The coolness of vanilla ice cream against the warm cheesecake creates a comforting contrast, intensifying the dessert experience.
Make Ahead Options
These Ultimate Red Velvet Cheesecake preparations are perfect for busy home cooks looking to save time! You can prepare the crust up to 24 hours in advance; simply bake and allow it to cool before wrapping it tightly in plastic wrap and storing it in the refrigerator. The cheesecake filling can be made up to 3 days ahead. Assemble it in the springform pan and refrigerate it until you’re ready to bake the red velvet layer. When it’s time to finish, just top the chilled cheesecake with the red velvet batter and bake as directed. This approach ensures your dessert remains just as delicious while freeing up your schedule for other preparations!
How to Store and Freeze Red Velvet Cheesecake
Fridge: Keep your Red Velvet Cheesecake in an airtight container for up to 5 days. This ensures it stays fresh and delicious for daily enjoyment.
Freezer: To store longer, freeze individual slices wrapped tightly in plastic wrap and aluminum foil for up to 3 months. This way, you can enjoy a slice whenever the craving strikes!
Thawing: When you’re ready to indulge, transfer the frozen slice to the refrigerator and let it thaw overnight for the best flavor and texture.
Reheating: For a slightly warm treat, microwave a slice for about 10-15 seconds to gently warm the cheesecake without compromising its creamy texture.
Red Velvet Cheesecake Variations
Feel free to unleash your creativity and tailor this rich delight to your personal taste with these delightful twists!
- Dairy-Free: Use coconut cream instead of sour cream for a luscious filling without the dairy.
- Gluten-Free: Swap all-purpose flour with almond flour or gluten-free flour blend for a gluten-free version.
- Chocolate Chips: Stir in semi-sweet or dark chocolate chips into the red velvet batter for an extra decadent surprise.
- Fruit-Infused: Add pureed raspberries or strawberries to the cheesecake filling for a fruity and tangy burst of flavor.
- Nutty Crunch: Fold in crushed walnuts or pecans into the crust for a satisfying crunch and rustic touch.
- Almond Twist: Substitute vanilla extract with almond extract for a fragrant, nutty flavor that pairs beautifully with chocolate.
- Decadent Frosting: Elevate with a layer of chocolate ganache on top of the cream cheese frosting for a chocolatey finish.
- Heat it Up: For spice lovers, a pinch of cayenne pepper in the red velvet batter will add an unexpected, warming kick.
The variations are nearly endless! For more dessert inspiration, check out my Strawberry Crunch Cheesecake or even my luscious Basque Cheesecake Loaf. The possibilities for customizing your Ultimate Red Velvet Cheesecake are simply delicious!
Tips for the Best Red Velvet Cheesecake
-
Water Bath Method: Use a water bath to prevent cracks in your cheesecake. Wrap the pan in foil, place it in a larger dish, and fill it with hot water before baking.
-
Gentle Mixing: Avoid overmixing the cheesecake filling once you add the eggs; this helps maintain a smooth texture.
-
Chill for Flavor: Let your Red Velvet Cheesecake chill in the refrigerator for at least 4 hours, or preferably overnight—this enhances the flavors and texture.
-
Tackle Cracks: If you notice cracks after baking, don’t worry! Use frosting as a beautiful cover to disguise them.
-
Cool Gradually: Allow the cheesecake to cool in the oven with the door ajar for an hour after baking; this gradual cooling helps keep it from cracking.
Red Velvet Cheesecake Recipe FAQs
How do I select ripe and perfect ingredients for this cheesecake?
Absolutely! For the cream cheese, choose brands that are full-fat for the richest flavor and smoothest texture. When selecting eggs, opt for large, fresh eggs from a reliable source, as they provide the best structure. As for the red food coloring, look for gel-based options for a vibrant hue; it’s more concentrated than liquid and requires less. Fresh buttermilk is ideal, but you can also make your own by combining milk with a tablespoon of vinegar.
What’s the best way to store leftover Red Velvet Cheesecake?
To keep your cheesecake fresh, store it in an airtight container in the fridge for up to 5 days. This method helps maintain its creamy texture and rich flavors. If you have slices left over, you can gently cover them with plastic wrap to avoid drying out while they sit in the fridge.
Can I freeze this cheesecake, and how do I do it properly?
Very! To freeze your Red Velvet Cheesecake, first slice it into individual portions. Wrap each slice tightly in plastic wrap, then cover them with aluminum foil to protect against freezer burn. This method will keep the cheesecake fresh for up to 3 months. When you’re ready to enjoy, transfer a slice to the refrigerator for a slow thaw overnight. This will help retain its texture and flavor!
What are some common issues I might encounter, and how can I troubleshoot them?
If you notice cracks forming on your cheesecake, don’t fret! This often happens due to sudden temperature changes while baking. To prevent this, use a water bath: wrap the outside bottom of your springform pan with foil, place it in a larger pan, and fill with hot water before baking. If cracks do appear, simply cover them with your cream cheese frosting—the cracks won’t be noticeable, and the frosting adds extra flavor!
Are there any dietary considerations for this cheesecake?
Absolutely! For those with gluten sensitivities, you can easily make a gluten-free version by substituting regular all-purpose flour with gluten-free flour blends. Additionally, for vegan options, substitute the eggs with flaxseed meal (1 tablespoon mixed with 2.5 tablespoons of water per egg) and use a vegan cream cheese alternative. Always double-check labels for allergens to keep your loved ones safe!

Irresistibly Rich Red Velvet Cheesecake to Wow Your Guests
Ingredients
Equipment
Method
- Prepare the Crust: Preheat oven to 350°F (175°C). Combine graham cracker crumbs, melted butter, and sugar. Press into a 9-inch springform pan. Bake for 8-10 minutes, cool.
- Make the Cheesecake Filling: Beat cream cheese and sugar until smooth. Gradually add eggs, then stir in sour cream and vanilla until combined.
- Bake the Cheesecake: Pour filling over cooled crust. Bake at 325°F (160°C) for 60-70 minutes until edges are set with a slight wobble in the center.
- Cool the Cheesecake: Turn off oven, leave cheesecake inside with door ajar for about 1 hour. Chill in refrigerator for at least 4 hours or overnight.
- Prepare the Red Velvet Layer: Combine flour, sugar, cocoa powder, baking soda, and salt. Mix wet ingredients separately and fold into dry mixture.
- Bake the Red Velvet Layer: Spread red velvet batter over cheesecake layer. Bake at 350°F (175°C) for 25-30 minutes until a toothpick comes out clean.
- Cool Completely: Let red velvet layer cool in the pan on a wire rack before removing from the springform pan.
- Frost and Assemble: Frost the top of red velvet layer with cream cheese frosting. Slice and garnish with whipped cream, berries, or chocolate shavings.
Leave a Reply