
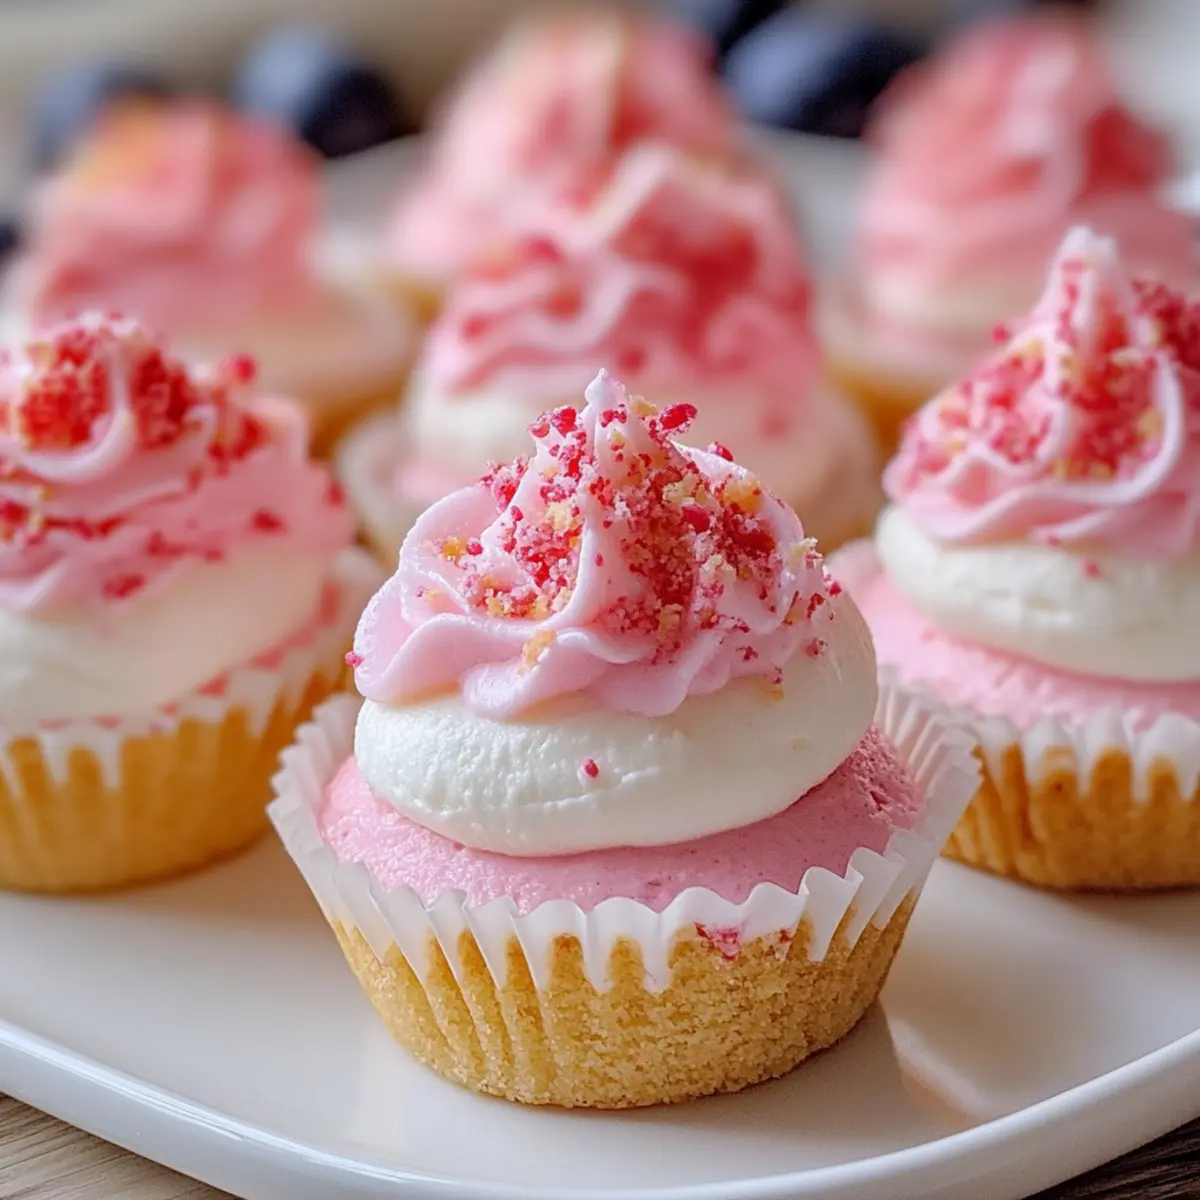
As I stood in the kitchen, whipping up a sweet surprise, the soft pink hue of the mixture caught my eye, dancing in the bowl. These No-Bake Pink Velvet Cheesecake Bites are the perfect solution to those moments when you crave something indulgent without the hassle of baking. They come together quickly and promise a delightful, creamy experience that will have your friends and family asking for seconds. With their bright color and rich flavor, these bites make for a stunning party dessert that’s both vegetarian and incredibly easy to prepare. Plus, they are perfect for satisfying your sweet tooth without forcing you into a time crunch. Are you ready to take a bite out of bliss?
Why are No-Bake Pink Velvet Cheesecake Bites irresistible?
Simple Preparation: These bites require no baking, making them the ideal choice for busy days or last-minute gatherings.
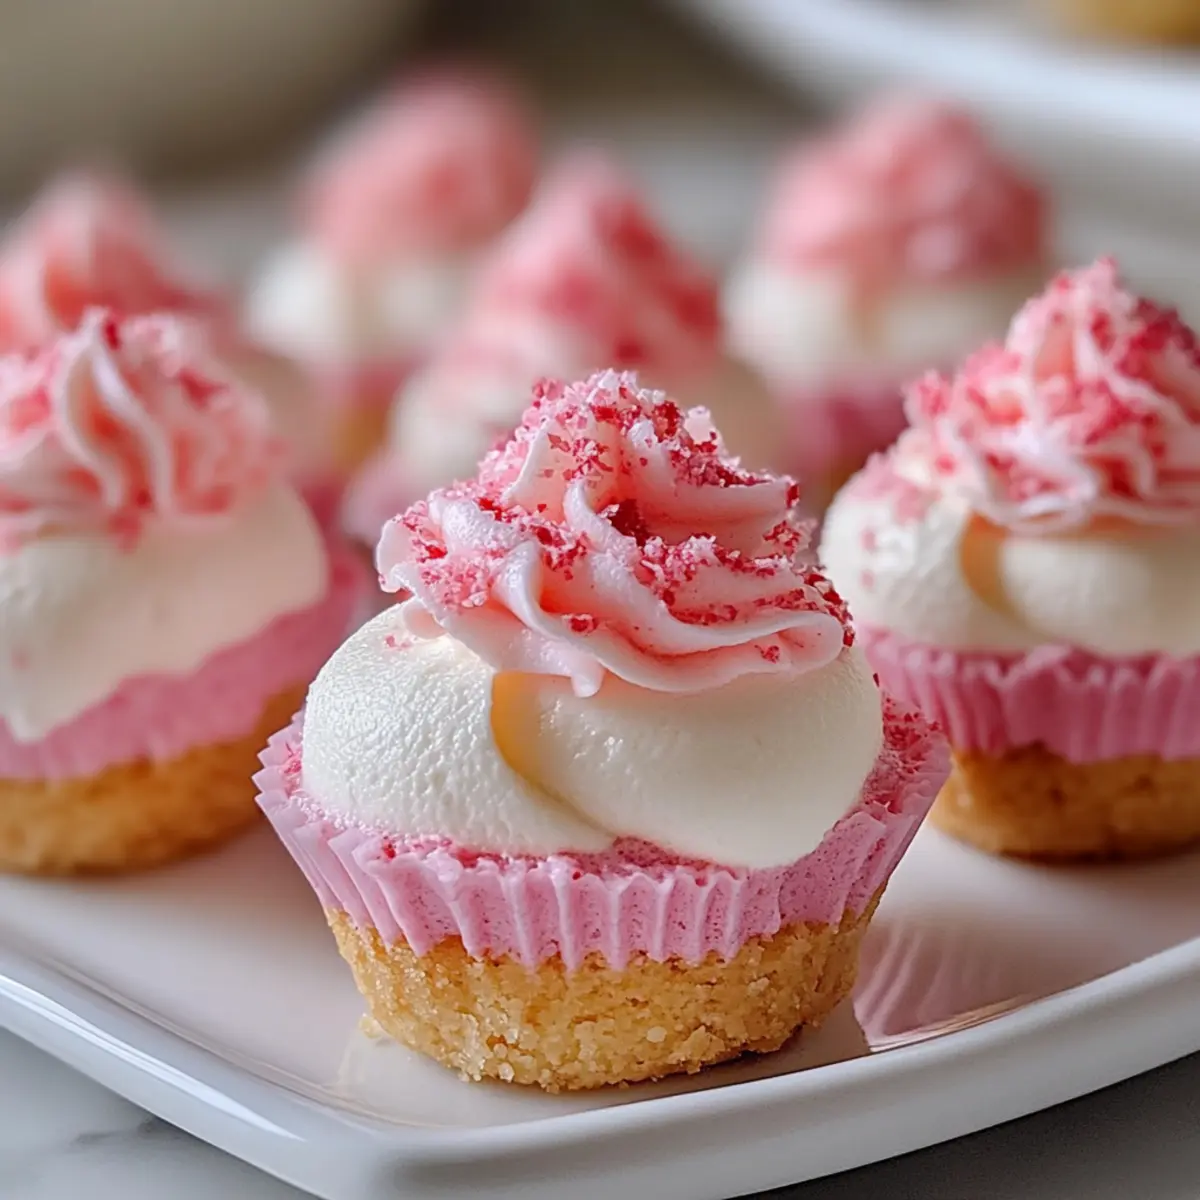
Rich, Creamy Texture: With a luscious cream cheese base complemented by whipped cream, each bite melts beautifully in your mouth.
Playful Presentation: The vibrant pink color adds a fun pop to your dessert table, ensuring they catch everyone’s eye.
Versatile Options: Feel free to customize with different extracts or toppings, as they easily adapt to suit your tastes.
Crowd-Pleasing Delight: Perfect for parties, these bites are sure to impress guests, just like my Strawberry Crunch Cheesecake!
Get ready to enjoy a creamy delight that’ll leave everyone wanting more!
No-Bake Pink Velvet Cheesecake Bites Ingredients
For the Cheesecake Mixture
- Cream Cheese – Adds creaminess and richness; choose low-fat for a lighter dessert.
- Granulated Sugar – Provides sweetness and balances flavors; using powdered sugar yields a smoother texture.
- Vanilla Extract – Enhances flavor with a warm aroma; opt for pure vanilla for the best results.
- Heavy Whipping Cream – Contributes lightness and a fluffy texture; replace with coconut cream for a dairy-free treat.
- Pink Food Coloring – Gives the cheesecake its vibrant appearance; adjust the amount for desired color intensity.
For the Crust
- Graham Cracker Crumbs – Forms the base for flavor and structure; swap with gluten-free crumbs if necessary.
These ingredients combine to create irresistible No-Bake Pink Velvet Cheesecake Bites that are both easy to make and perfect for any occasion!
Step‑by‑Step Instructions for No-Bake Pink Velvet Cheesecake Bites
Step 1: Prepare the Base
In a large mixing bowl, use a hand mixer to beat 8 ounces of room-temperature cream cheese and 1/3 cup of granulated sugar at medium speed until it becomes smooth and creamy, about 2-3 minutes. Look for a velvety consistency that doesn’t show any lumps. This is the luscious foundation for your No-Bake Pink Velvet Cheesecake Bites.
Step 2: Add Flavor
Next, add 1 teaspoon of pure vanilla extract and a few drops of pink food coloring to the cream cheese mixture. Mix on low speed for another minute until both ingredients are fully incorporated, creating a uniformly bright pink mixture. The delightful aroma of vanilla should fill the air as you blend this vibrant filling that will elevate your cheesecake bites.
Step 3: Whip Cream
In a separate chilled mixing bowl, pour in 1 cup of heavy whipping cream and whip using an electric mixer on high speed until stiff peaks form, typically taking around 4-5 minutes. Be careful not to over-whip; you’ll want fluffy cream that holds its shape. This whipped cream will add a light, airy texture to the cheesecake mixture, balancing its richness.
Step 4: Fold Mixtures
Gently fold the whipped cream into the cream cheese mixture using a rubber spatula. Start by adding one-third of the whipped cream to lighten the mixture, then fold in the remaining whipped cream until no streaks are visible. This delicate folding process ensures that your No-Bake Pink Velvet Cheesecake Bites will be wonderfully fluffy and smooth.
Step 5: Form Bites
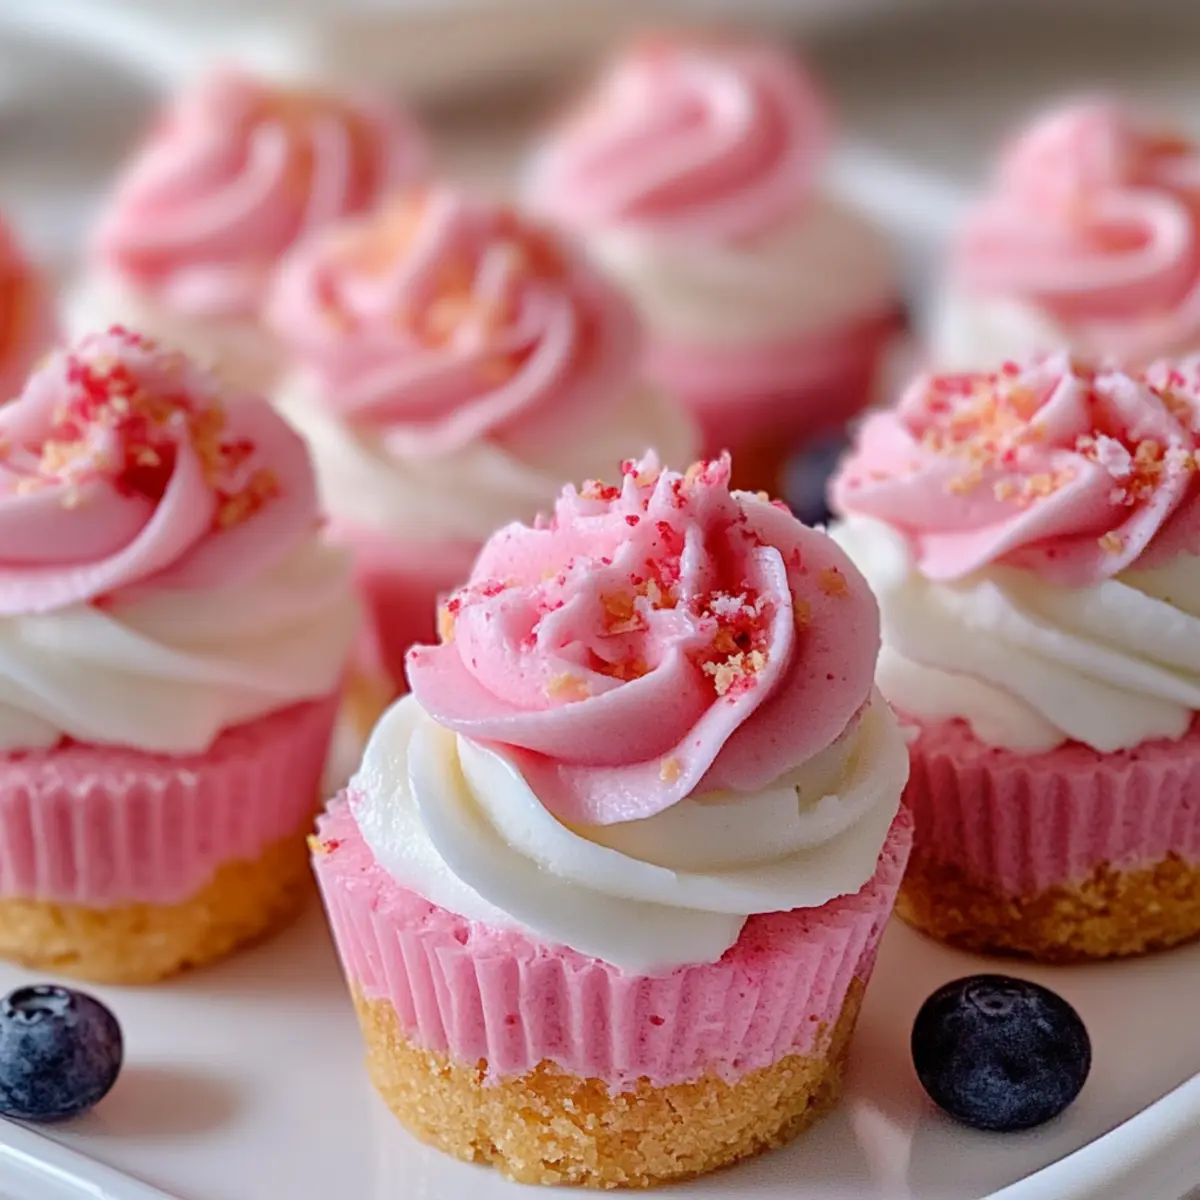
Spoon the cheesecake mixture into mini cupcake liners placed in a muffin tin, filling each one about three-quarters full. You may use a small cookie scoop or a piping bag for fun presentation! Each portion should be perfectly rounded for a delightful bite-sized treat that looks as beautiful as it tastes.
Step 6: Chill
Place the muffin tin in the refrigerator and let the bites chill for at least 4 hours, or until they are set firmly. This chilling time allows the flavors to meld and the texture to firm up, creating that delightful cheesecake bite you’re craving. Keep an eye on the clock, as this step is crucial for the best results!

Storage Tips for No-Bake Pink Velvet Cheesecake Bites
Fridge: Store these creamy No-Bake Pink Velvet Cheesecake Bites in an airtight container for up to one week to keep them fresh and delicious.
Freezer: For longer storage, you can freeze the cheesecake bites. Place them in a freezer-safe container, and they’ll last for up to 2 months.
Thawing: When you’re ready to enjoy, simply thaw the bites in the fridge overnight before serving for the best texture.
Serving Cold: These bites are best served chilled, so keep them refrigerated until it’s time to dig in or serve at gatherings!
Make Ahead Options
These No-Bake Pink Velvet Cheesecake Bites are perfect for meal prep, saving you time during busy weeks! You can create the cheesecake mixture and portion it into mini cupcake liners up to 24 hours in advance; simply store them in the refrigerator to maintain their freshness. If you want, feel free to whip the cream and fold it in just before serving to retain lightness and fluffiness. For maximum quality, cover the bites with plastic wrap to prevent any absorption of odors. When ready to enjoy, simply chill them for a few hours to serve cool. Enjoy the ease of preparation while still impressing your family and friends with a delightful treat!
No-Bake Pink Velvet Cheesecake Bites: Sweet Customizations
Feel free to get creative with these No-Bake Pink Velvet Cheesecake Bites, adding your personal touch for even more delectable flavors!
-
Vegan Cream Cheese: Substitute regular cream cheese for vegan cream cheese to create a delicious dairy-free treat. Enjoy the same creamy texture with a plant-based twist!
-
Berry Infusion: Add crushed strawberries or raspberries to the cheesecake mix for a pop of fruitiness. This not only enhances the flavor but also adds a beautiful berry hue.
-
Almond Extract: Swap vanilla extract for almond extract for a unique, nutty flavor that complements the creaminess perfectly. It’s a delightful way to introduce new taste dimensions!
-
Nutty Crunch: Mix in finely chopped nuts or chocolate chips for a delightful crunch that contrasts wonderfully with the creamy bites. This adds a delightful texture variance to each mouthful.
-
Chili Spice: For a surprising heat, sprinkle in a touch of cayenne pepper or chili powder to the cheesecake mixture. This spicy kick can elevate the sweetness and add an unexpected zing.
-
Different Colors: Adjust the food coloring to create a rainbow of cheesecake bites that’ll steal the show at any gathering. Your kids will love choosing their favorite colors!
-
Chocolate Drizzle: Add a drizzle of melted dark or white chocolate on top of the bites for a touch of elegance and a rich flavor boost. It adds eye-catching decoration and extra indulgence!
-
Lemon Zest: Introduce fresh lemon zest into the cheesecake mixture for a zesty, refreshing twist. The citrus notes will brighten the flavors and leave a delightful aftertaste.
Feel inspired by these variations that can help transform your cheesecake bites into a show-stopping dessert! Don’t forget to try these alongside my indulgent Butter Steak Bites or a refreshing Blueberry Chia Seed Pie for complete party vibes!
Expert Tips for No-Bake Pink Velvet Cheesecake Bites
• Room Temperature Cream Cheese: Make sure your cream cheese is at room temperature for easier blending, which creates a smoother filling.
• Gentle Folding: Use a rubber spatula and gently fold the whipped cream into the cheesecake mixture to maintain airiness and achieve that light texture.
• Watch the Whipping: Be cautious not to over-whip the cream; doing so can lead to curdling, which affects the fluffiness of your No-Bake Pink Velvet Cheesecake Bites.
• Chill Time Matters: Allow the bites to chill properly for at least 4 hours—this helps them set nicely and enhances the flavors.
• Customizable Colors: Feel free to adjust the amount of pink food coloring based on how vibrant you want your cheesecake bites; this makes for a stunning presentation!
What to Serve with No-Bake Pink Velvet Cheesecake Bites
Imagine a delightful spread that complements the creamy decadence of these cheesecake bites, transforming your dessert experience into something truly special.
- Fresh Berries: The tartness of strawberries or raspberries offers a refreshing contrast, balancing the sweetness of the bites perfectly. Pairing them will create a colorful and inviting dish.
- Chocolate Sauce: Drizzle rich, melted chocolate for an indulgent touch that enhances the bites’ flavor, adding a layer of excitement with each taste.
- Whipped Cream: A dollop of freshly whipped cream enhances the bites’ fluffy texture, making each morsel even more luxurious and inviting.
- Mint Leaves: Garnishing with fresh mint imparts a bright, aromatic twist that elevates the presentation and taste, perfect for a festive occasion.
- Coconut Macaroons: The chewy texture of coconut macaroons brings a delightful crunch and tropical flair, creating a delightful contrast to the creamy cheesecake.
- Coffee or Espresso: Serve alongside a cup of coffee for a sophisticated finish that balances the dessert’s sweetness and brings warmth to your gathering.
- Sparkling Water: For a refreshing non-alcoholic beverage, sip on sparkling water with a splash of lime or lemon, adding a light touch that enhances the experience.
- Mini Fruit Skewers: Assemble colorful fruit skewers to serve alongside the bites. The bursts of flavor from fresh fruit will brighten the table and add a fun element!
No-Bake Pink Velvet Cheesecake Bites Recipe FAQs
How do I choose the right cream cheese?
Opt for a full-fat cream cheese for the richest flavor, but low-fat versions work well too. Ensure it’s at room temperature for easier blending; if it’s cold, it’ll be lumpy rather than creamy!
How should I store No-Bake Pink Velvet Cheesecake Bites?
Store your cheesecake bites in an airtight container in the refrigerator for up to one week. They’ll maintain their delightful creaminess and flavor this way. Be sure to layer them gently to avoid any crushing or sticking together!
Can I freeze the No-Bake Pink Velvet Cheesecake Bites?
Absolutely! You can freeze these bites for up to 3 months. Place them in a single layer on a baking sheet until solid, then transfer to a freezer-safe container. This prevents them from sticking. When you’re ready to enjoy them, thaw in the fridge overnight for the best texture.
What if my whipped cream isn’t forming stiff peaks?
If your whipped cream isn’t forming stiff peaks, it may be that the cream is too warm or has been over-whipped. Make sure you’re using very cold heavy cream, and whip at high speed until peaks form, typically around 4-5 minutes. If it curdles, you can start over with new cream!
Are these No-Bake Pink Velvet Cheesecake Bites suitable for people with allergies?
These bites contain dairy and gluten from the cream cheese and graham cracker crumbs, respectively. However, you can easily adjust these ingredients to cater to dairy-free diets by using vegan cream cheese and gluten-free graham cracker crumbs. Always check ingredient labels for specific allergies!
No-Bake Pink Velvet Cheesecake Bites: A Sweet Indulgence
Ingredients
Equipment
Method
- In a large mixing bowl, use a hand mixer to beat 8 ounces of cream cheese and 1/3 cup of granulated sugar until smooth and creamy, about 2-3 minutes.
- Add 1 teaspoon of vanilla extract and a few drops of pink food coloring to the mixture and mix on low for another minute until fully incorporated.
- In a separate bowl, whip 1 cup of heavy whipping cream on high speed until stiff peaks form, about 4-5 minutes.
- Gently fold the whipped cream into the cream cheese mixture until no streaks remain.
- Spoon the mixture into mini cupcake liners placed in a muffin tin, filling each 3/4 full.
- Chill in the refrigerator for at least 4 hours until set.
Leave a Reply