
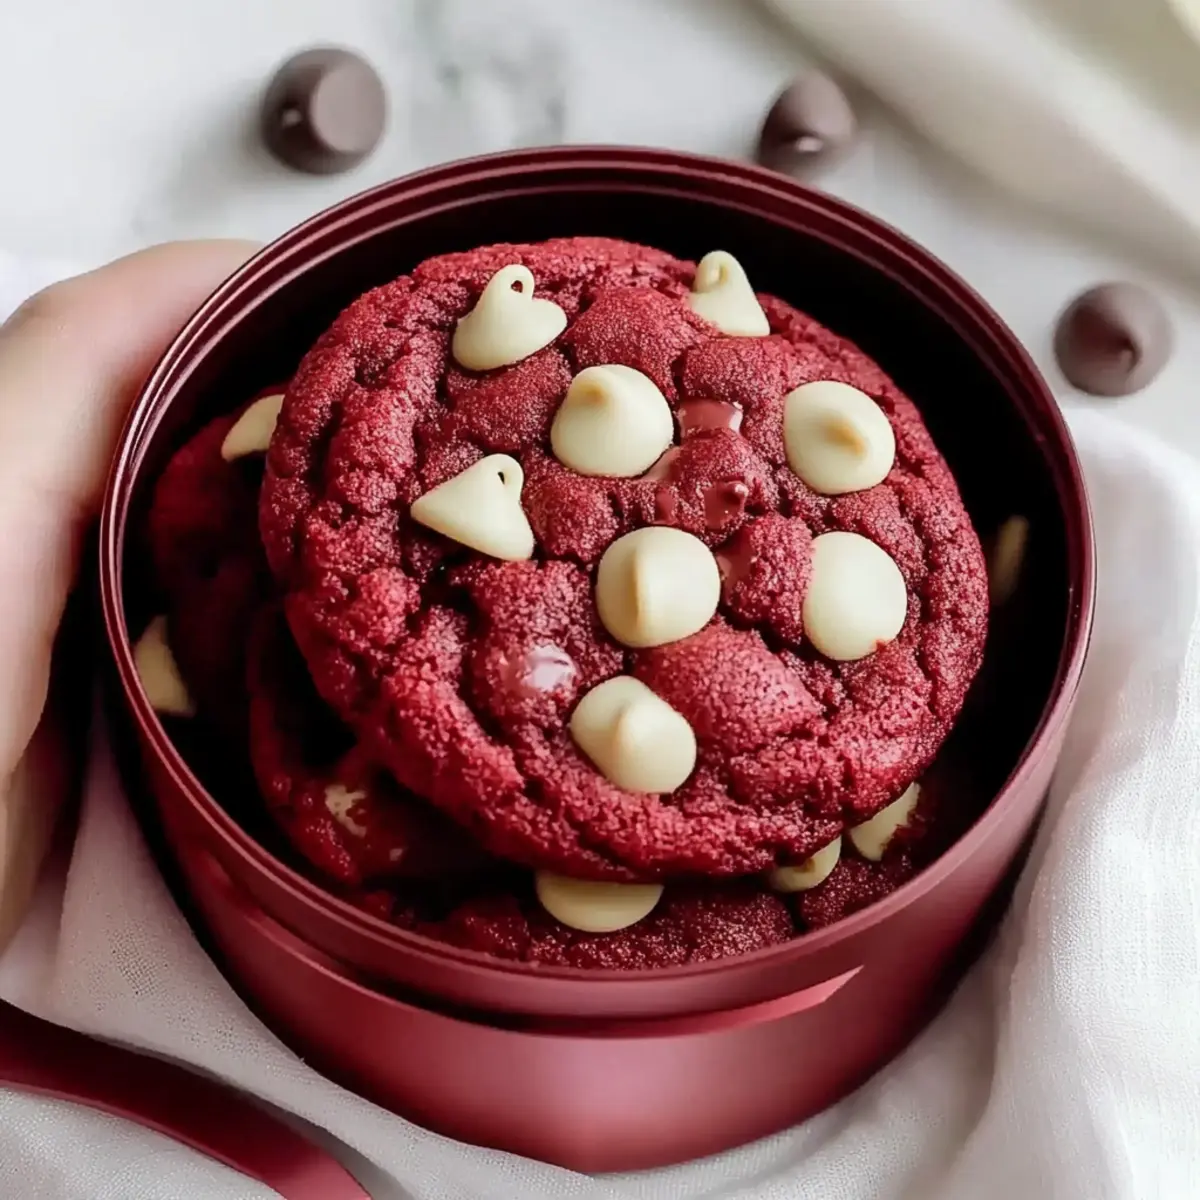
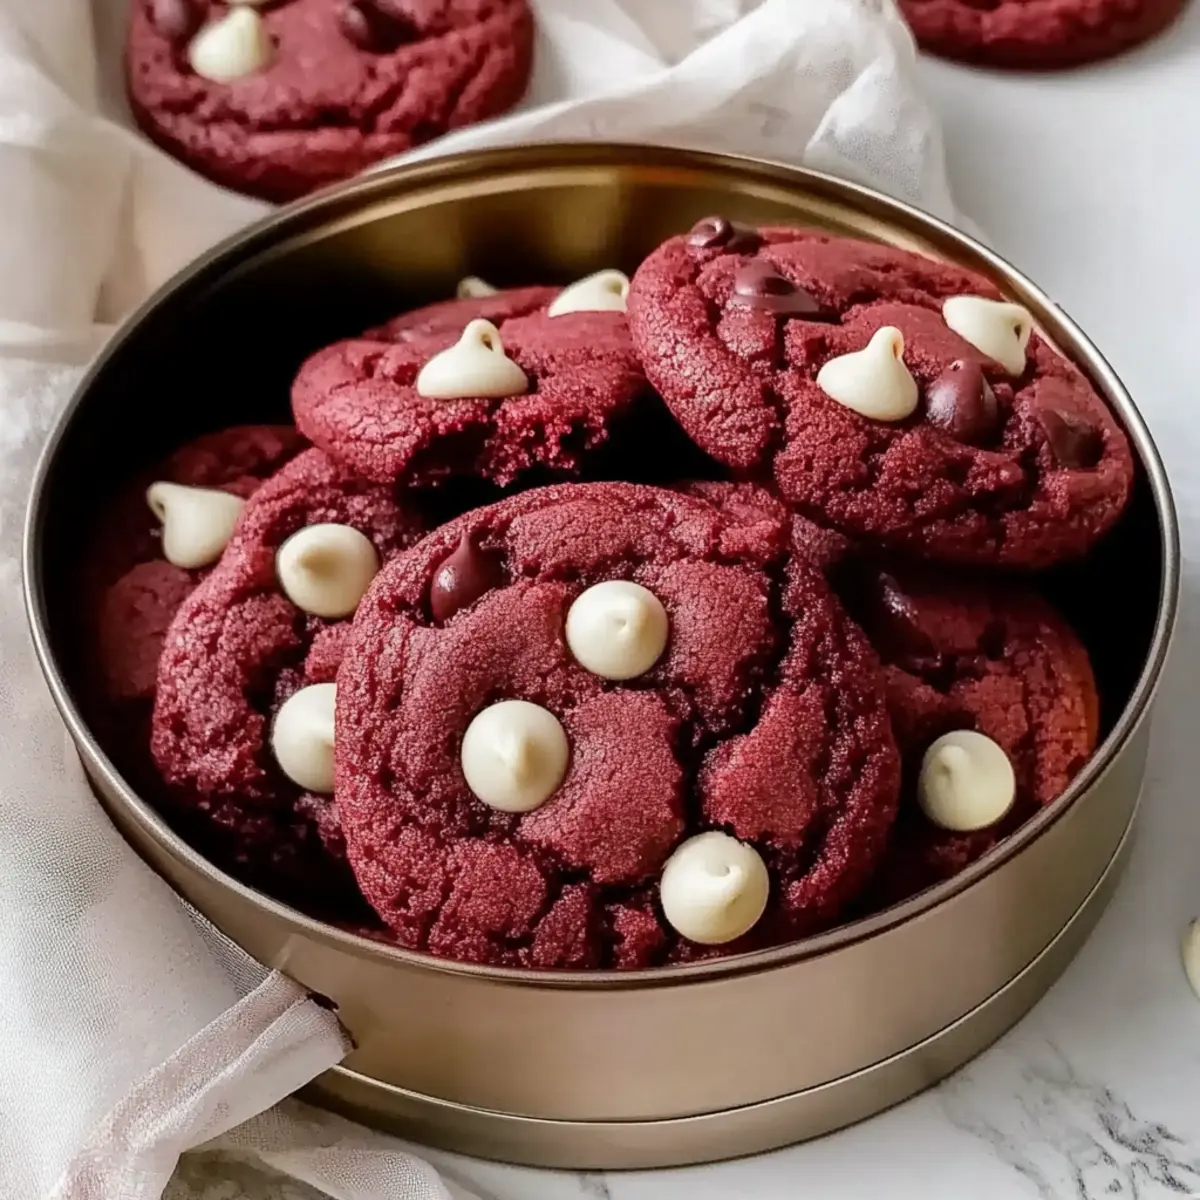
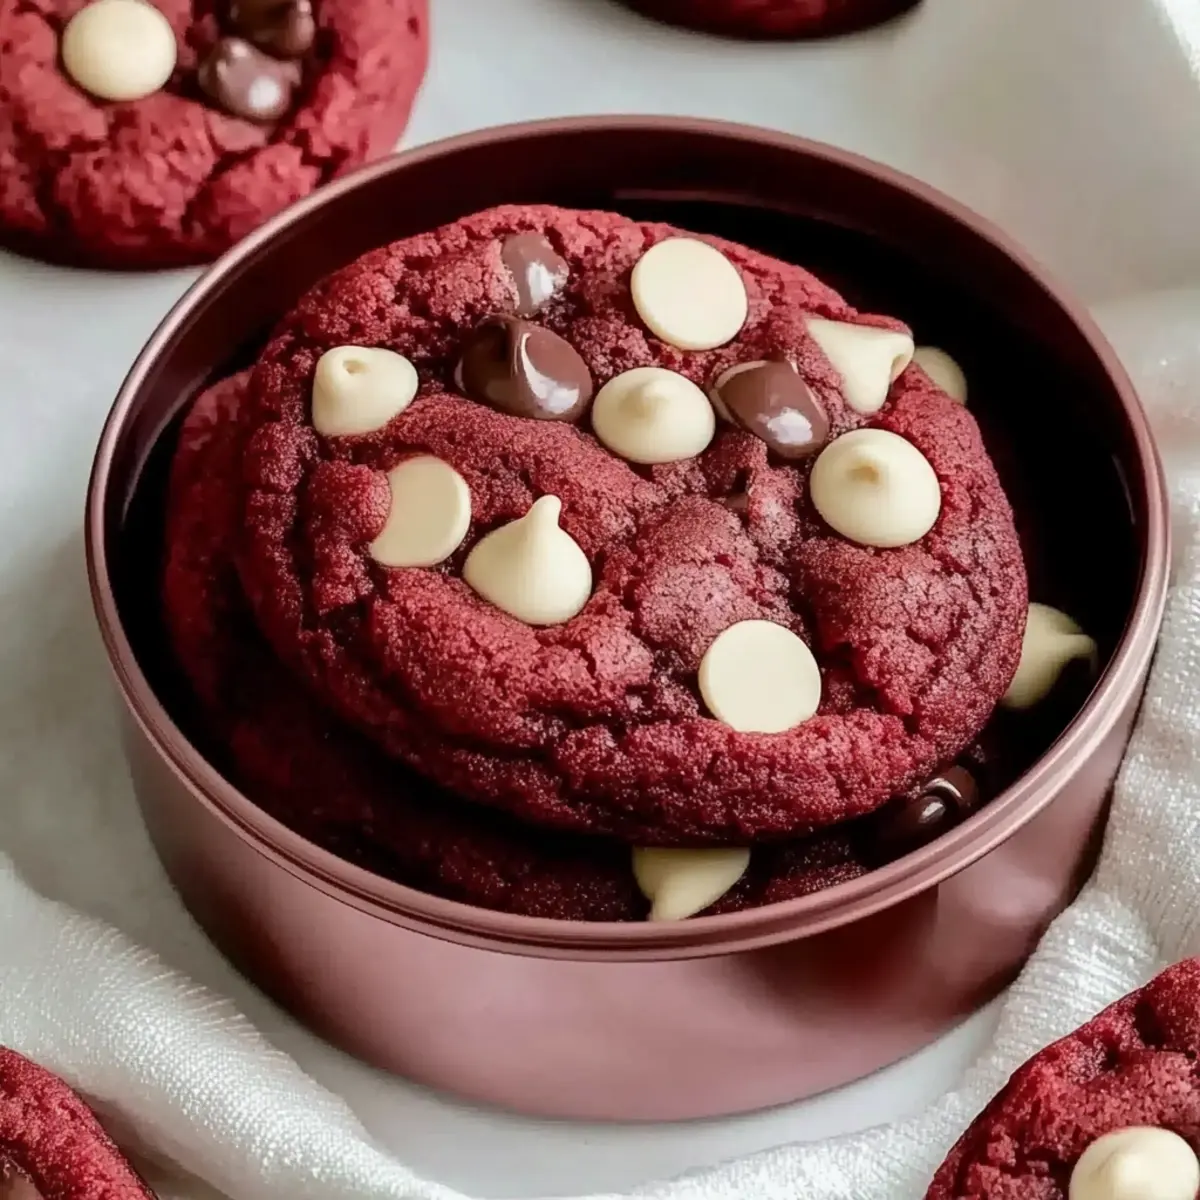
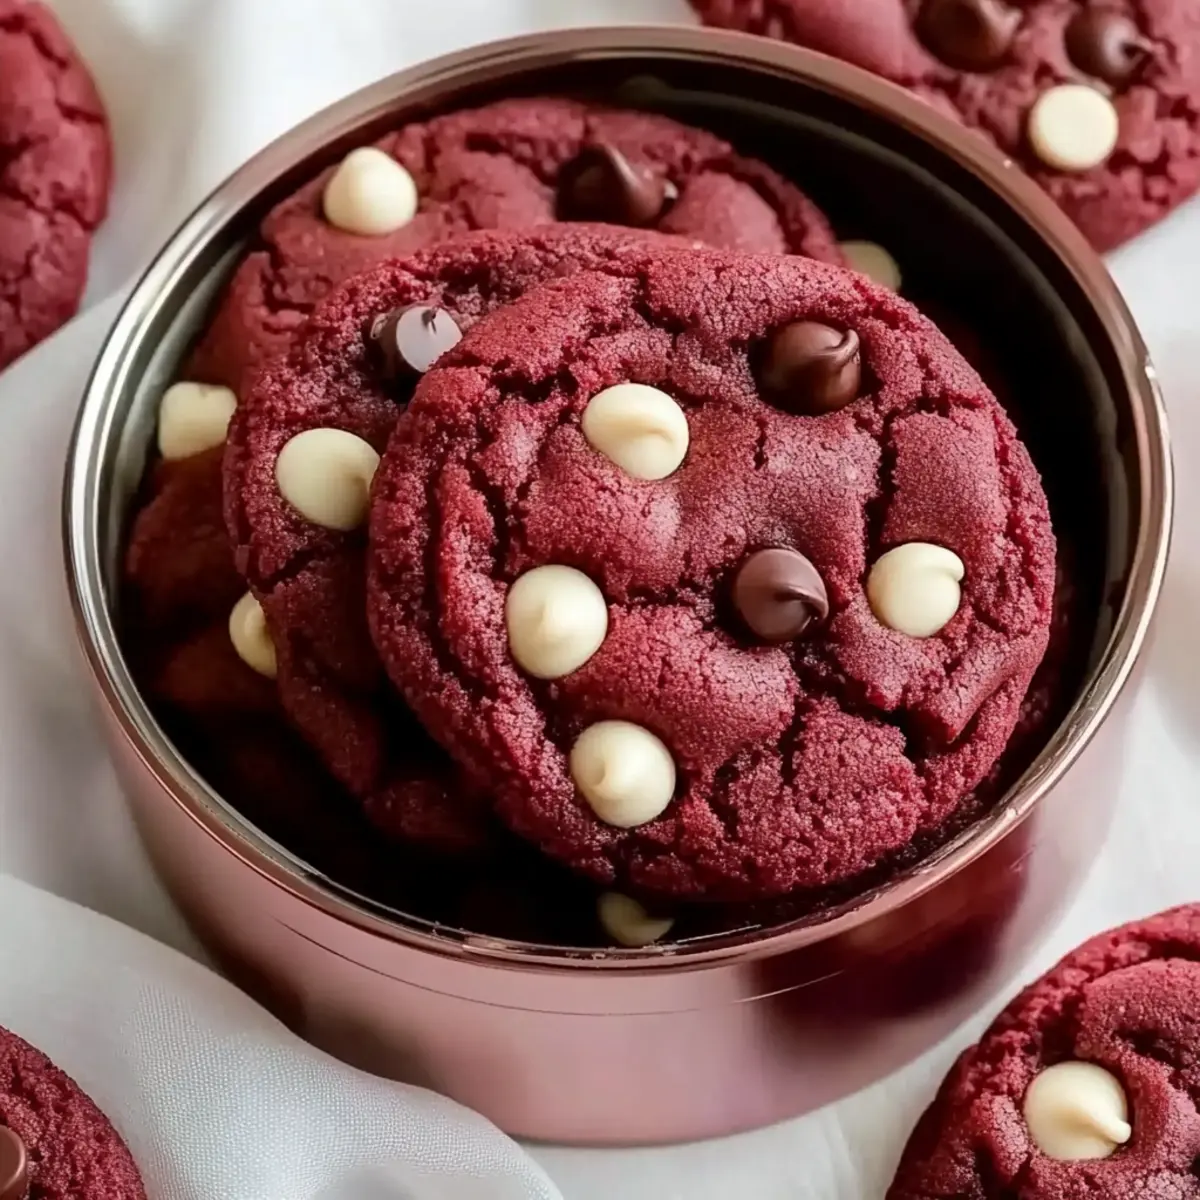
As I rummaged through my pantry, I stumbled upon a vibrant jar of red food coloring, instantly sparking my curiosity. This led me to one of my all-time favorite desserts: Chewy Red Velvet Cookies. They offer the perfect combination of rich cocoa, a hint of espresso, and ooey-gooey chocolate chips, creating a delicious depth of flavor that’s simply irresistible. Not only are these soft and chewy cookies visually stunning, but they’re also a true crowd-pleaser. Whether you’re whipping them up for a cozy family gathering or a festive celebration, they promise to bring a burst of joy to any occasion. Ready to embark on a baking adventure that will leave your kitchen smelling heavenly? Let’s dive into the magic of creating these timeless treats!
Why are Chewy Red Velvet Cookies a Must-Try?
Irresistible Taste: The rich cocoa and espresso blend creates a deep, indulgent flavor that charms your palate.
Visually Stunning: Their vibrant red hue is sure to draw attention, making them perfect for any occasion, from holiday parties to casual celebrations.
Simple Preparation: With easy-to-follow steps, you won’t need to be a master baker to whip up these delightful treats.
Crowd-Pleasing Appeal: Whether it’s cookie lovers or chocolate aficionados, these soft and chewy cookies will win hearts.
Versatile Variations: Feel free to customize with nuts or flavored chocolate chips for your unique twist; the sky’s the limit!
If you love cookies, don’t forget to check out my French Toast Cookies for another delicious treat!
Chewy Red Velvet Cookie Ingredients
For the Dough
• All-Purpose Flour – Provides structure; opt for King Arthur for the best results.
• Cocoa Powder – Adds that beloved chocolate flavor; choose natural for a tangy note or Dutch-process for a richer taste.
• Baking Soda – Acts as a leavening agent, helping cookies rise beautifully.
• Salt – Enhances and balances flavor, making the cookie’s sweetness pop.
• Espresso Powder – Deepens the cocoa notes without a bold coffee flavor; it’s a secret weapon!
• Butter (softened) – Infuses richness and moisture; bring to room temperature for optimal mixing.
• Brown Sugar – Contributes to the cookie’s chewiness; light or dark will work.
• Granulated Sugar – Adds sweetness and a slight crunch to the edges.
• Egg – Binds the ingredients together while adding moisture for a soft bite.
• Milk – Ensures the dough stays moist, enhancing the chewy texture of the cookies.
• Vanilla Extract – Elevates flavor; I recommend Nielsen-Massey for an exquisite taste.
• Red Food Coloring – Gives those signature Chewy Red Velvet Cookies their eye-catching hue.
• Chocolate Chips (semi-sweet) – Introduces pockets of sweetness; for extra decadence, Ghirardelli is a fantastic choice.
Feel inspired to bake up a batch of these delicious chewy red velvet cookies? The delightful combination of flavors and textures is sure to brighten your day!
Step‑by‑Step Instructions for Chewy Red Velvet Cookies
Step 1: Prep Dry Ingredients
Start by sifting together 2 ½ cups of all-purpose flour, ¼ cup of cocoa powder, 1 teaspoon of baking soda, ½ teaspoon of salt, and 1 teaspoon of espresso powder in a medium bowl. This will help to incorporate air and ensure a smooth mixture. Set the dry ingredients aside to allow for easy blending later when making your Chewy Red Velvet Cookies.
Step 2: Cream Butter and Sugars
In a large mixing bowl, beat together ½ cup of softened butter, ¾ cup of brown sugar, and ½ cup of granulated sugar with an electric mixer on medium speed for about 3 minutes. The mixture should become light and fluffy, indicating that air has been incorporated. Remember to scrape down the sides of the bowl occasionally for even mixing.
Step 3: Incorporate Eggs and Flavoring
Add 1 large egg and 1 teaspoon of vanilla extract to the creamy mixture. Continue beating for an additional minute until everything is well combined and fluffy. This step is crucial for adding structure and flavor to your Chewy Red Velvet Cookies, so ensure the egg is fully integrated before proceeding.
Step 4: Blend in Milk and Color
Pour in 2 tablespoons of milk and add 1 tablespoon of red food coloring to the wet mixture. Stir gently to combine, making sure the color is evenly distributed throughout the batter. Then, gradually mix in the previously set aside dry ingredients until just combined to maintain the soft chewy texture of the cookies.
Step 5: Add Chocolate Chips
Fold in 1 cup of semi-sweet chocolate chips using a spatula until they are evenly distributed throughout the dough. Avoid overmixing at this stage, as it can affect the final texture. The combination of chocolate and the vibrant red color will make your Chewy Red Velvet Cookies irresistible!
Step 6: Chill Dough
Cover the cookie dough with plastic wrap and refrigerate it for 1 to 2 hours. Chilling the dough is essential to help prevent the cookies from spreading too much while baking. This will ensure that your Chewy Red Velvet Cookies come out thick and chewy.
Step 7: Bake Cookies
Preheat your oven to 350°F (175°C) while the dough is chilling. Once ready, roll the chilled dough into balls and place them on lined baking sheets, spaced about 3 inches apart. Bake for 11 to 13 minutes, just until the edges are set but the centers look slightly underbaked for that chewy texture.
Step 8: Cool Cookies
Allow the freshly baked Chewy Red Velvet Cookies to rest on the baking sheet for about 5 minutes. This resting period helps them firm up before transferring to a wire rack for complete cooling. Enjoy the delightful aroma that fills your kitchen during this process!
Helpful Tricks for Chewy Red Velvet Cookies
Chill the Dough: Always refrigerate the dough for 1-2 hours to prevent flat cookies; warm dough spreads more during baking.
Avoid Overbaking: To keep them soft, take the cookies out when they look slightly underbaked; they will continue to cook on the baking sheet.
Generous Spacing: Place dough balls at least 3 inches apart on the baking sheet to prevent merging during baking; this ensures each cookie stands alone.
Use Quality Ingredients: Opt for high-quality cocoa powder and vanilla extract, such as Nielsen-Massey, to enhance the flavor of your chewy red velvet cookies.
Check Doneness: Keep an eye on baking time; the cookies should have slightly crisp edges while maintaining a chewy center for the best texture.
Make Ahead Options
These Chewy Red Velvet Cookies are perfect for busy home cooks looking to streamline their baking routine! You can prep the dough up to 24 hours in advance by mixing and chilling as per the recipe instructions. Simply cover the cookie dough tightly in plastic wrap and refrigerate it; this helps the flavors meld together while maintaining a perfect consistency. When you’re ready to bake, roll the chilled dough into balls, place them on lined baking sheets, and pop them into a preheated oven for 11 to 13 minutes. By preparing ahead, you can enjoy soft, chewy cookies without the last-minute rush, bringing joy to your baking experience!
Chewy Red Velvet Cookies Variations
Feel free to let your creativity shine as you customize these cookies with delightful twists that elevate their flavor and texture!
-
Dairy-Free: Substitute the butter with coconut oil and use almond milk to keep the sweetness while accommodating dietary needs.
Embrace the lush texture that coconut oil provides, giving your cookies a tropical flair. -
Nutty Crunch: Fold in ½ cup of chopped walnuts or pecans for an extra layer of texture and richness.
The crunch of these nuts complements the softness of the cookies beautifully, creating a delightful contrast in each bite. -
White Chocolate Twist: Replace semi-sweet chocolate chips with white chocolate chips for a sweeter touch.
White chocolate’s creamy sweetness adds a wonderful richness that balances the cocoa flavor, creating a beautifully decadent treat. -
Spicy Surprise: Add ½ teaspoon of cinnamon or a pinch of cayenne pepper to the dry ingredients for a spicy kick.
Baking enthusiasts will appreciate the warmth of cinnamon, which enhances the overall flavor profile and adds a delightful depth. -
Peanut Butter Swirl: Make a simple peanut butter swirl by topping the cookies with a dollop of peanut butter before baking.
The melty peanut butter creates a match made in heaven, pairing deliciously with the red velvet base. -
Minty Fresh: Incorporate ½ teaspoon of peppermint extract into the dough for a refreshing minty taste.
This twist adds an uplifting freshness, perfect for those who enjoy a bit of mint with their desserts. -
Chocolate Lovers: Use chocolate chunks instead of chips for an even richer chocolate experience.
The larger chunks melt beautifully, enhancing the overall indulgence of your chewy red velvet cookies. -
Seasonal Themes: For festive occasions, add festive sprinkles or colored sugar on top before baking.
This cheerful touch makes the cookies not just a treat but a celebration, perfect for holidays or gatherings.
These variations can add an exciting flair to your classic red velvet cookies, ensuring there’s something for everyone! And for more cookie inspirations, be sure to check out my Chocolate Chip Cookies or give my Creme Brulee Cookies a try!
Storage Tips for Chewy Red Velvet Cookies
Room Temperature: Store cookies in an airtight container at room temperature for up to 5 days. To maintain softness, place a slice of bread in the container alongside the cookies.
Fridge: If you need to store them longer, place them in the fridge in an airtight container for up to 7 days. Just let them come to room temperature before enjoying.
Freezer: For extended storage, freeze baked cookies layered between parchment paper in an airtight container or freeze unbaked dough balls to bake fresh cookies whenever you crave them.
Reheating: To revive the chewiness, microwave a cookie for 10-15 seconds. Enjoy your delightful Chewy Red Velvet Cookies anytime!
What to Serve with Classic Soft and Chewy Red Velvet Cookies
Pair these delightful, vibrant cookies with your favorite treats and drinks to create a memorable dessert experience.
- Cold Glass of Milk: Nothing beats a classic! The cool, creamy texture beautifully contrasts the chewy red velvet cookies.
- Vanilla Ice Cream: A scoop of creamy vanilla ice cream complements the rich chocolatey flavors and adds a delightful temperature contrast.
- Chocolate-Covered Strawberries: The fruity freshness balances the sweetness of the cookies, creating a delightful mix of textures.
- Cream Cheese Frosting: Drizzle or dip your cookies in this tangy icing for a luxurious upgrade to their already indulgent flavor.
- Espresso or Coffee: A cup of rich coffee enhances the coffee notes in the cookies, creating a lovely depth of flavor.
- Caramel Sauce: Drizzle warm caramel over the cookies for an added layer of sweetness and a sticky, decadent experience.
- Fruit Salad: Brighten up your dessert plate with a refreshing fruit salad that contrasts the richness of the red velvet.
- Red Wine: For an adult pairing, a fruity red wine can enhance the chocolate flavors, offering a sophisticated twist to dessert.
- Milkshake: Blend vanilla ice cream with milk for a quick, delicious shake that pairs beautifully with the chewy texture of your cookies.
- Chocolate Mousse: Serve alongside a light, airy chocolate mousse for an elegant and indulgent gathering treat.
Chewy Red Velvet Cookies Recipe FAQs
How do I pick the best cocoa powder for my cookies?
Absolutely! When selecting cocoa powder, you have the option of using either natural or Dutch-process cocoa. If you crave a tangy note, reach for natural cocoa, while Dutch-process cocoa will offer a richer flavor. Always check for freshness—an old cocoa powder can dull the flavor of your Chewy Red Velvet Cookies!
What’s the best way to store Chewy Red Velvet Cookies?
Store your delicious cookies in an airtight container at room temperature for up to 5 days. To keep them soft and chewy, try placing a slice of bread in the container alongside the cookies. If you’re keeping them longer, the fridge works well for stored cookies up to 7 days, but allow them to reach room temperature before enjoying again.
Can I freeze Chewy Red Velvet Cookies?
Very! Freezing is a great option to keep your cookies fresh! For baked cookies, layer them between parchment paper and store them in an airtight container for up to 3 months. If you prefer to freeze unbaked dough, roll the dough into balls and flash freeze them on a lined baking sheet before transferring them to a freezer bag. When you’re craving cookies, just bake them directly from the freezer—no thawing necessary!
What should I do if my cookies come out too flat?
If your cookies spread too much during baking, it often means the dough was too warm or not chilled properly. Always remember to refrigerate the dough for 1-2 hours before baking to prevent this issue. Also, make sure you accurately measure your flour and don’t overmix the dough, as this can lead to flat cookies instead of those lovely chewy delights.
Are there any allergy considerations I should be aware of?
Yes! These Chewy Red Velvet Cookies contain common allergens such as gluten (from the all-purpose flour) and dairy (from the butter and milk). If you or your loved ones have allergies, consider using gluten-free flour alternatives or dairy-free butter substitutes. Always double-check labels to ensure safety, especially if sharing with friends or family!
Can I make adjustments to the recipe for dietary preferences?
Absolutely! If you’re looking to customize these cookies, feel free to swap the semi-sweet chocolate chips for dark chocolate or even white chocolate chips for a twist. You could also try adding some chopped nuts for added texture or use a favorite sugar alternative to cater to dietary needs without sacrificing flavor!
Irresistibly Chewy Red Velvet Cookies for Sweet Moments
Ingredients
Equipment
Method
- Sift together the flour, cocoa powder, baking soda, salt, and espresso powder in a medium bowl. Set aside.
- In a large mixing bowl, beat together the butter, brown sugar, and granulated sugar for about 3 minutes until light and fluffy.
- Add the egg and vanilla extract to the mixture, then beat for an additional minute until combined.
- Stir in the milk and red food coloring, then gradually mix in the dry ingredients until just combined.
- Fold in the chocolate chips with a spatula until evenly distributed.
- Cover the dough with plastic wrap and refrigerate for 1 to 2 hours.
- Preheat the oven to 350°F (175°C). Roll the dough into balls and space them 3 inches apart on lined baking sheets. Bake for 11 to 13 minutes.
- Let the cookies rest on the baking sheet for 5 minutes before transferring to a wire rack to cool.
Leave a Reply