
You know those moments when you catch the scent of something baking and it pulls you right back to your childhood? That’s exactly what happened when I whipped up these Biscoff Rice Krispie Treats. With their chewy texture enriched by the warm, spiced flavor of Lotus Biscoff cookies, they beautifully combine nostalgia with a modern twist. This no-bake dessert is not only quick to prepare but also incredibly customizable—you can easily add your favorite mix-ins to make it your own! Perfect for casual afternoon treats or lively gatherings, these delightful bars promise a sweet escape from fast food fatigue. Ready to uncover the magic of this easy, delicious recipe? Let’s dive in!
Why Are Biscoff Rice Krispie Treats So Irresistible?
Chewy Texture: The combination of Rice Krispies and Biscoff spread creates a delightful chew that will have you going back for seconds.
No-Bake Convenience: Who doesn’t love a dessert that requires zero baking? This makes it a must for quick and easy gatherings.
Flavor Fusion: Infused with the warm, spiced notes of Biscoff, these treats elevate a classic favorite to something truly special.
Customizable Creations: Feel free to add chocolate chips or nuts to tailor these treats to your taste!
Crowd-Pleasing Delight: Whether for a party or a cozy movie night, these bars are sure to impress everyone around.
Perfect Pairing: Enjoy them with a cup of coffee or as a dessert alongside Honey Lime Chicken for a balanced meal!
Biscoff Rice Krispie Treats Ingredients
For the Treats
- Rice Krispies – Provides structure and crunch; for gluten-free, use certified gluten-free crisped rice cereal.
- Marshmallows – Adds sweetness and chewiness; use a fresh bag for the best texture.
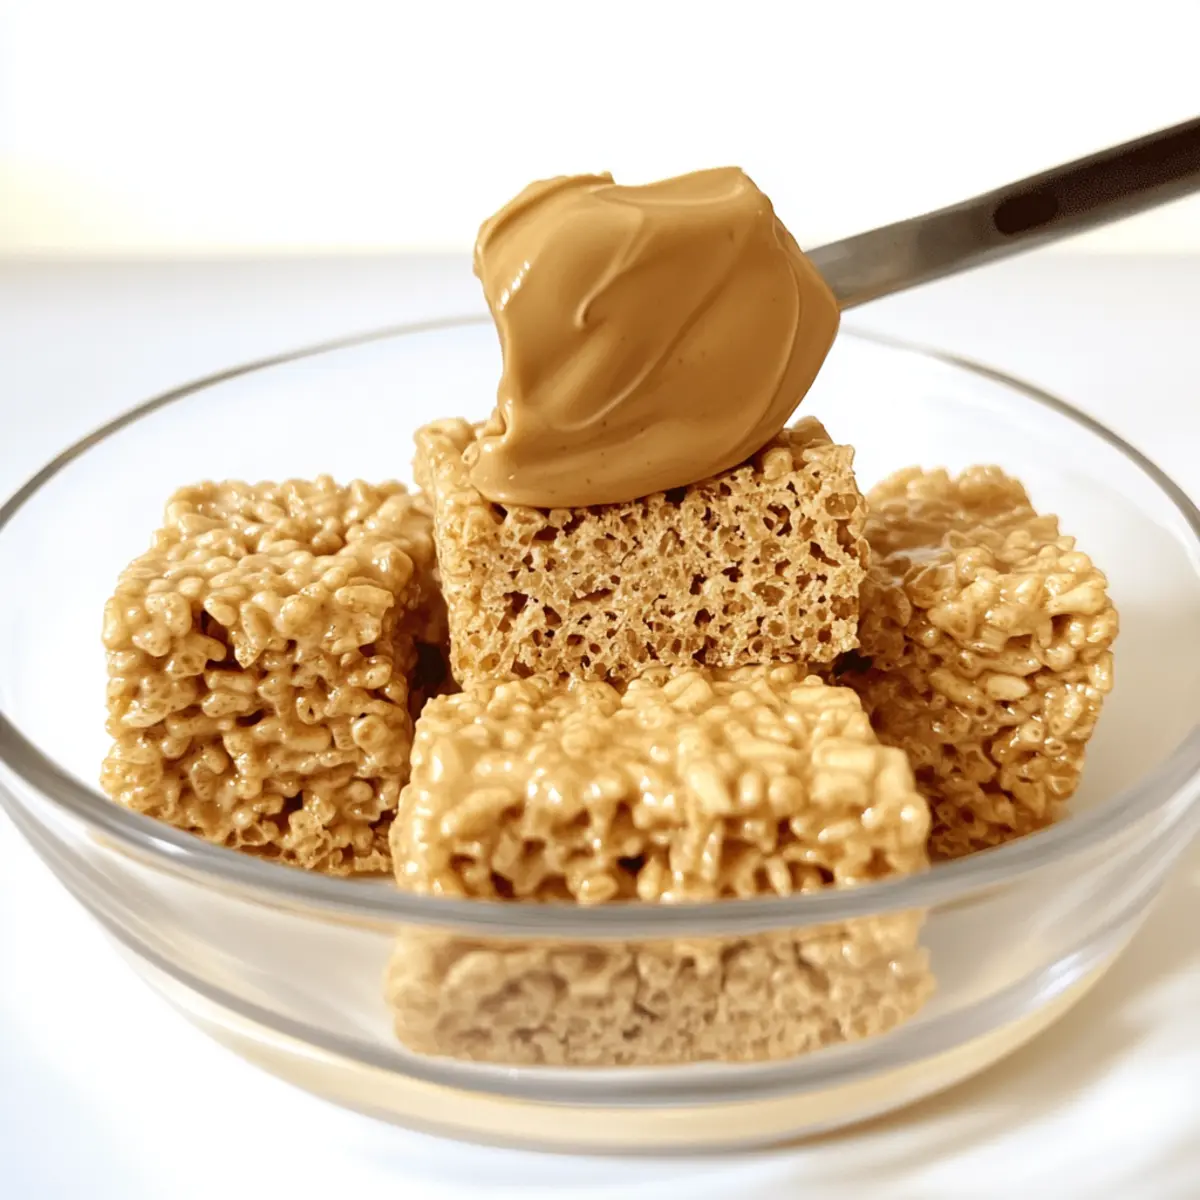
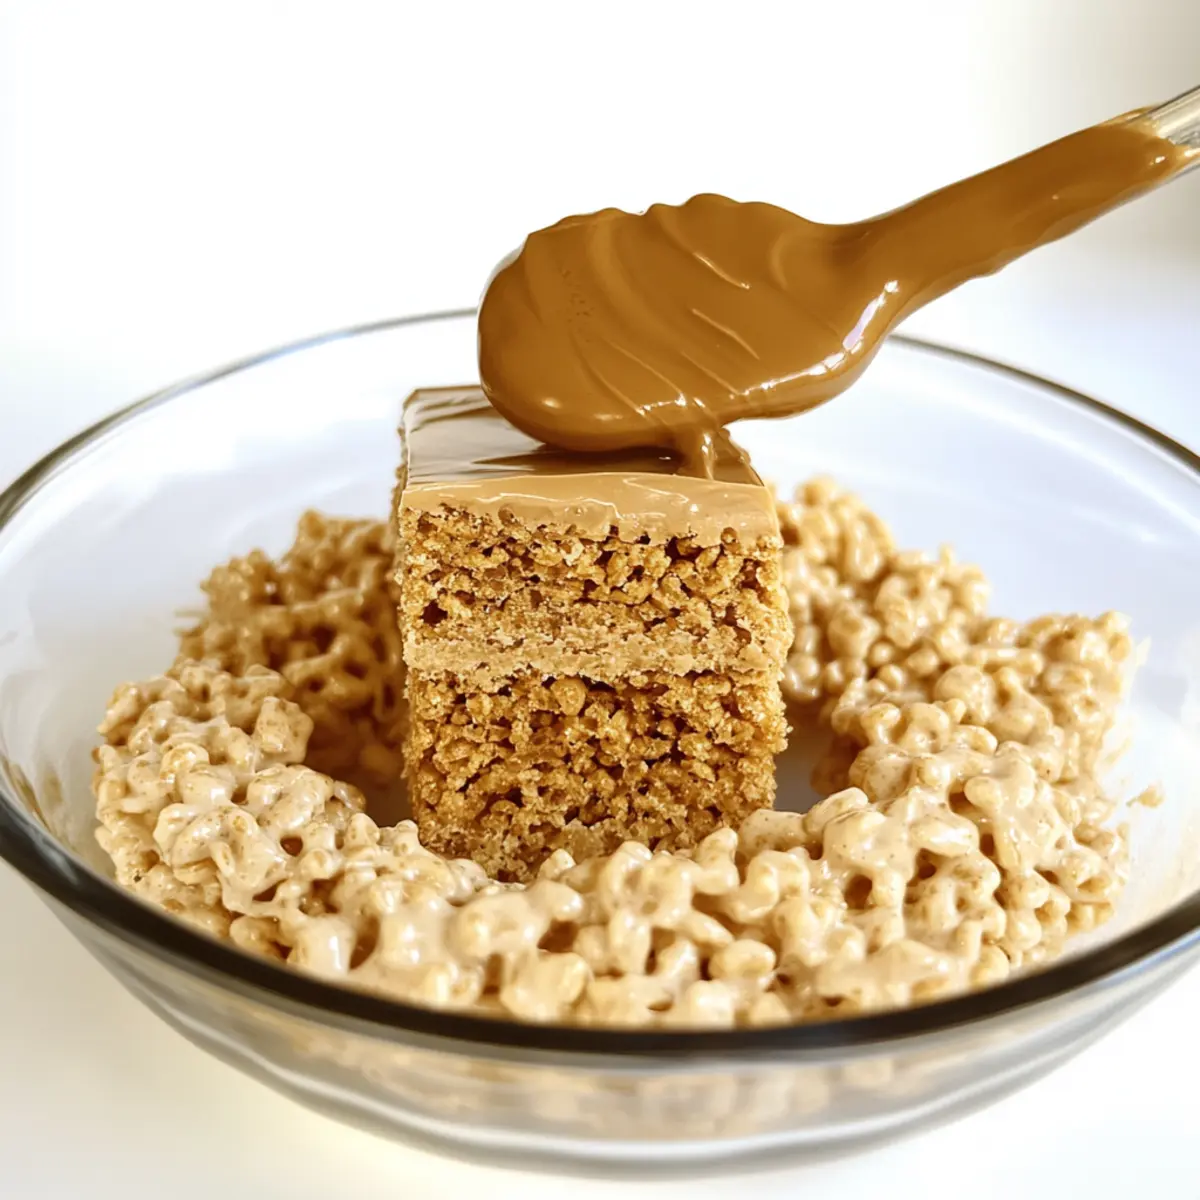
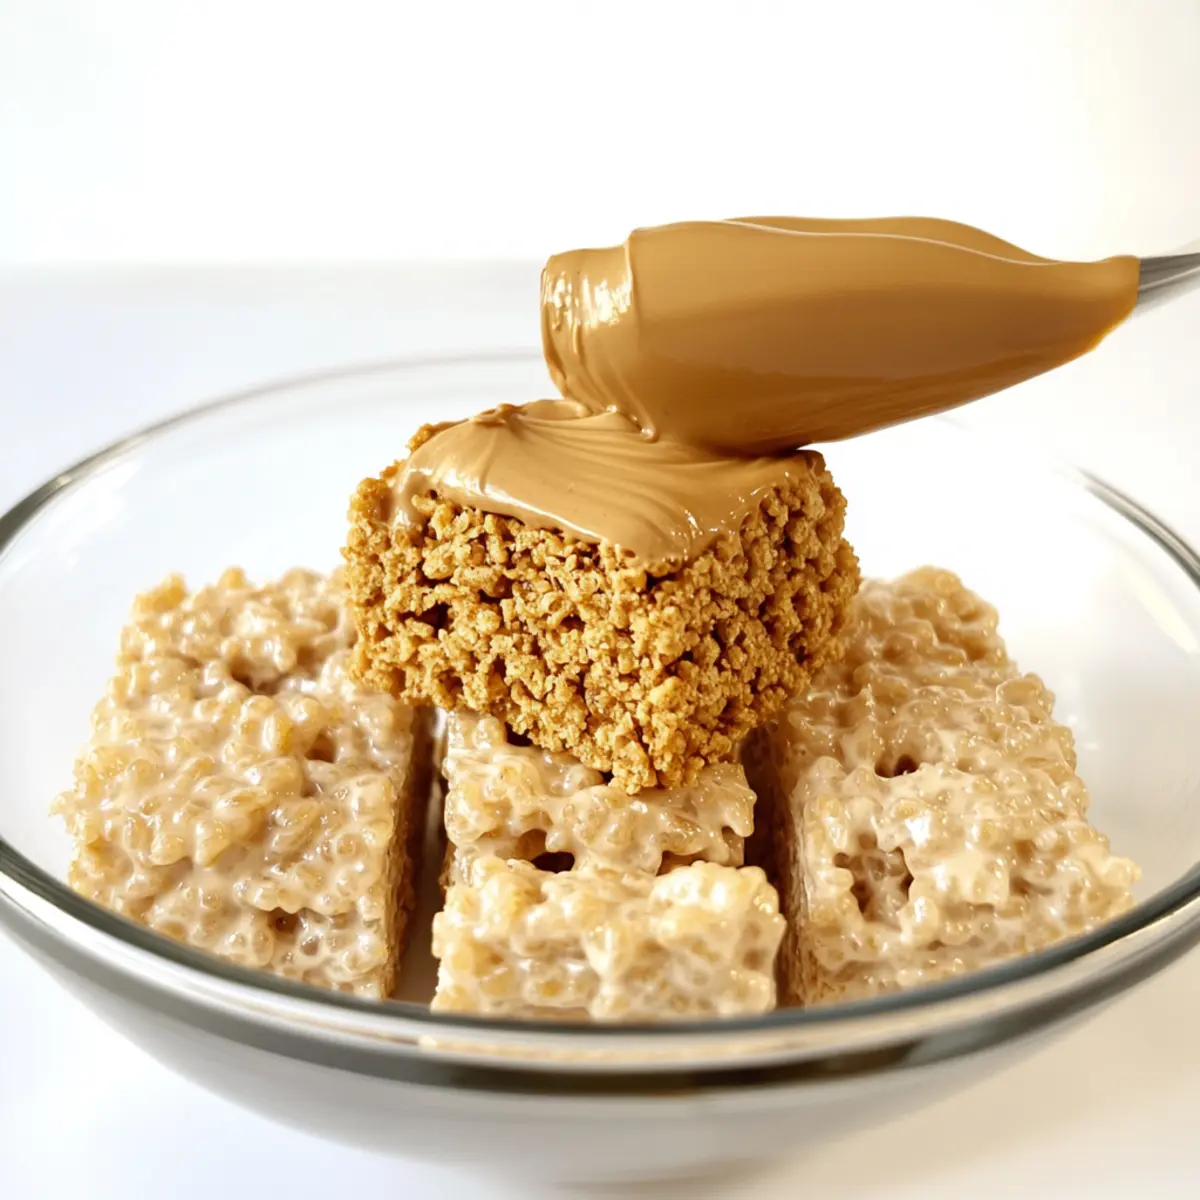
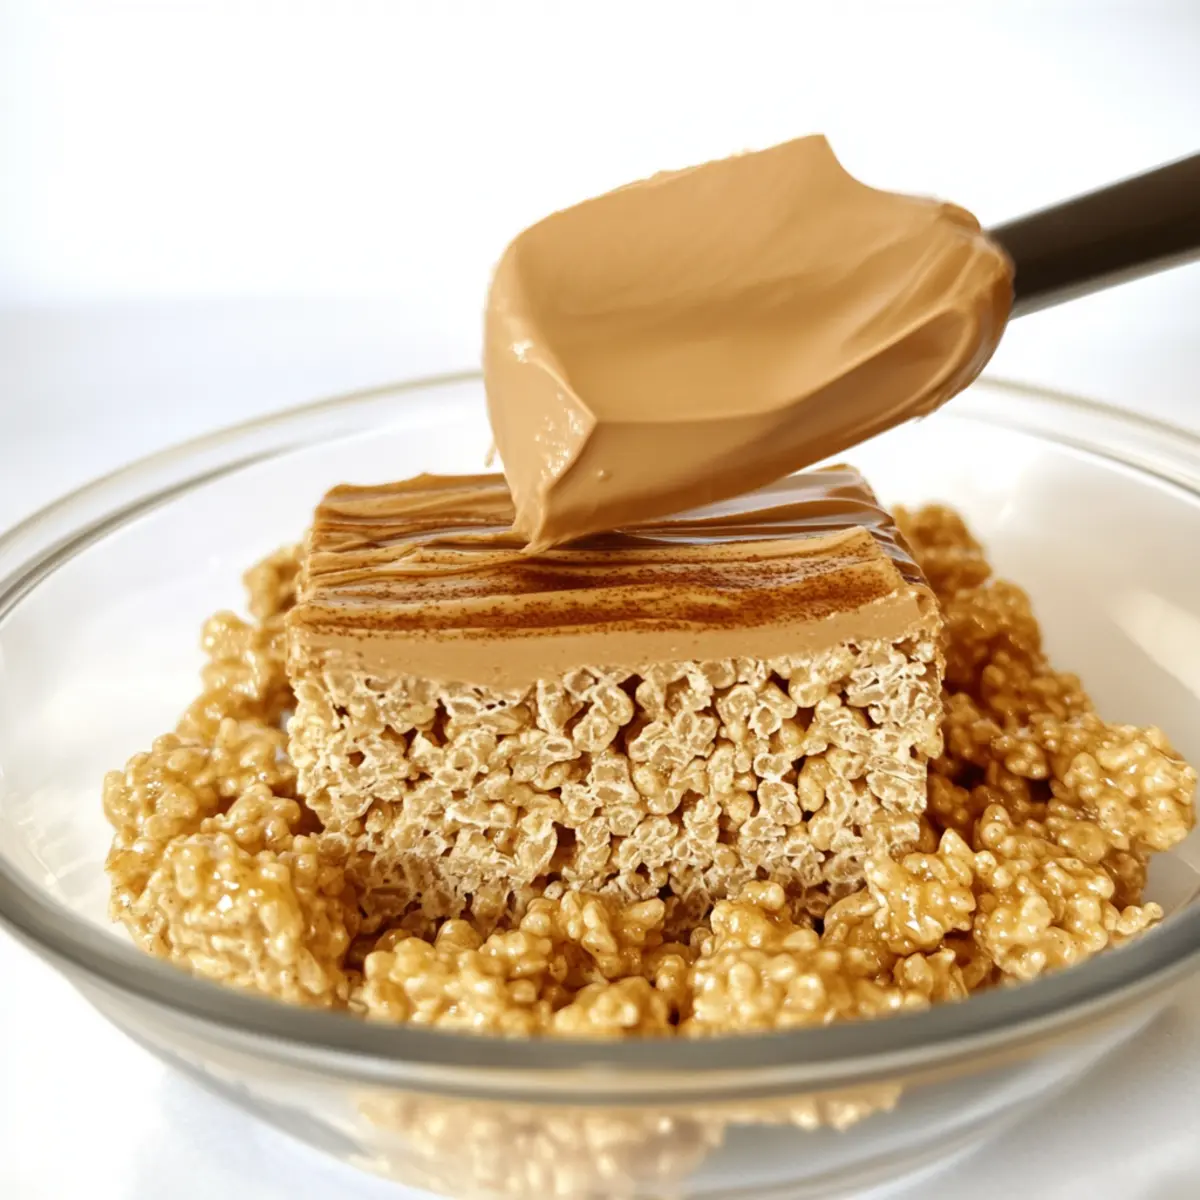
- Lotus Biscoff Spread – Infuses the treats with a rich, spiced flavor; can substitute with crunchy Biscoff for added texture.
- Butter – Merges the ingredients and adds richness; essential for that gooey delight.
- Salt – Cuts the sweetness and enhances flavor balance; don’t skip this!
- Vanilla Extract – Adds warmth and depth, enhancing the spiced notes of Biscoff.
Optional Add-Ins
- Chocolate Chips – A tasty twist that pairs beautifully with the Biscoff flavor.
- Nuts – Add some crunch and extra nutrients to these bars.
With these Biscoff Rice Krispie Treats ingredients, you’re on your way to creating an indulgent dessert that will instantly transport you to sweet, nostalgic moments!
Step‑by‑Step Instructions for Biscoff Rice Krispie Treats
Step 1: Melt Butter and Marshmallows
In a medium saucepan over low heat, melt 4 tablespoons of butter until fully melted and bubbly. Add 10 ounces of marshmallows to the melted butter, stirring continuously for about 3-4 minutes until the marshmallows have completely melted and combined into a smooth mixture. Be careful not to let it brown, as you want that perfect sweet flavor for your Biscoff Rice Krispie Treats.
Step 2: Mix in Biscoff Spread
Remove the saucepan from heat and promptly stir in 1 cup of Lotus Biscoff spread. Mix thoroughly until the Biscoff spread is fully incorporated into the marshmallow blend, creating a luscious and creamy mixture. The aroma will be heavenly—this is a key step in crafting the unique flavor profile of your Biscoff Rice Krispie Treats.
Step 3: Combine with Rice Krispies
Next, gently fold in 6 cups of Rice Krispies cereal into the warm mixture. Use a spatula to coat the cereal evenly without packing it down, ensuring the treats remain chewy and airy. This can take about 2-3 minutes, and the mixture should be well combined yet fluffy, ready for the next step.
Step 4: Transfer and Set
Prepare a 9×13 inch pan by lining it with parchment paper for easy removal. Pour the Biscoff and Rice Krispie mixture into the lined pan, using your hands or a spatula to spread it evenly. Press down gently to flatten it out without compacting. This process should take about 3-5 minutes to ensure an even layer that will hold together beautifully once set.
Step 5: Cool Before Cutting
Allow the Biscoff Rice Krispie Treats to cool at room temperature for about 30 minutes. This will help them set properly, resulting in a perfect chewy texture. As they cool, you can admire the lovely swirl of Biscoff throughout the treats. Once set, you’ll be ready to slice them into squares for serving.
Make Ahead Options
These Biscoff Rice Krispie Treats are perfect for meal prep enthusiasts! You can prepare the base mixture up to 24 hours in advance. Simply follow the initial steps of melting the butter and marshmallows, then mix in the Biscoff spread and Rice Krispies. Transfer this mixture into a lined pan and cover it tightly. When you’re ready to serve, let it sit at room temperature for about 30 minutes to soften slightly, then cut into squares. To maintain that chewy texture, store any leftovers in an airtight container at room temperature for up to 3 days. With this make-ahead tip, you’ll enjoy that delightful, homemade flavor while saving precious time on busy days!
How to Store and Freeze Biscoff Rice Krispie Treats
-
Room Temperature: Store your Biscoff Rice Krispie Treats in an airtight container at room temperature for up to 3 days to keep them chewy and delicious.
-
Fridge: If you prefer, you can refrigerate the treats; they’ll stay fresh for up to a week, but may become a bit firmer in texture.
-
Freezer: To freeze, wrap individual portions tightly in plastic wrap or foil. They can be stored in the freezer for up to 6 weeks. Thaw at room temperature before enjoying.
-
Reheating: If you want a warm treat, pop them in the microwave for 10-15 seconds to soften up.
Expert Tips for Biscoff Rice Krispie Treats
-
Use Fresh Ingredients: Always opt for fresh marshmallows and Rice Krispies to ensure maximum gooeyness in your Biscoff Rice Krispie Treats; stale ingredients can lead to dryness.
-
Gentle Mixing: When combining the Rice Krispies with the melted mixture, fold gently to avoid compacting the cereal. This preserves the light, airy texture that makes the treats so delightful.
-
Watch the Heat: Keep the heat low while melting the butter and marshmallows. High heat can cause the marshmallows to crystallize, resulting in a hard texture.
-
Perfect Cooling Time: Allow the treats to cool completely at room temperature. This helps them set properly, ensuring they hold together but remain chewy.
-
Experiment with Add-ins: Get creative with your Biscoff Rice Krispie Treats by adding mix-ins like chocolate chips or chopped nuts for a fun twist on this classic dessert!
Biscoff Rice Krispie Treats Variations
Feel free to get creative with these Biscoff Rice Krispie Treats, allowing your culinary imagination to flourish!
- Crunchy Biscoff: Use crunchy Biscoff spread instead of creamy for an extra layer of texture that will delight your taste buds.
- Chocolatey Twist: Add 1 cup of mini chocolate chips for a rich, sweet contrast against the spiced Biscoff flavor.
- Nutty Delight: Fold in 1 cup of chopped nuts, like almonds or pecans, to add a delightful crunch and some extra nutrition.
- Coconut Infusion: Mix in 1 cup of shredded coconut for a tropical twist that pairs beautifully with the warm spice of Biscoff.
- Maple Flavored: Substitute half of the butter for maple syrup to give a subtle maple flavor that beautifully complements the Biscoff.
- Spiced Additions: Sprinkle in a teaspoon of cinnamon or nutmeg while combining the ingredients for an extra flavor punch that enhances the warmth.
- Oreo Crunch: Crumble some Oreo cookies into the mix for a pleasing chocolatey layer that adds a fun contrast to the Biscoff.
- Marshmallow Heaven: Incorporate extra mini marshmallows into the treats for ultra gooeyness and an even sweeter treat.
Feel inspired? These variations can take your no-bake treat from delightful to absolutely irresistible! If you’re looking for more dessert inspiration, check out Biscoff Cookie Butter Truffles or try something savory like French Onion Chicken Rice Bake. Enjoy your delicious creations!
What to Serve with Biscoff Rice Krispie Treats
A sweet treat like this is perfect for enriching your dessert experience and creating memorable moments.
-
Vanilla Ice Cream: The creamy, cool texture of vanilla ice cream pairs beautifully, offering a delightful contrast to the chewy treats.
-
Chocolate Fondue: Dipping squares into warm chocolate adds another layer of indulgence, making it a fun sharing experience for gatherings.
-
Coffee or Espresso: A rich cup of coffee complements the sweet, spiced notes of the Biscoff, making for a cozy afternoon break.
-
Fresh Berries: Juicy strawberries or raspberries offer a refreshing burst of flavor, lightening up the sweetness of the treats.
-
Pumpkin Spice Latte: Celebrate the seasons with a warm, spiced drink that harmonizes with the flavors of Biscoff, creating a comforting duo.
-
Caramel Sauce Drizzle: Elevate your treats with a drizzle of warm caramel, enhancing the already rich flavors with an extra layer of sweetness.
-
Milk: An easy classic, a cold glass of milk makes each bite even more satisfying and reminiscent of childhood indulgences.
-
Nuts and Dried Fruits: A sprinkle of roasted nuts or dried fruits adds crunch and a touch of healthy goodness to balance the sweetness.
-
Cheesecake Dip: Serve these treats alongside a creamy cheesecake dip for a rich, decadent dessert spread that your guests will adore.
With these delightful pairings, you’re set to create an unforgettable dessert experience around those charming Biscoff Rice Krispie Treats!
Biscoff Rice Krispie Treats Recipe FAQs
How do I choose the right Biscoff spread?
Absolutely! When selecting your Biscoff spread, look for the smooth variety for a creamy texture. If you enjoy added crunch, try the crunchy Biscoff spread instead. Always check the ingredients for any additives that might not suit your dietary preferences!
What is the best way to store Biscoff Rice Krispie Treats?
These delightful treats are best stored in an airtight container at room temperature for up to 3 days. If you’d like them to last longer, refrigerate them for up to a week; just know they might lose a little of their chewiness. For longer storage, wrap individual portions in plastic wrap or foil and freeze for up to 6 weeks!
Can I freeze Biscoff Rice Krispie Treats?
Of course! To freeze your treats, wrap them tightly in plastic wrap or foil, ensuring they’re well-sealed to prevent freezer burn. They can be stored for up to 6 weeks. When you’re ready to enjoy them, simply let them thaw at room temperature for about 30 minutes, or pop them in the microwave for 10-15 seconds for a warm treat experience.
What should I do if my mixture feels too dry?
If the mixture is too dry, don’t worry! You can gently heat it again over low heat, adding a little more butter or Biscoff spread, and mix until it loosens. Be careful to stir continuously to prevent burning. Remember to fold in your Rice Krispies gently to maintain the chewy texture!
Are Biscoff Rice Krispie Treats suitable for people with allergies?
It’s essential to consider individual allergies or dietary restrictions. These treats contain butter, marshmallows, and possibly nuts if you add them as mix-ins. For those with gluten sensitivities, be sure to use gluten-free Rice Krispies. Always check ingredient labels and consult with your guests if you’re serving them to a group!
Can I customize my Biscoff Rice Krispie Treats?
Very much so! Feel free to have fun with your treats. Adding chocolate chips, health bars, or nuts can offer a unique twist to the classic recipe. Just keep the proportions in mind to maintain the perfect balance between gooey and crunchy!
Biscoff Rice Krispie Treats: A Chewy Delight to Savor
Ingredients
Equipment
Method
- In a medium saucepan over low heat, melt 4 tablespoons of butter until fully melted and bubbly. Add 10 ounces of marshmallows and stir continuously for about 3-4 minutes until melted.
- Remove from heat and stir in 1 cup of Lotus Biscoff spread until fully incorporated.
- Gently fold in 6 cups of Rice Krispies cereal into the mixture with a spatula for about 2-3 minutes.
- Prepare a 9x13 inch pan by lining it with parchment paper. Pour in the mixture, spreading it evenly and pressing down gently.
- Allow the treats to cool for about 30 minutes at room temperature before slicing into squares.
Leave a Reply