
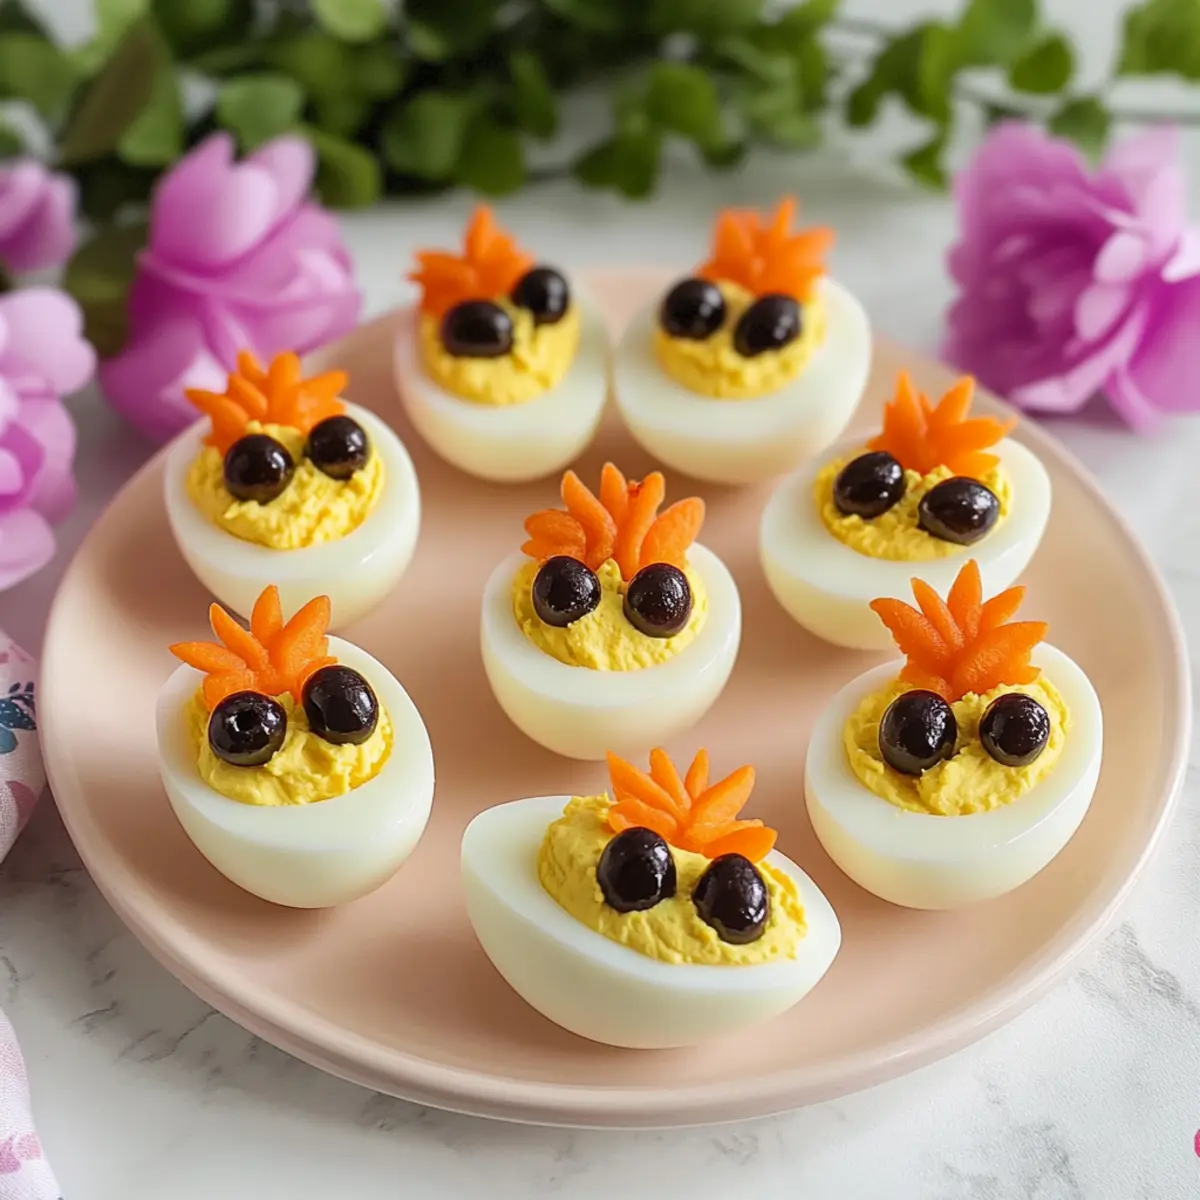
As I arranged the dishes for our Easter brunch, a sudden flash of nostalgia hit me—the Easter celebrations of my childhood, where colorful decorations and playful treats reigned supreme. This year, I’m thrilled to bring a delightful twist with my Deviled Egg Chicks, a charming take on the classic deviled eggs that adds both whimsy and nutrition to your table. These adorable little chicks not only deliver a creamy, tangy filling but also pack a healthy punch as a high-protein appetizer. With quick prep and a presentation that captivates both kids and adults, they’re sure to be the talk of your gathering. So, are you ready to make your Easter feast a bit more fun and flavorful? Let’s dive into this delightful recipe!
Why Are Deviled Egg Chicks Adorable?
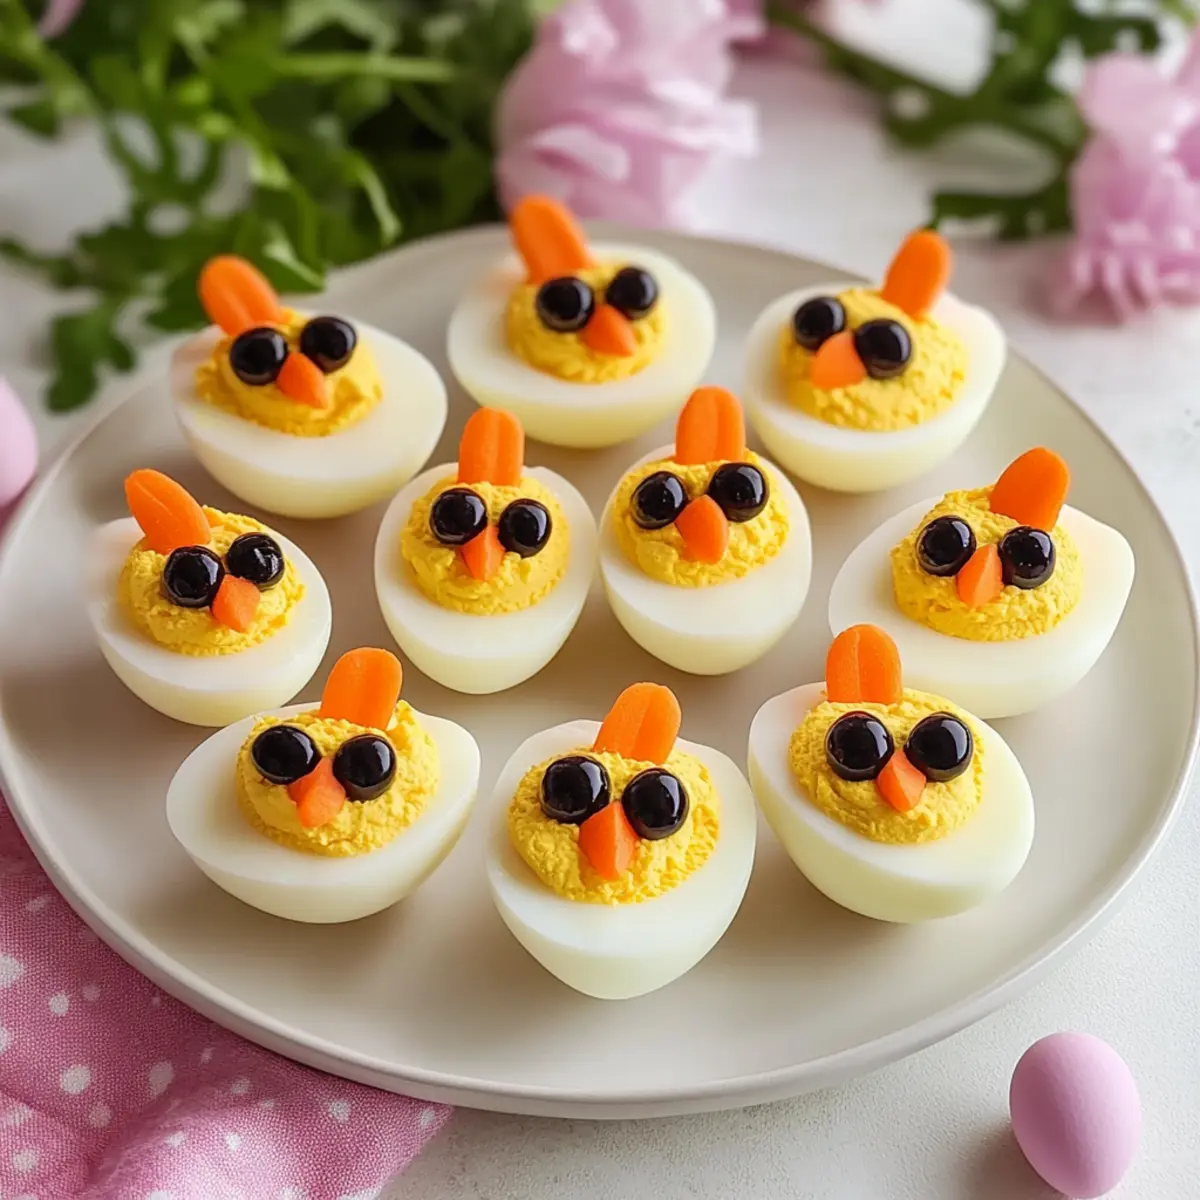
Cute presentation: These delightful Deviled Egg Chicks transform a simple dish into an eye-catching centerpiece. Fun, playful shapes make them a conversation starter, appealing to kids and adults alike. Quick prep time means you’ll have more time to enjoy the festivities, while high-protein ingredients make them a healthy option on your Easter menu. For more creative ideas, check out these Mini Egg Salad and Tomato Egg Stir recipes.
Deviled Egg Chicks Ingredients
For the Filling
- Eggs – Fresh eggs provide the best flavor, but older eggs are easier to peel after boiling.
- Mayonnaise – For a creamy texture; Greek yogurt can be used as a lighter alternative.
- Dijon Mustard – Adds tang and depth; yellow mustard works as a suitable substitute.
- White Vinegar – Enhances the tanginess of the mixture; try lemon juice for a different zest.
- Salt and Pepper – Essential for seasoning the filling to your taste.
For the Decorations
- Small Carrot – Creates adorable beaks for your chicks; other small veggies can also add flair.
- Black Olives – Give your chicks their cute black eyes; green olives can be swapped for variation.
Step‑by‑Step Instructions for Deviled Egg Chicks
Step 1: Boil the Eggs
Start by placing your fresh eggs into a saucepan and covering them with cold water. Bring the water to a gentle boil over medium-high heat, then reduce the heat and let them simmer for exactly 10 minutes. Afterward, transfer the eggs immediately into an ice bath to stop the cooking process and cool them down for about 5-7 minutes, ensuring they’re perfectly cooked and easy to peel.
Step 2: Peel the Eggs
Once the eggs are cool, gently tap them on a hard surface to crack the shells. Carefully peel the shells under running cold water to make the process smoother and maintain the eggs’ shapes. Pat the eggs dry with a paper towel, making sure they’re pristine and ready for your delightful Deviled Egg Chicks creation.
Step 3: Prepare the Filling
Slice the tops off each peeled egg to create a flat surface, carefully ensuring you keep the egg whites intact. Using a small spoon, scoop out the creamy yolks and place them into a mixing bowl. To that bowl, add mayonnaise, Dijon mustard, white vinegar, salt, and pepper. Mash the ingredients together until the mixture is smooth and creamy, creating a rich filling for your Deviled Egg Chicks.
Step 4: Fill the Egg Whites
With your yolk mixture ready, use a piping bag or a small spoon to carefully fill each egg white with the creamy filling. If you want a professional touch, a piping bag will make it easy to create a nice peak. Make sure each egg is generously filled to achieve a delightful presentation, as these Deviled Egg Chicks will surely steal the show at your Easter gathering.
Step 5: Create Chick Features
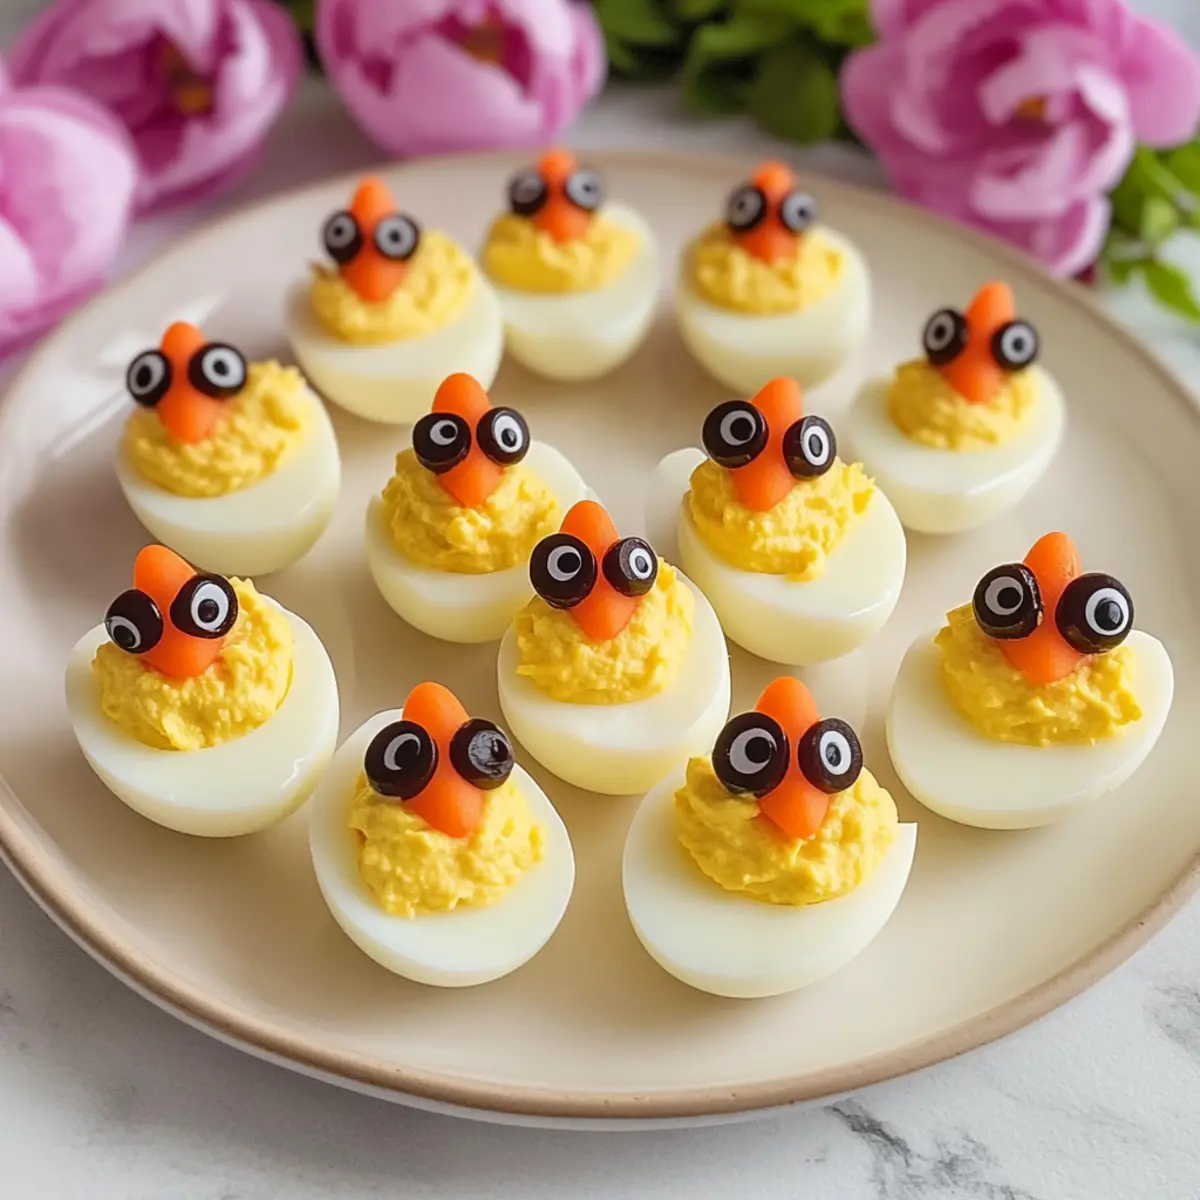
To transform your filled Deviled Egg Chicks into adorable little creatures, take small pieces of carrot and insert them into the filling to serve as beaks. Then, cut black olives into small rounds and place them on top of the egg white to form the eyes. Get creative—this part is fun and allows for some personality in each chick!
Step 6: Final Touches and Serve
Once all your Deviled Egg Chicks are beautifully decorated, arrange them on a serving platter. If desired, garnish with fresh herbs or a sprinkle of paprika for an extra pop of color. Chill the platter in the refrigerator for at least 30 minutes before serving to enhance the flavors and ensure they’re delightful and refreshing when enjoyed.
Make Ahead Options
These adorable Deviled Egg Chicks are perfect for meal prep, making your Easter celebration a breeze! You can prepare the boiled eggs and creamy filling up to 24 hours in advance, allowing you to enjoy the festivities without the last-minute rush. Simply follow the initial steps of boiling and peeling the eggs, then store them separately in an airtight container in the refrigerator. For best quality, assemble the chick decorations just before serving to maintain their visual appeal and freshness. When ready to delight your guests, fill the egg whites with the prepared yolk mixture, decorate with carrot beaks and olive eyes, and watch as they become the highlight of your table!
Storage Tips for Deviled Egg Chicks
- Fridge: Store your assembled Deviled Egg Chicks in an airtight container in the refrigerator for up to 2 days. This keeps them fresh and safe for your Easter gathering.
- Airtight: If you have any leftover filling, place it in a separate container. It can be stored in the fridge for up to 3 days, ready for quick snacking or last-minute assembly.
- Serve Cold: To maintain the best flavor and texture, serve your Deviled Egg Chicks chilled. If they’re sitting out, enjoy them within 2 hours to ensure food safety.
- Freezer: It’s not recommended to freeze assembled Deviled Egg Chicks, as the texture of the egg whites may change. Instead, freeze extra egg yolk filling for future use.
Expert Tips for Deviled Egg Chicks
- Egg Selection: Fresh eggs are flavorful, but slightly older eggs peel easily, ensuring beautiful Deviled Egg Chicks with intact shells.
- Precision Decoration: Use tweezers or small utensils for accurate placement of the carrot beaks and olive eyes, making your chicks truly come to life.
- Make Ahead: Prepare the boiled eggs and filling in advance to save time. Assemble your Deviled Egg Chicks just before serving for the freshest appearance.
- Involve the Kids: Let children help decorate the chicks to create a fun, interactive cooking experience this Easter.
- Chill for Flavor: Refrigerate your assembled Deviled Egg Chicks for at least 30 minutes before serving to enhance flavor and maintain freshness.
What to Serve with Deviled Egg Chicks?
Elevate your Easter feast with delightful pairings that complement these adorable, protein-packed treats.
-
Fresh Vegetable Platter: A colorful assortment of crisp veggies adds a crunch that contrasts beautifully with the creamy deviled eggs, inviting guests to munch away.
-
Mini Quiches: These savory bites are easy to make and serve just as beautifully. They provide a delightful contrast in textures alongside the soft Deviled Egg Chicks.
-
Fruit Skewers: Sweet, juicy fruits add a refreshing balance, ensuring a light and colorful touch to your festive spread. They are a burst of flavor that instantly brightens up any plate.
-
Spinach Salad: A salad dressed with light vinaigrette brings a fresh, tangy element, making your meal feel vibrant and fulfilling. The greens will not only add color but invigorate the taste buds.
-
Sparkling Lemonade: This refreshing drink perfectly complements the flavors with its citrusy zing, making it an ideal thirst-quencher for a lively brunch.
-
Easter Cupcakes: End your table on a sweet note. Light and fluffy cupcakes decorated in spring colors offer a fun treat that ties the theme together, delighting both kids and adults alike.
Deviled Egg Chicks Variations & Substitutions
Feel free to let your creativity shine by customizing these delightful Deviled Egg Chicks with these fun variations!
-
Spicy Kick: Add a dollop of sriracha to the filling for a fiery twist that will make your taste buds dance.
-
Avocado Twist: Substitute half the mayonnaise with mashed avocado for a creamy, healthy update that offers a unique flavor profile.
-
Herb Infusion: Mix fresh herbs like dill or chives into the yolk filling for an aromatic lift, enhancing both taste and presentation.
-
Cheesy Delight: Blend in grated cheese, such as cheddar or feta, to the yolk mixture for a savory cheesy surprise that complements the creaminess.
-
Zesty Lemon: Squeeze a bit of fresh lemon juice into your mixture instead of vinegar for a bright, citrusy flavor that elevates the overall dish.
-
Different Olives: Try green olives for eyes instead of black for a different taste and color; they offer a slightly fruitier note to each chick.
-
Colorful Veggies: Utilize different colorful veggies like bell pepper or radish for beaks, giving your chicks a vibrant look and crunch.
Encourage family fun by letting everyone decorate their chick! Plus, if you’re looking for more unique egg recipes, explore the Eggs Benedict Casserole for a delightful brunch alternative or check out the Mini Egg Salad for a quick snack.
Deviled Egg Chicks Recipe FAQs
What type of eggs should I use for the best flavor?
Absolutely! Fresh eggs are ideal for a rich flavor, but if you find yourself struggling with peeling, slightly older eggs do the trick tremendously well. Their shells tend to come off more easily after boiling, ensuring a perfect look for your Deviled Egg Chicks.
How should I store leftover Deviled Egg Chicks?
To keep your Deviled Egg Chicks fresh, store them in an airtight container in the refrigerator for up to 2 days. For the best flavor, enjoy them within 24 hours. If you have any leftover filling, it can be kept separately for up to 3 days, ready for quick snacks or last-minute assembly!
Can I freeze Deviled Egg Chicks?
Unfortunately, I wouldn’t recommend freezing your assembled Deviled Egg Chicks. The texture of the egg whites can become undesirable once thawed. Instead, if you have extra yolk filling, you can freeze it in an airtight container for up to 3 months. Just thaw it in the fridge when you’re ready to use!
What should I do if my eggs are difficult to peel?
If you’re facing a challenge with peeling, try this handy trick: after boiling, let the eggs sit in an ice bath for about 5 to 7 minutes. This helps the shell separate from the egg white, making peeling much easier. Additionally, lightly tapping the egg on a hard surface before peeling can further aid in the process.
Are these Deviled Egg Chicks suitable for people with allergies?
Great question! These Deviled Egg Chicks are not gluten-free (if using regular mayonnaise), but they can be made with Greek yogurt as a lighter substitute. However, keep in mind that both eggs and mayonnaise may trigger allergies in some individuals. Always check for any specific dietary restrictions you and your guests may have before serving.
Cute Deviled Egg Chicks: A Fun, Healthy Easter Treat
Ingredients
Equipment
Method
- Start by placing your fresh eggs into a saucepan and covering them with cold water. Bring the water to a gentle boil over medium-high heat, then reduce the heat and let them simmer for exactly 10 minutes. Afterward, transfer the eggs immediately into an ice bath to stop the cooking process and cool them down for about 5-7 minutes.
- Once the eggs are cool, gently tap them on a hard surface to crack the shells. Carefully peel the shells under running cold water to make the process smoother and maintain the eggs’ shapes. Pat the eggs dry with a paper towel.
- Slice the tops off each peeled egg to create a flat surface, then scoop out the creamy yolks and place them into a mixing bowl. Add mayonnaise, Dijon mustard, white vinegar, salt, and pepper. Mash the ingredients together until smooth.
- Use a piping bag or a small spoon to fill each egg white with the creamy filling. Ensure each egg is generously filled for maximum presentation.
- Insert small pieces of carrot into the filling for beaks. Then, cut black olives into small rounds and place them on top of the egg whites for eyes.
- Arrange the decorated Deviled Egg Chicks on a serving platter. Chill in the refrigerator for at least 30 minutes before serving to enhance flavors.
Leave a Reply