
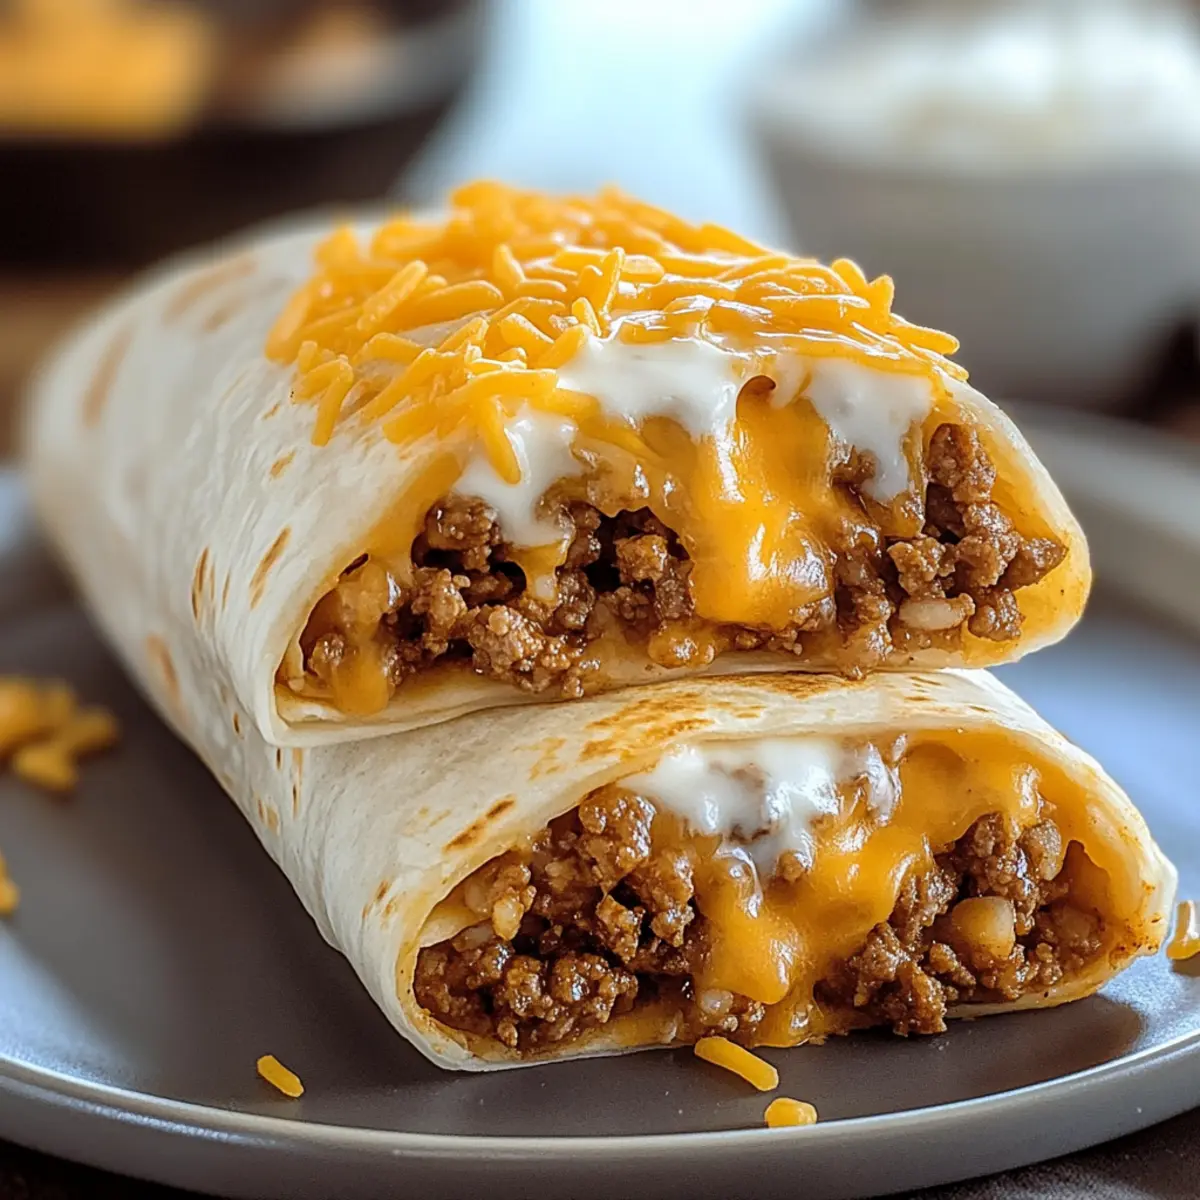
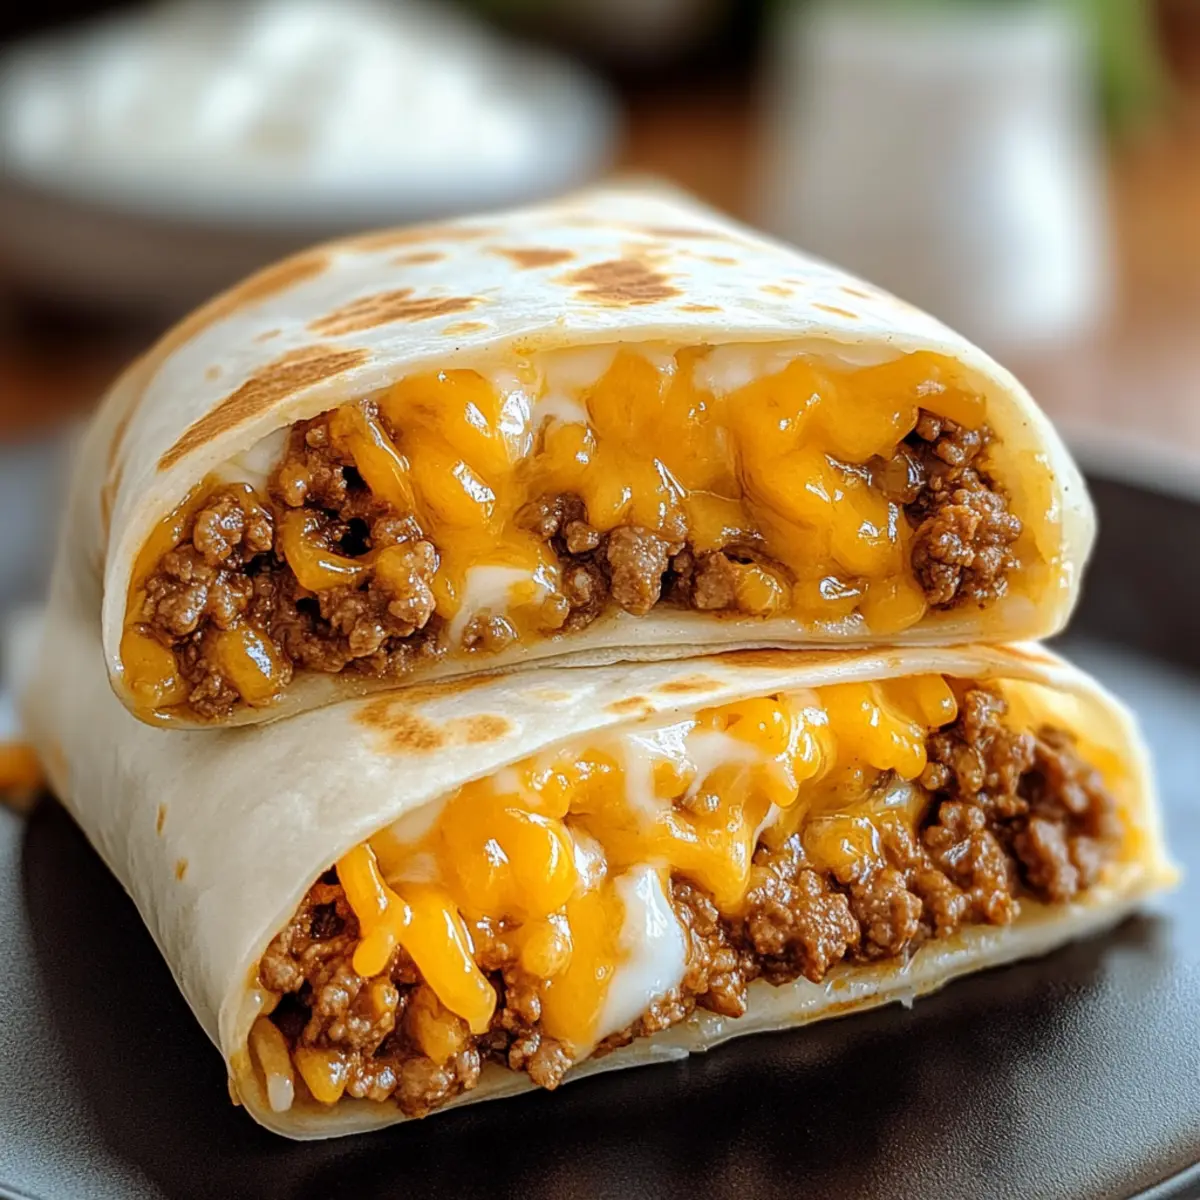
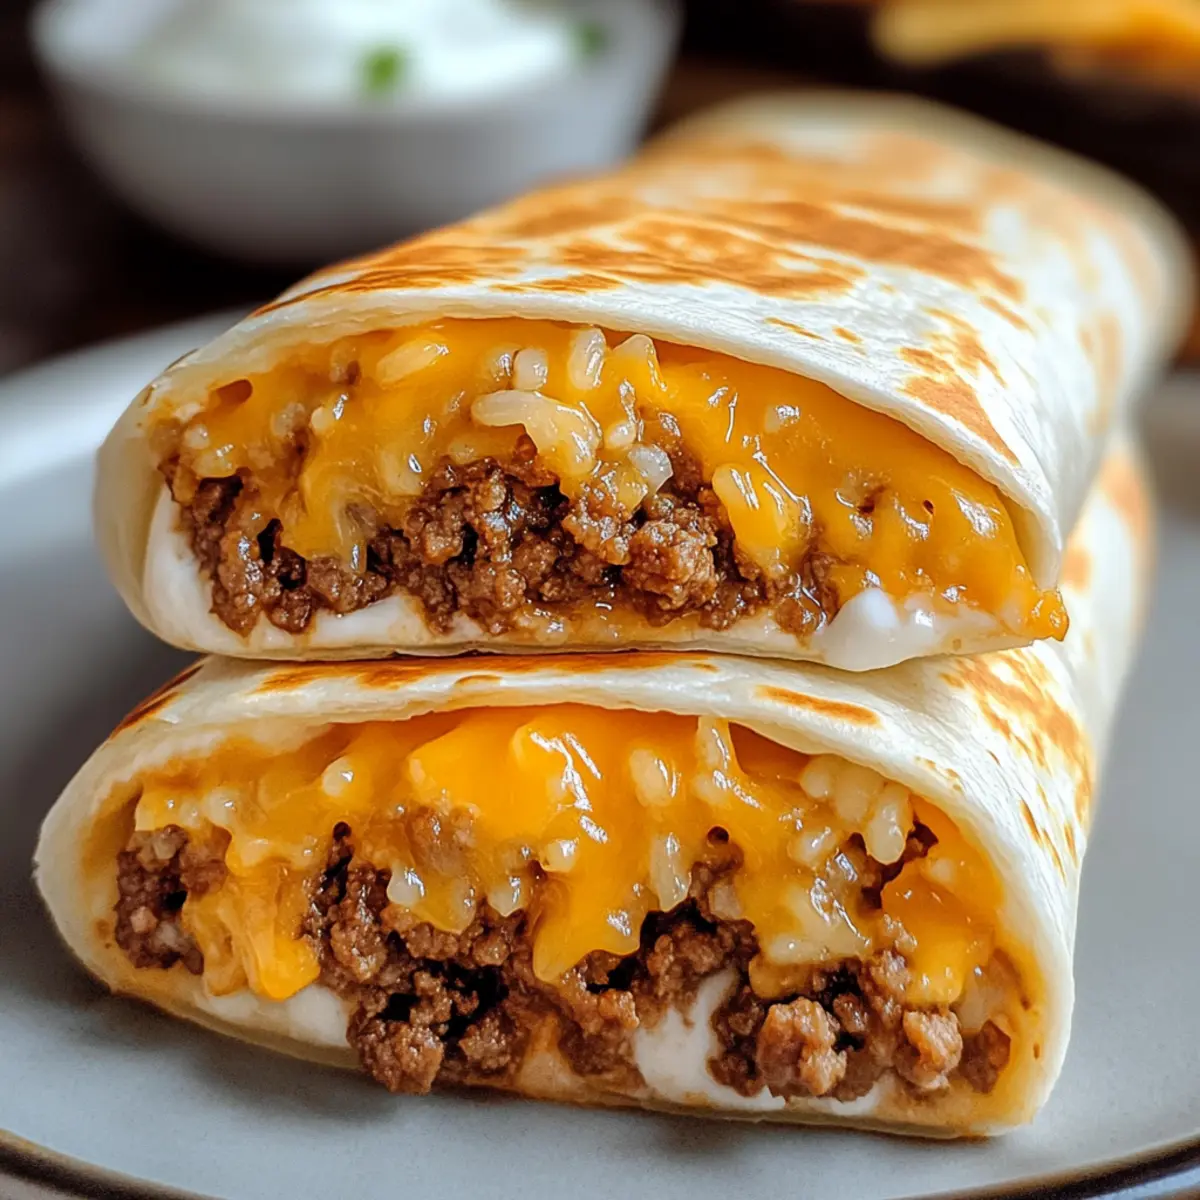
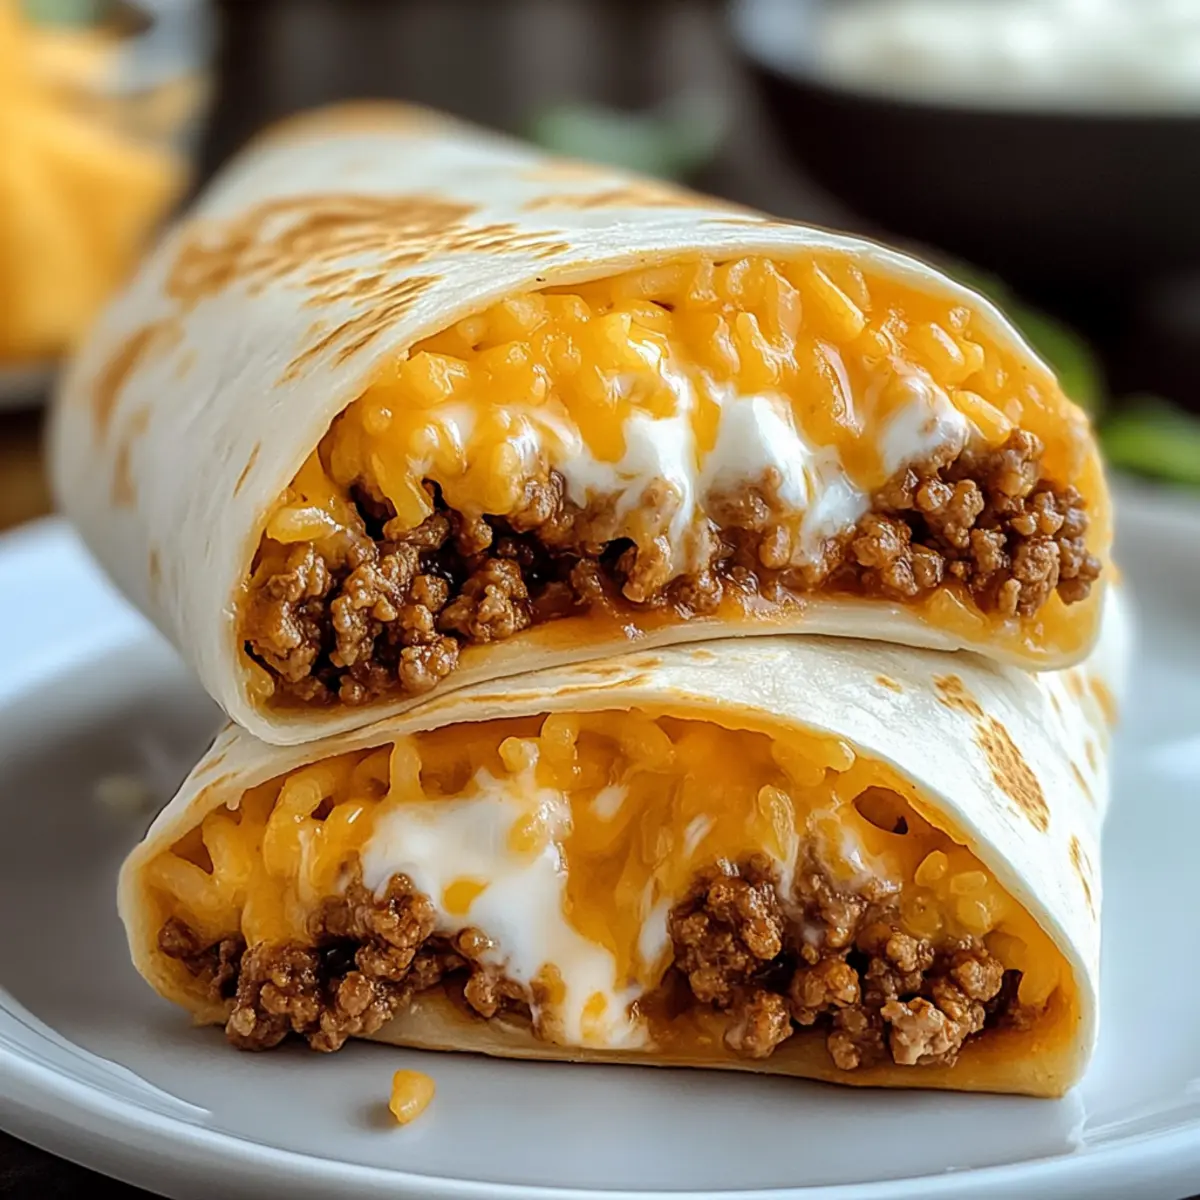
The rich aroma of sizzling ground beef and melting cheese wafted through my kitchen, instantly igniting my hunger for something indulgent yet homemade. I love whipping up these Easy Homemade Beefy Melt Burritos, where seasoned beef meets gooey cheddar, creamy nacho sauce, and fluffy rice, all wrapped snugly in a crispy tortilla. Not only are they incredibly quick to prepare—perfect for busy weeknights—these burritos are also freezer-friendly, making them a lifesaver for any last-minute dinner dilemmas. Plus, you can easily customize them to suit your taste, whether you opt for ground turkey for a leaner twist or even swap in black beans for a hearty vegetarian option. Ready to discover how to make your kitchen smell irresistible and satisfy those cravings? Let’s get started!
Why You’ll Crave These Burritos
Quick and Easy: Perfect for those busy nights, these Beefy Melt Burritos come together in under 30 minutes, making them your go-to meal solution.
Flavor Packed: The combination of savory beef, gooey cheese, and creamy nacho sauce ensures each bite bursts with mouthwatering flavor.
Customizable Delight: Whether you choose ground turkey for a lighter option or load up on black beans, these burritos can easily be tailored to your dietary preferences.
Freezer-Friendly: Prep a batch to have delicious meals on hand, ready to heat and serve for unexpected guests or late-night cravings.
Crowd-Pleaser: These burritos are perfect for sharing, sure to impress friends and family at game nights or gatherings. Pair them with some crispy chips or a side of tasty salsa for an unforgettable experience!
Beefy Melt Burritos Ingredients
For the Burrito Filling
• Ground Beef – Offers protein and flavor; use ground turkey for a leaner option.
• Taco Seasoning – Adds spice and depth; choose between homemade or your favorite store-bought brand.
• White Rice – Acts as a filler for texture; opt for brown rice for added fiber.
• Shredded Cheddar Cheese – Provides gooey richness; always go for freshly shredded for the best melt.
• Nacho Cheese Sauce – Gives creaminess and tang; feel free to substitute with queso or cheese dip.
• Sour Cream – Adds a creamy contrast; use Greek yogurt for a healthier choice.
• Flour Tortillas – Wraps everything together; use large tortillas for easy rolling; whole wheat or gluten-free versions are great alternatives.
Optional Toppings
• Chopped Green Onions – Adds freshness; they make a delightful garnish.
• Jalapeños – Provide a spicy kick; perfect for those who enjoy a little heat!
These Beefy Melt Burritos are not just a meal; they are a comforting hug on a plate! Let’s dive into this flavorful adventure together!
Step‑by‑Step Instructions for Easy Homemade Beefy Melt Burritos
Step 1: Cook the Ground Beef
In a large skillet, heat over medium heat and add 1 pound of ground beef. Sauté for about 5-7 minutes, breaking it apart with a wooden spoon until it’s fully browned and no longer pink. Once cooked, drain any excess fat, leaving just enough to keep the beef juicy.
Step 2: Season the Beef
Add your favorite taco seasoning (about 1 packet) to the browned beef, along with a splash of water (about 2 tablespoons). Mix well, and let the mixture simmer on low heat for 2-3 minutes, allowing the flavors to meld. You should see the sauce thicken slightly, coating the beef evenly.
Step 3: Prepare the Rice
While the beef simmers, cook 1 cup of white rice according to the package instructions. Once it’s fluffy and tender, remove it from the heat and let it sit for a moment. This rice will act as a wonderful filler in your Beefy Melt Burritos, balancing the rich flavors.
Step 4: Assemble the Burritos
Lay out 4 large flour tortillas on a clean surface. Start by adding a generous spoonful of rice to the center of each tortilla, followed by the seasoned beef mixture. Next, sprinkle about a half-cup of shredded cheddar cheese, drizzle with nacho cheese sauce, and add a dollop of sour cream.
Step 5: Roll the Burritos
To fold the burritos, carefully fold in the sides of each tortilla over the filling, then roll them tightly from the bottom to form a secure wrap. Make sure the seam is tucked in well to keep all the deliciousness intact. Arrange the rolled burritos seam-side down on a plate.
Step 6: Toast the Burritos
Heat a non-stick skillet over medium heat. Place each burrito in the skillet seam-side down and toast for about 2-3 minutes until golden brown and crispy. Carefully flip each burrito and toast the other side for an additional 2-3 minutes. The cheese should be fully melted within!
Step 7: Serve with Toppings
Once toasted to perfection, remove the burritos from the skillet and serve warm. You can add optional toppings like chopped green onions or sliced jalapeños for extra flavor. These Beefy Melt Burritos are best enjoyed fresh, but they also make fantastic leftovers!
What to Serve with Easy Homemade Beefy Melt Burritos
The perfect meal deserves the right companions to elevate every bite and bring balance to your dining experience.
-
Crispy Chips and Salsa: The crunch from tortilla chips paired with zesty salsa adds a refreshing texture contrast and bright flavor burst.
-
Guacamole: Creamy and rich, guacamole offers a delightful herbaceous flavor that complements the savory beef and cheese.
-
Grilled Elote: This smoky, sweet corn dish brings a delightful char and sweetness that perfectly contrasts with the rich burritos, creating a beautiful symphony of flavors.
-
Mexican Street Corn Salad: A colorful blend of corn, cilantro, and lime adds freshness and a hint of tang, brightening up your plate.
-
Refried Beans: Creamy and hearty, refried beans provide an additional source of protein and a smooth texture that pairs wonderfully with the burritos.
-
Pico de Gallo: This fresh salsa made with tomatoes, onion, and cilantro helps cut through the richness of the cheese, bursting with freshness in every bite.
-
Coconut Mojito: A cool, refreshing drink with a hint of sweetness complements the spicy notes of the burritos, making it a sophisticated yet light pairing.
These delightful additions will not only enhance your Beefy Melt Burritos but also create a memorable meal that will have everyone coming back for seconds!
Make Ahead Options
These Easy Homemade Beefy Melt Burritos are perfect for meal prep, allowing you to enjoy delicious homemade meals even on your busiest nights! You can prepare the filling (ground beef, taco seasoning, rice, and cheese) up to 24 hours in advance; simply store it in an airtight container in the refrigerator. The assembled burritos can be wrapped tightly in foil and frozen for up to 3 months—making them a fantastic freezer-friendly option. When you’re ready to enjoy, just reheat them in the microwave or oven until hot and crispy. This prep not only saves you time during the week but also ensures that your Beefy Melt Burritos are just as delicious when served!
Expert Tips for Beefy Melt Burritos
• Cool the Filling: Let the beef mixture cool slightly before wrapping to keep the tortillas from getting soggy.
• Perfectly Crispy: Toasting both sides of the burritos ensures a delightful crunch and a delicious barrier that keeps the filling snug.
• Freezing Made Easy: Wrap each burrito individually in foil for quick meals later; just reheat in the microwave or oven for a sought-after taste.
• Don’t Overfill: Be cautious not to overstuff each burrito, as this can make rolling difficult and lead to messy leaks during cooking.
• Fresh Cheese Matters: Using freshly shredded cheddar cheese will ensure better melting and enhances the cheesy goodness in these Beefy Melt Burritos.
Storage Tips for Beefy Melt Burritos
• Fridge: Store your Beefy Melt Burritos wrapped in foil or plastic wrap in the refrigerator for up to 4 days for optimal freshness and taste.
• Freezer: To preserve them longer, individually wrap each burrito in plastic wrap followed by foil. They can be frozen for up to 3 months.
• Reheating: When ready to eat, reheat frozen burritos in the microwave for about 2-3 minutes, or bake in a preheated oven at 350°F (175°C) for 20-25 minutes until heated through.
• Serving Tips: After reheating, feel free to add fresh toppings like salsa or sour cream for a delightful touch!
Beefy Melt Burritos Variations & Substitutions
Get ready to tweak these burritos and elevate your homemade meal experience with delightful twists!
-
Ground Turkey: Use ground turkey instead of beef for a lighter and healthier burrito without sacrificing flavor.
-
Vegetarian Option: Swap out ground beef for black beans or a meatless crumble for a hearty vegetarian alternative that’s equally satisfying.
-
Brown Rice: Replace white rice with brown rice for extra fiber and a nutty flavor that enhances the dish’s overall taste.
-
Cheese Variety: Experiment with different cheeses like pepper jack or Monterey Jack for an exciting twist on the traditional cheddar melt. The creaminess will pair beautifully with the savory beef!
-
Hot Sauce Twist: Add a few dashes of your favorite hot sauce to the taco seasoning for an extra kick. This subtle heat can create a delightful surprise in every bite!
-
Tortilla Alternatives: Try using corn tortillas or whole wheat versions for a unique texture twist. Each type brings its own charm to your burrito-making adventure.
-
Fresh Herbs: Garnish with fresh cilantro or parsley to introduce a bright, herbaceous note that lightens up your burrito and elevates the flavor profile.
Need more ideas? These burritos can also be enjoyed with a side of crispy chips and salsa or a refreshing salad for a well-rounded meal. You could even serve them alongside Savory Shrimp Melts for a delightful variation to your classic Tex-Mex spread. Happy cooking!
Beefy Melt Burritos Recipe FAQs
What type of ground beef is best for burritos?
Absolutely! I recommend using 80/20 ground beef, as it has the right balance of fat for flavor without being too greasy. Ground turkey can also be a healthier alternative if you prefer a leaner option.
How do I store leftover burritos?
For the fridge, wrap your Beefy Melt Burritos in foil or plastic wrap and they will stay fresh for up to 4 days. It’s best to consume them within this timeframe for the best taste and texture.
Can I freeze these burritos?
Yes! To freeze, first let the burritos cool completely. Then, wrap each one individually in plastic wrap and then in foil to prevent freezer burn. They can be stored in the freezer for up to 3 months.
What’s the best way to reheat frozen burritos?
To reheat, simply remove all the wrapping and place the burrito in the microwave for about 2-3 minutes. If you prefer a crispy texture, you can bake it in a preheated oven at 350°F (175°C) for 20-25 minutes, until heated through, and enjoy that delightful crunch!
Can I make these burritos vegetarian?
Very much so! You can easily substitute the ground beef with black beans, lentils, or a meatless crumble for a hearty vegetarian option. This will still give you a satisfying texture and taste!
What if I have leftovers after cooking?
Leftovers can be stored in the refrigerator, wrapped, for up to 4 days. If you notice any dark spots on a burrito, that’s a sign to discard it. Plus, feel free to add fresh toppings like chopped cilantro or jalapeños when reheating for extra freshness!
Beefy Melt Burritos: Your New Go-To Cheesy Comfort Meal
Ingredients
Equipment
Method
- In a large skillet, heat over medium heat and add the ground beef. Sauté for about 5-7 minutes until fully browned and no longer pink. Drain any excess fat.
- Add taco seasoning and a splash of water to the browned beef. Mix well and let simmer for 2-3 minutes, allowing the flavors to meld.
- Cook white rice according to package instructions; remove from heat and let it sit.
- Lay out tortillas and add a spoonful of rice to the center of each. Layer seasoned beef, shredded cheese, nacho cheese sauce, and sour cream.
- Fold the sides of the tortillas over the filling, then roll tightly. Place them seam-side down on a plate.
- Heat a non-stick skillet and toast each burrito seam-side down for 2-3 minutes until golden brown. Flip and toast for another 2-3 minutes.
- Serve warm, optionally topped with green onions or jalapeños.
Leave a Reply