
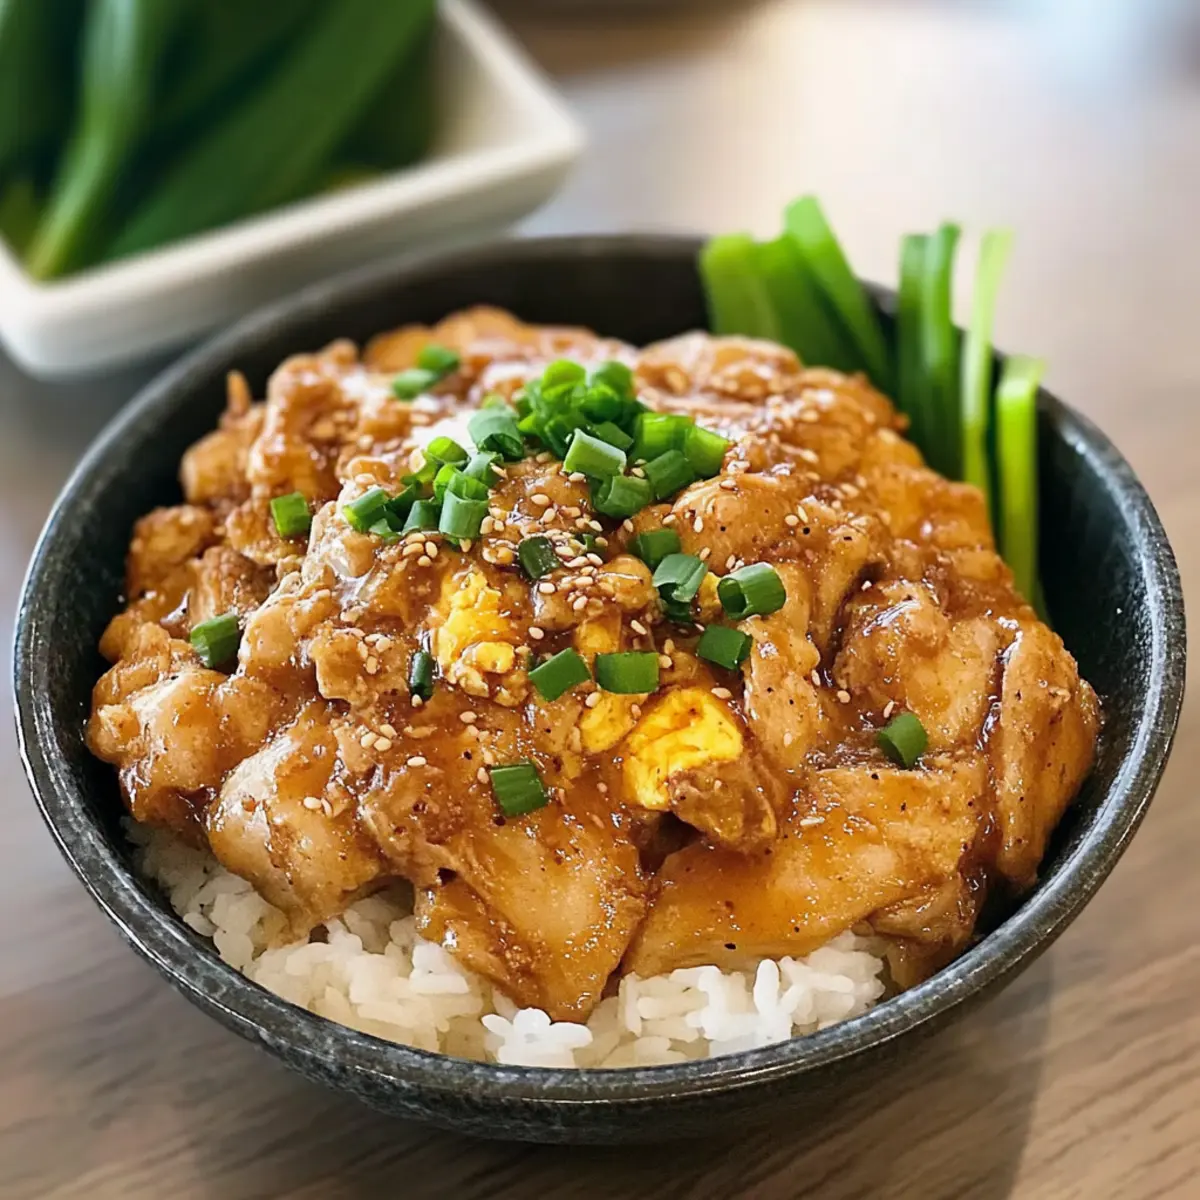
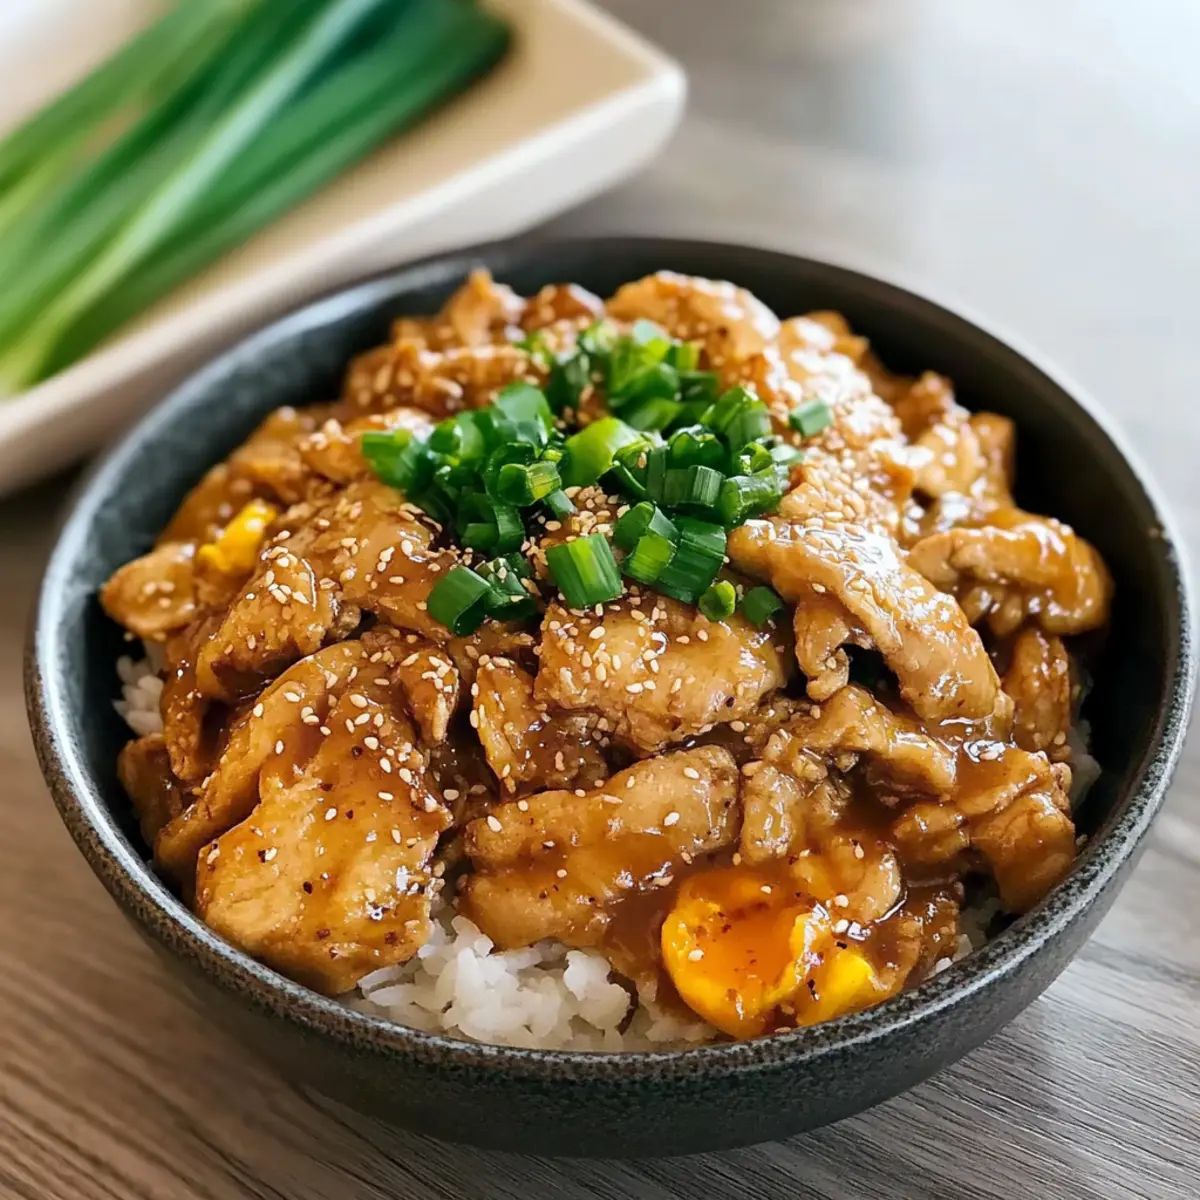
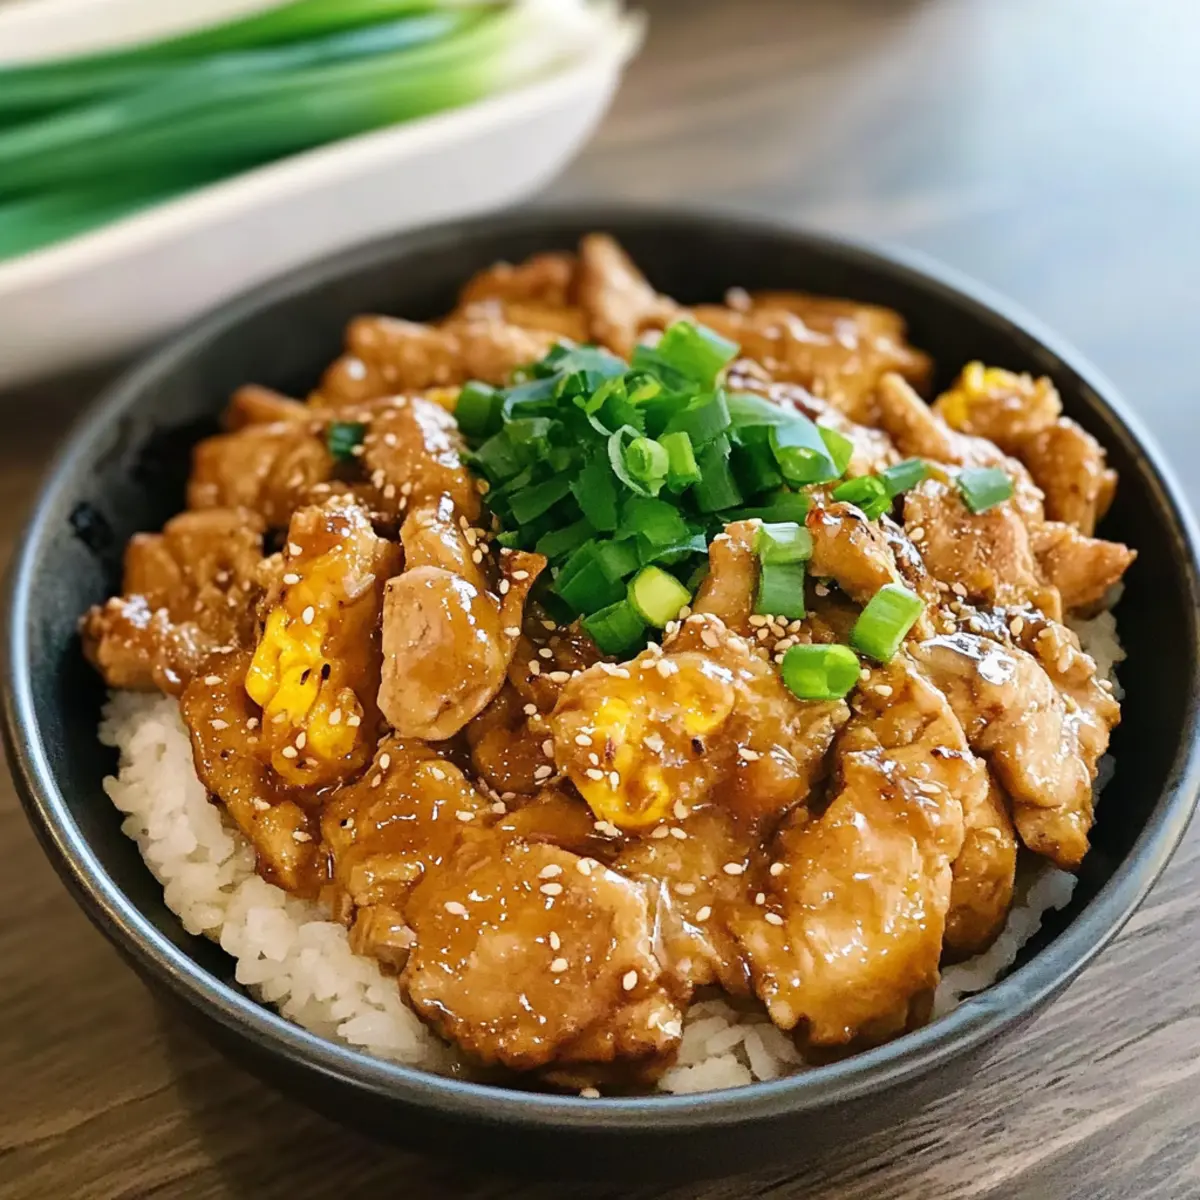
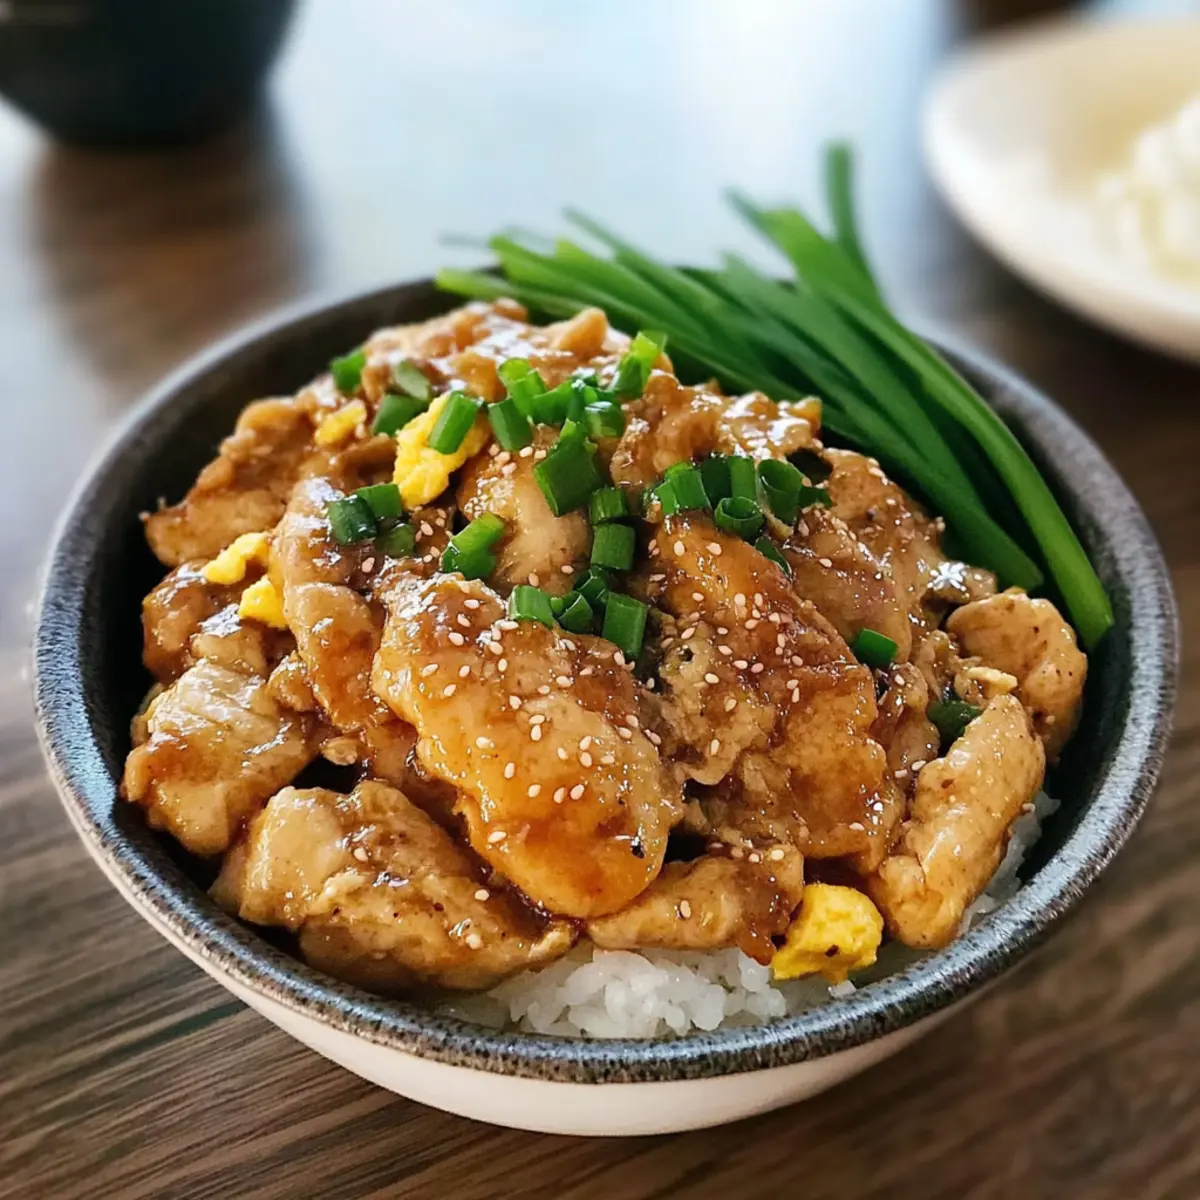
If you’re in search of a dish that warms the heart and delights the palate, look no further than Oyakodon—the enchanting Japanese Chicken and Egg Rice Bowl. This cozy meal features succulent chicken thighs nestled in a rich, umami-filled dashi egg sauce, making it a comforting favorite any time of day. Plus, it’s ready in just 30 minutes, perfect for those bustling weeknights when you crave homemade goodness without the fuss. The crispy sweet onions add texture and a touch of sweetness, complementing the high-protein chicken for a satisfying bite that you’ll want to savor. So, are you ready to dive into this charming culinary adventure and elevate your meal planning? Let’s get cooking!
Why is Oyakodon a Comfort Food Favorite?
Simplicity: This easy recipe requires minimal ingredients and steps, making it perfect for weeknight dinners.
Rich, Umami Flavor: The combination of chicken thighs and silky dashi sauce creates a mouthwatering experience that’s hard to resist.
High Protein: With 30g of protein per serving, it’s a hearty choice that will keep you satisfied longer.
Versatile Options: Customize your Oyakodon with tofu or add seasonal veggies for a twist—perfect for every dietary preference! Whether you enjoy it with a side of pickled vegetables or a refreshing salad, there’s no wrong way to savor this dish.
Ready to make this delightful Japanese Chicken and Egg Rice Bowl? You might also enjoy our Honey Lime Chicken for a flavorful twist or our Onion Chicken Rice for another comforting dish!
Japanese Chicken and Egg Rice Bowl Ingredients
• Discover what’s needed to create this comforting dish!
For the Chicken
- Boneless Chicken Thighs – The star ingredient providing rich flavor and tenderness; swap with chicken breast for a leaner option.
- Soy Sauce – Adds salty depth and umami; use tamari for a gluten-free version.
- Vegetarian Oyster Sauce – Contributes sweetness and depth; hoisin sauce makes for a great alternative.
- Black Pepper – Enhances seasoning; white pepper can be used for a milder taste.
- Cornstarch – Provides a velvety texture on the chicken; arrowroot powder is a suitable substitute.
For the Base
- Small Onion – Adds sweetness and depth; shallots can be used for a milder flavor.
- Neutral Oil – Used for frying; avocado or canola oil works best, while olive oil may alter the flavor.
- Dashi/Stock – Forms the base for the sauce, offering umami; chicken or vegetable stock is a good substitute, and instant dashi powder can be used for convenience.
- Mirin – Brings sweetness and acidity; replace with sugar and a splash of vinegar for a similar effect.
For the Finish
- Eggs – Provides richness and silkiness; consider a vegan egg substitute if avoiding eggs.
- Green Onion – For garnish, adding freshness; can be omitted if unavailable.
Step‑by‑Step Instructions for Easy Oyakodon: Silky Japanese Chicken and Egg Rice Bowl
Step 1: Season the Chicken
In a mixing bowl, combine boneless chicken thighs, soy sauce, vegetarian oyster sauce, and black pepper. Sprinkle the mixture with cornstarch, ensuring the chicken is evenly coated. Let this marinate for about 10 minutes to absorb the flavors while the ingredients meld together, making the chicken ready to shine in your Japanese Chicken and Egg Rice Bowl.
Step 2: Pan-Fry
Heat a tablespoon of neutral oil in a large non-stick pan over medium-high heat. Once the oil is shimmering, add the marinated chicken and cook for 2–3 minutes on each side until the chicken turns golden brown and is about 80% cooked through. You want it crispy on the outside yet tender on the inside. Once done, transfer the chicken to a plate and set aside.
Step 3: Sauté the Onion
In the same pan, add another splash of oil if necessary, and throw in the sliced onion. Sauté for 3–4 minutes, stirring occasionally until the onions become soft and fragrant, showcasing a sweet caramelization. The aroma will fill your kitchen, hinting at the comforting flavors of the upcoming Oyakodon.
Step 4: Add Sauce & Simmer
Pour in the dashi or stock, along with an additional splash of soy sauce and mirin into the pan with the sautéed onions. Bring the mixture to a gentle simmer, returning the chicken to the pan. Let everything simmer together for about 4 minutes, allowing the chicken to cook fully while absorbing the savory sauce that will coat your Japanese Chicken and Egg Rice Bowl.
Step 5: Finish with Eggs
Reduce the heat to low, and slowly pour in the beaten eggs around the chicken. Cover the pan and let it cook for 1–2 minutes without stirring, tilting the pan gently if needed. The goal is to have the eggs set gracefully, creating a silky texture—this is the secret to achieving the richness of your Oyakodon.
Step 6: Serve
Spoon the delicious chicken, silky egg, and sauce over a bed of steaming rice. Garnish with chopped green onions for a fresh pop of flavor. This warm and hearty Japanese Chicken and Egg Rice Bowl is now ready to be enjoyed—each bite bursting with comfort and satisfaction.
Make Ahead Options
Oyakodon is an excellent choice for meal prep, making busy weeknight dinners seamless! You can marinate the boneless chicken thighs in soy sauce and oyster sauce for up to 24 hours in advance, allowing flavors to deepen. Additionally, you can sauté the onions and store them in the refrigerator for up to 3 days. When you’re ready to enjoy your Japanese Chicken and Egg Rice Bowl, simply reheat the onions, add the dashi stock and chicken to the pan, and allow it to simmer. Finish by pouring in the eggs as instructed. This ensures your dish is just as delicious as if it were freshly prepared, saving you valuable cooking time!
How to Store and Freeze Oyakodon
Fridge: Store leftovers in an airtight container for up to 2 days. To keep the chicken and eggs from losing their texture, it’s best to store the sauce separately.
Freezer: Oyakodon can be frozen for up to 1 month. Assemble the dish without the eggs, and store in a freezer-safe container. Add fresh eggs when reheating.
Reheating: Gently reheat in a pan over low heat, adding a splash of water if necessary to prevent sticking and maintain the dish’s moisture. Enjoy your delicious Japanese Chicken and Egg Rice Bowl warm!
Make-Ahead: Prepare the chicken and sauce in advance and refrigerate for up to 2 days. Simply cook the eggs fresh right before serving for a better texture.
Expert Tips for Japanese Chicken and Egg Rice Bowl
-
Chicken Selection: Use boneless, skin-on chicken thighs for maximum juiciness and flavor; chicken breast can dry out, especially if overcooked.
-
Silky Eggs: Once you pour the beaten eggs, resist the urge to stir! This keeps the texture smooth and luscious, the hallmark of a perfect Japanese Chicken and Egg Rice Bowl.
-
Heat Control: Lower the heat before adding the eggs to avoid curdling. A gentle cook allows the eggs to set softly, ensuring that dreamy, creamy finish.
-
Flavors Balance: Taste the sauce before serving; adjust with more soy sauce or mirin if necessary to hit that umami sweet spot.
-
Vegetable Additions: For extra nutrition, feel free to toss in bell peppers or mushrooms during the sauté step. They add a delightful crunch and color to your dish!
Japanese Chicken and Egg Rice Bowl Variations
Feel free to explore these delightful twists on this classic dish, letting your taste buds guide the way!
-
Vegetarian Delight: Replace chicken with firm tofu for a plant-based alternative that soaks up all the rich flavors.
-
Extra Veggies: Add bell peppers, mushrooms, or spinach for a pop of color and a boost in nutrition, enhancing both taste and texture.
-
Spicy Kick: Incorporate a teaspoon of chili paste or sriracha into the dashi sauce for those who crave a touch of heat.
-
Vegan Version: Swap eggs for a tofu scramble and use vegetable stock to create a deliciously creamy texture without animal products.
-
Hoisin Twist: Substitute vegetarian oyster sauce with hoisin for a slightly sweeter and more aromatic flavor profile that is simply irresistible.
-
Umami Boost: Stir in a dash of fish sauce for an extra umami kick, deepening the savory notes of the dish.
-
Citrus Zing: Finish with a sprinkle of fresh lime or yuzu juice just before serving for a bright, zesty contrast to the rich sauce.
Ready to mix things up even more? Try pairing your Oyakodon with a refreshing salad or some pickled veggies for a meal that’s fresh and fulfilling. If you’re looking for more comforting ideas, check out our Onion Chicken Rice or perhaps the flavorful Honey Lime Chicken. Enjoy your culinary adventure!
What to Serve with Easy Oyakodon: Silky Japanese Chicken and Egg Rice Bowl
Enhance your dining experience with delightful sides that balance and complement this comforting rice bowl.
-
Steamed Edamame: A protein-packed snack that adds a satisfying pop of flavor. Their subtle sweetness balances the rich dashi sauce beautifully.
-
Ginger Carrot Salad: This refreshing salad brings a tangy crunch that elevates your meal. The zesty dressing cuts through the richness, making each bite more enjoyable.
-
Miso Soup: A warm bowl of miso soup acts as a gentle starter, setting the tone for your comforting feast. The umami notes intertwine seamlessly with the flavor profile of the Oyakodon.
-
Pickled Vegetables: Tangy and vibrant, these pickles offer a refreshing contrast to the rice bowl. Their crunch and acidity bring bright, bold flavors that awaken the palate.
-
Sliced Avocado: Creamy avocado adds a luxurious touch and provides healthy fats. Its buttery texture pairs wonderfully with the soft egg and chicken.
-
Cucumber Salad: Refreshing cucumbers tossed in soy sauce and sesame oil provide a light crunch. This simple side tempers the richness of the rice bowl, making it a perfect complement.
-
Green Tea: A warm cup of green tea not only cleanses the palate but also complements the dish’s flavors beautifully. Its earthy essence enhances the overall experience and offers a soothing finish.
Oyakodon (Japanese Chicken and Egg Rice Bowl) Recipe FAQs
What chicken parts work best for Oyakodon?
Absolutely! Boneless chicken thighs are recommended for their rich flavor and tenderness. If you prefer a leaner option, chicken breast can be used, but be cautious as it can dry out faster if overcooked.
How should I store leftovers of Oyakodon?
Very simply! Store any leftovers in an airtight container in the fridge for up to 2 days. To maintain the best texture for the chicken and eggs, it’s best to keep the sauce separate when storing.
Can I freeze Oyakodon? If so, how?
Yes, you can freeze it for up to 1 month! Prepare the dish without the eggs and place it in a freezer-safe container. When you’re ready to enjoy, just add fresh eggs during reheating to keep that lovely silky texture.
What if my eggs curdle when making Oyakodon?
Oh no! If your eggs curdle, this usually means the heat was too high. To avoid this, ensure you reduce the heat to low before pouring in the beaten eggs. If you ever face this issue, just stir in a splash of stock or water to smooth things out again!
Are there any dietary considerations for Oyakodon?
Certainly! For those with lactose intolerance, this recipe is low in lactose and suitable to enjoy. Plus, if you’re vegan or vegetarian, you can swap chicken for tofu and use a vegan egg substitute—just make sure it mimics the cooking method of eggs!
How long does it take to prepare Oyakodon?
Great question! This comforting dish is incredibly quick to prepare, taking just about 30 minutes from start to finish. It’s perfect for those busy weeknights when you crave something homemade without all the hassle.
Savor the Comfort: Japanese Chicken and Egg Rice Bowl Recipe
Ingredients
Equipment
Method
- In a mixing bowl, combine boneless chicken thighs, soy sauce, vegetarian oyster sauce, and black pepper. Sprinkle with cornstarch and let marinate for about 10 minutes.
- Heat a tablespoon of neutral oil in a large non-stick pan over medium-high heat. Add the marinated chicken and cook for 2–3 minutes on each side until golden brown. Transfer the chicken to a plate.
- In the same pan, add another splash of oil and sauté the sliced onion for 3–4 minutes until soft and fragrant.
- Pour in the dashi or stock, along with soy sauce and mirin. Bring to a gentle simmer and return the chicken to the pan. Let it simmer for about 4 minutes.
- Reduce the heat to low, and slowly pour in the beaten eggs around the chicken. Cover and cook for 1–2 minutes until the eggs are set.
- Spoon the chicken, egg, and sauce over a bed of rice. Garnish with green onions and enjoy your Oyakodon.
Leave a Reply