
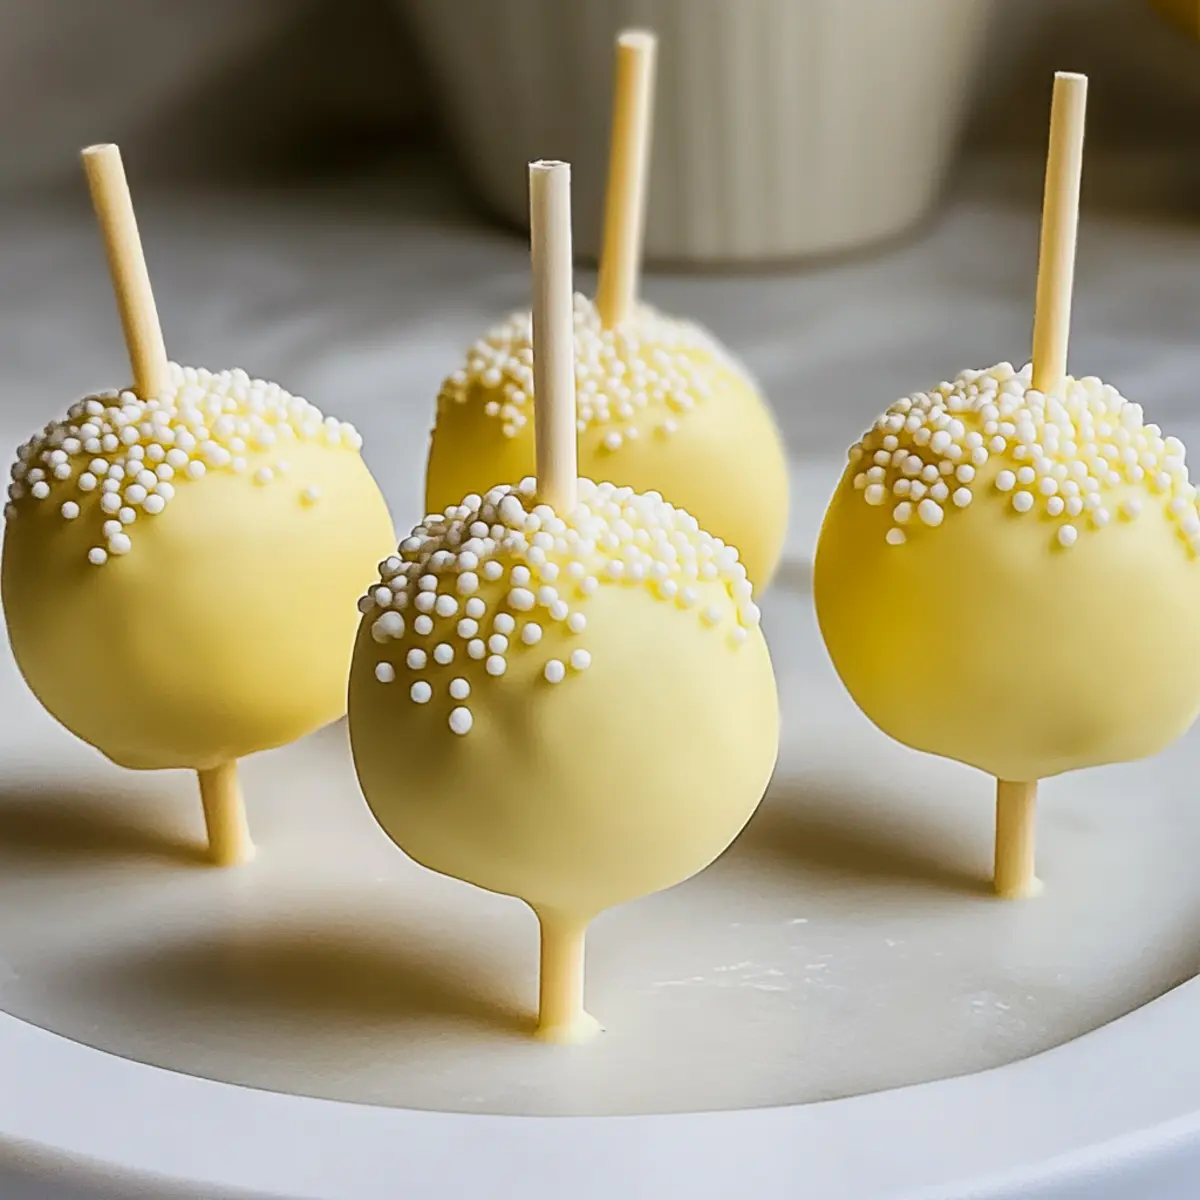
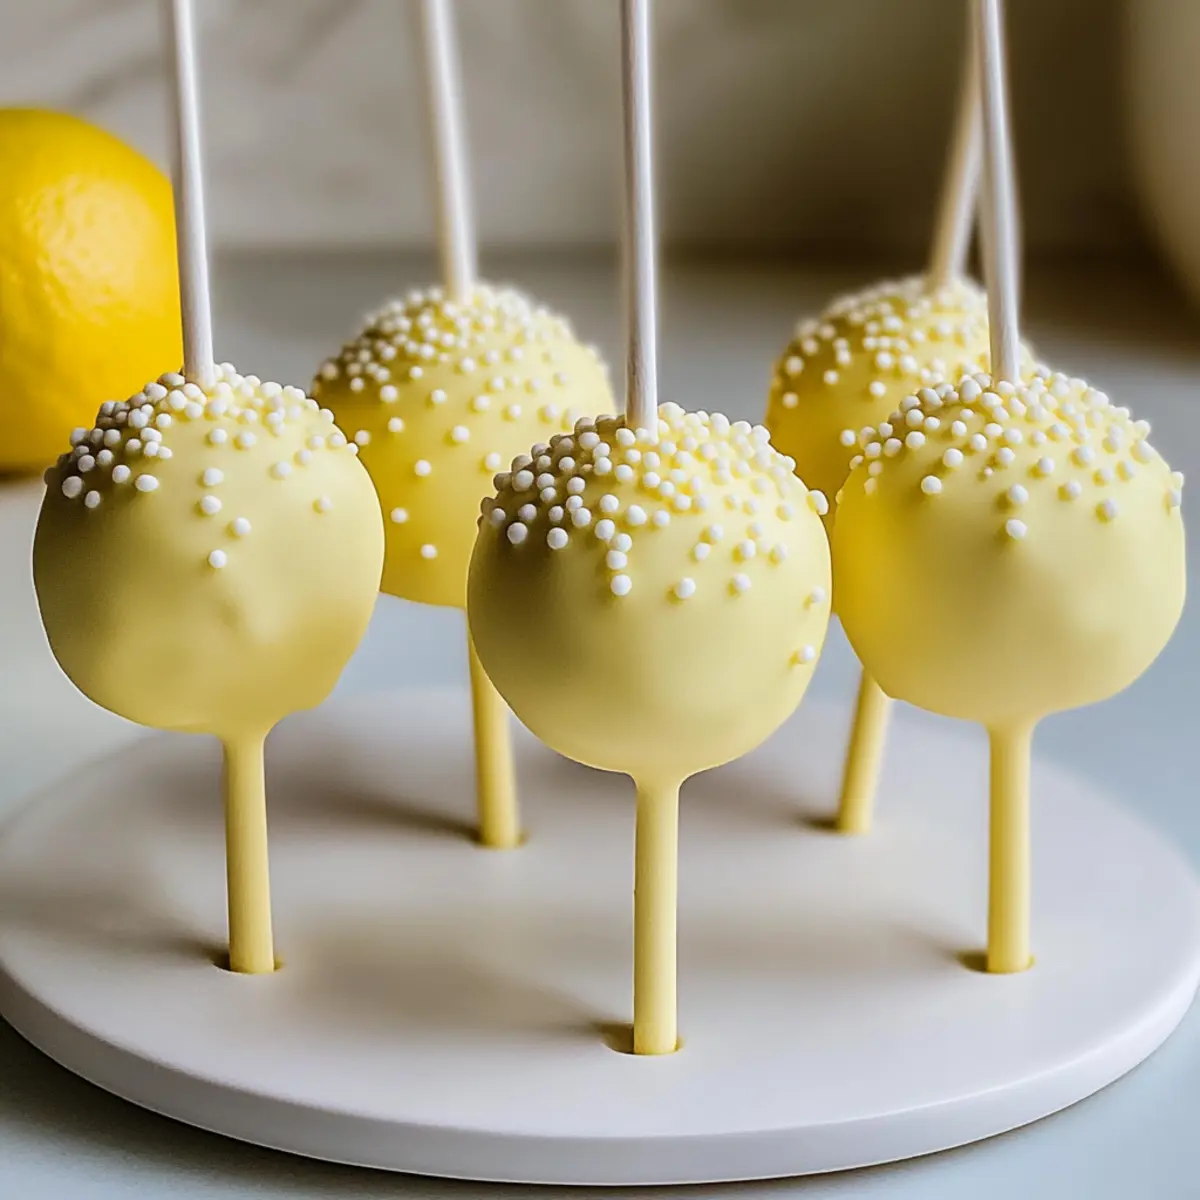
When I first laid eyes on those vibrant Lemon Cake Pops at a friend’s spring celebration, I was instantly charmed. Their sunny yellow hue and festive essence perfectly captured the spirit of the season! This Easy Lemon Cake Pops recipe might just become your go-to for cheerful gatherings, especially with Easter around the corner. Not only are these delightful treats straightforward to whip up using a box mix, but they also feature a smooth homemade buttercream that takes them to another level. The best part? They beautifully balance tanginess with sweetness, making them a hit with adults and kids alike. So, ready to impress your friends and family with a bite-sized burst of sunshine? Let’s dive into this fun, simple recipe that’s sure to brighten any occasion!
Why Are Lemon Cake Pops Perfect?
Bright, Cheerful Appearance: Every bite explodes with sunshine, making these pops a perfect fit for spring festivities!
Easy to Make: Using a box cake mix keeps preparation hassle-free, perfect for novice and seasoned bakers alike.
Tangy Sweetness: The fresh lemon flavor combined with creamy buttercream creates a delightful balance that appeals to all ages.
Versatile Treat: Great for holidays, birthdays, or casual get-togethers, these lemon pops are sure to impress! If you love unique desserts, check out my Strawberry Crunch Cheesecake for another crowd-pleaser.
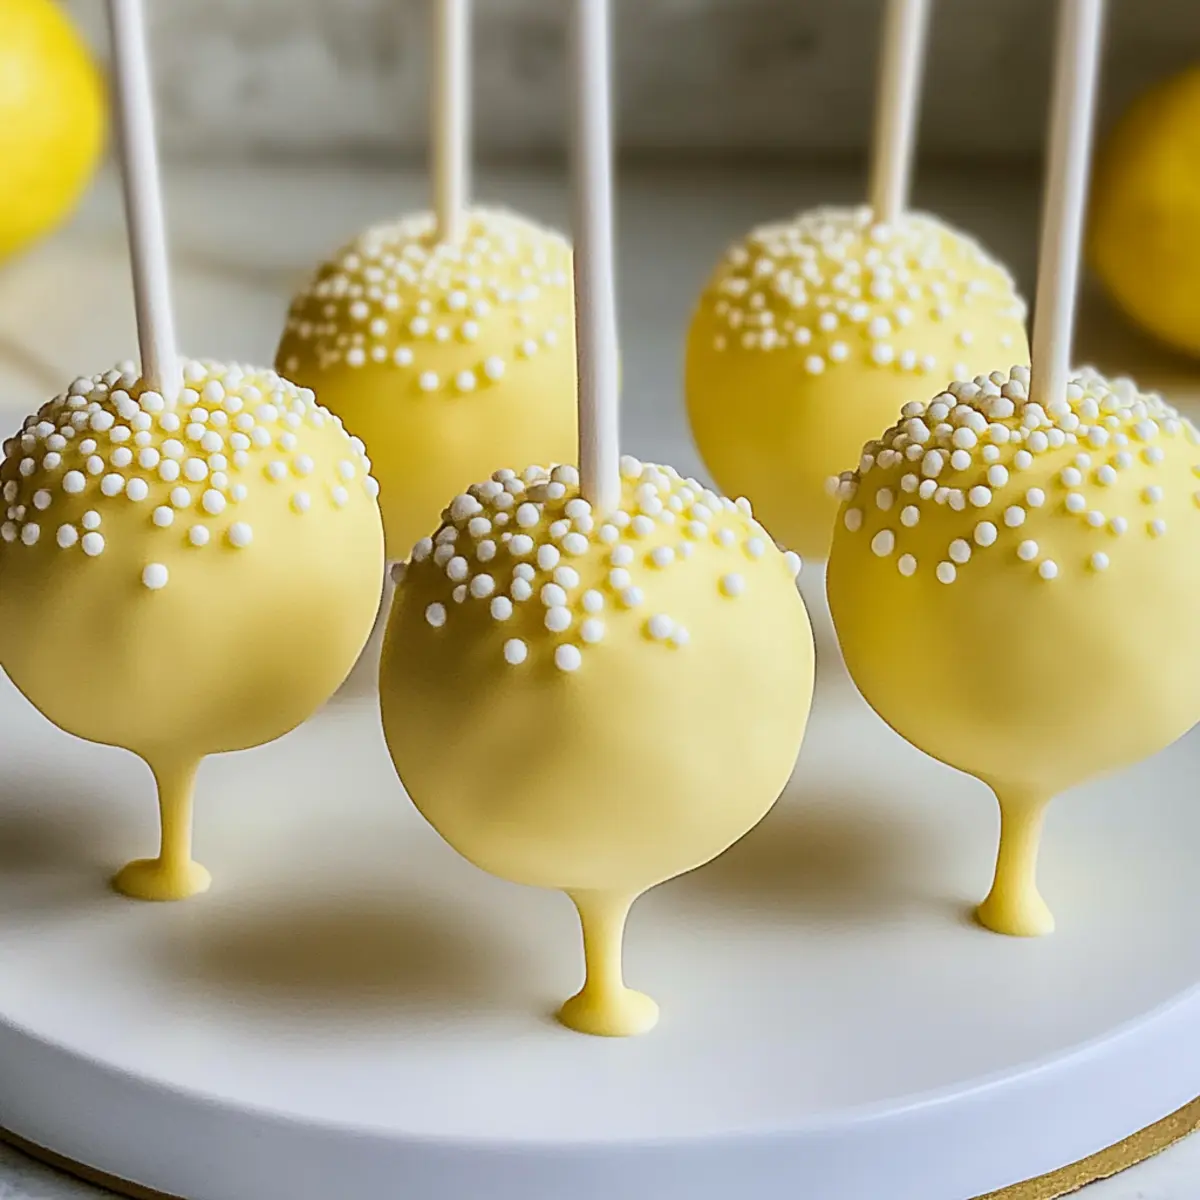
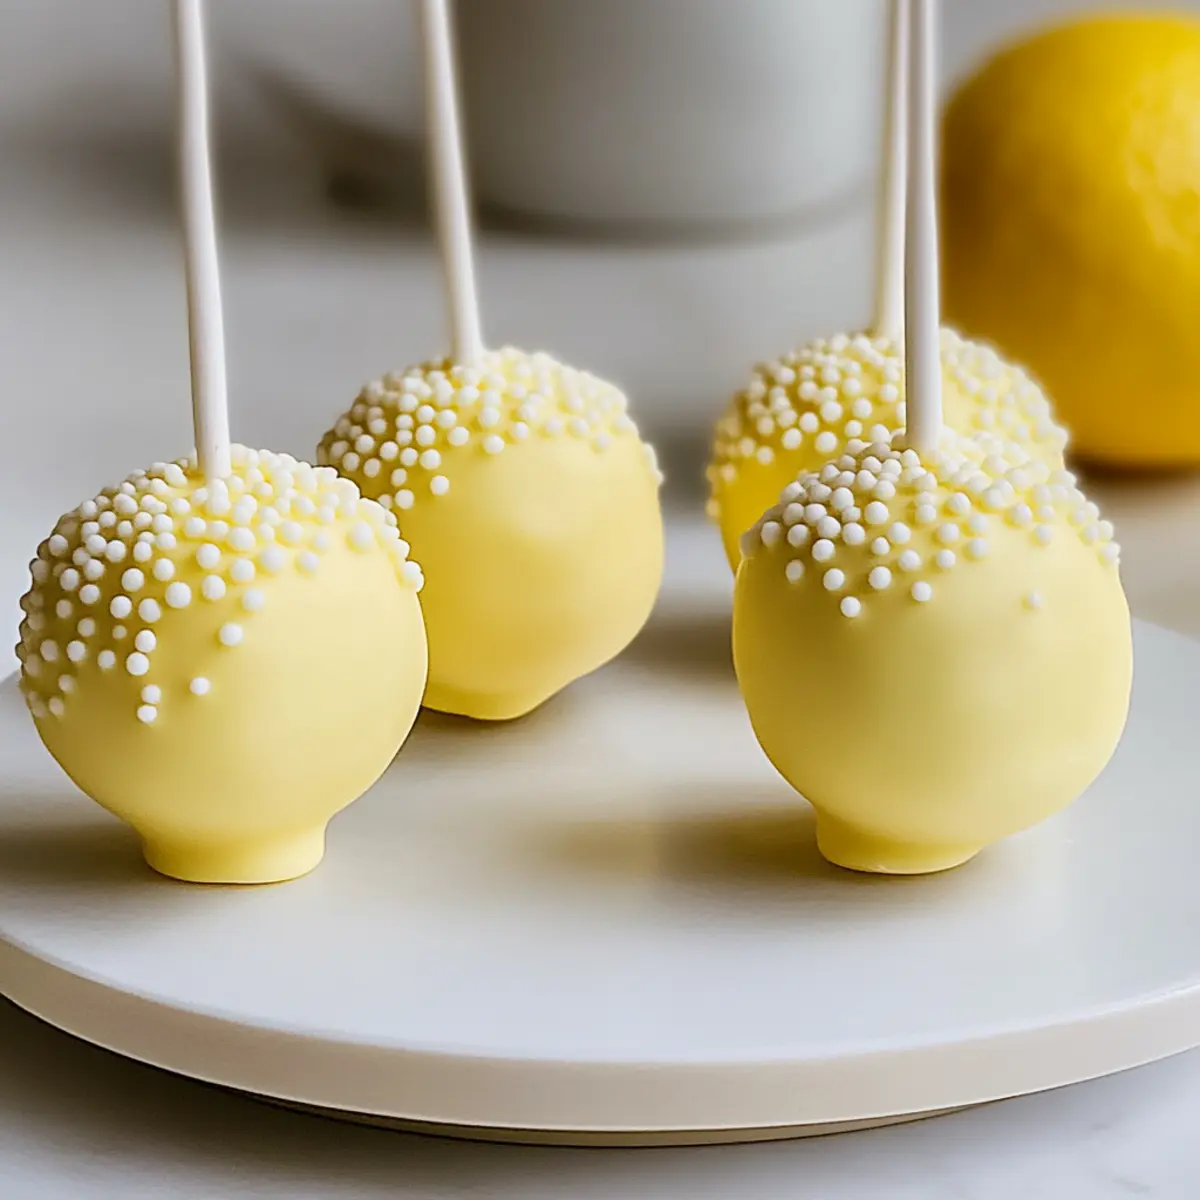
Fun to Decorate: Get creative with sprinkles or edible glitter, allowing your personality to shine through with each pop!
Lemon Cake Pops Ingredients
For the Cake
- Lemon Cake Mix – This box mix serves as the flavorful base for your Lemon Cake Pops; you can use brands like Duncan Hines for great results.
- Unsalted Butter – Softened to room temperature, this butter adds the creaminess essential for the homemade buttercream.
For the Buttercream
- Lemons (3 tablespoons) – Freshly squeezed lemon juice brings that tangy zestiness needed to enhance the buttercream’s flavor.
- Confectioner’s Sugar (4½ cups) – This sweetener thickens your buttercream; feel free to adjust for your desired sweetness level.
- Whole Milk or Heavy Cream (1½ tablespoons) – This helps achieve a smooth and luscious buttercream; non-dairy alternatives can be used if needed.
- Lemon Zest (from two lemons) – A sprinkle of zest amplifies the lemon flavor in the buttercream, making every bite refreshing.
- Salt – A pinch balances the sweetness in the buttercream nicely.
- Yellow Food Coloring – Enhance the vibrancy of both your buttercream and cake pops with this food coloring.
For the Coating
- White Chocolate Chips (12 ounces) – They form the delectable candy coating for your pops; dark chocolate is a delicious substitute for a bolder flavor.
Feel free to mix and match these ingredients to make your Lemon Cake Pops uniquely yours!
Step‑by‑Step Instructions for Lemon Cake Pops
Step 1: Bake Cake
Begin by preheating your oven to the temperature specified on the lemon cake mix package, typically around 350°F (175°C). Prepare the cake mix according to package instructions, pouring the batter into a greased baking pan. Once baked for about 25-30 minutes, check for doneness by inserting a toothpick; it should come out clean. Allow the cake to cool completely before trimming any caramelized edges.
Step 2: Make Buttercream
In a large mixing bowl, beat 1 cup of softened unsalted butter with a hand mixer for about 2 minutes, until creamy and fluffy. Gradually add in 4½ cups of confectioner’s sugar, mixing it gently to prevent a sugary cloud. Incorporate 3 tablespoons of fresh lemon juice, lemon zest from two lemons, 1½ tablespoons of milk, a pinch of salt, and yellow food coloring until you reach your desired brightness, blending until smooth.
Step 3: Prepare Cake Mixture
Once your cake is fully cooled, crumble it into small pieces in a large bowl. Gradually mix in the buttercream, starting with about ¼ cup at a time. Use your hands to blend until the mixture resembles a dough-like consistency, which should be moist but not overly sticky. Aim for a smooth texture that holds together well, ensuring your lemon cake pops are delightful!
Step 4: Form Balls
Using about 2 tablespoons of the cake mixture, roll it into a perfect ball using your palms. Repeat this process until you have 12 evenly-sized balls, ensuring they are tightly packed. Arrange the cake balls on a lined baking sheet and chill in the refrigerator for about 2 hours, allowing them to firm up and set, making them easier to coat later.
Step 5: Melt Chocolate
While the cake balls chill, melt 12 ounces of white chocolate chips in a microwave-safe bowl. Heat in 30-second intervals, stirring in between until smooth and perfectly melted. If desired, add yellow food coloring to the melted chocolate to enhance its color. Ensure the chocolate is not too hot to avoid burning yourself while working on the next steps.
Step 6: Assemble Cake Pops
Take the chilled cake balls from the refrigerator and dip the tips of 12 lollipop sticks into the melted chocolate before inserting them into the center of each cake ball. Insert the sticks about halfway through, ensuring they are secure. Next, dip each cake pop in the remaining melted chocolate, covering it completely. Allow any excess chocolate to drip off gently.
Step 7: Decorate
Before the chocolate coating sets, get creative! Add colorful sprinkles or edible glitter on top of your coated cake pops for festive flair. Finally, place the pops upright in a Styrofoam block or a cardboard base to hold them in place while they cool completely. This will ensure a beautiful finish for your delightful lemon cake pops.
Lemon Cake Pops: Variations & Substitutions
Feel free to let your creativity flow and make these Lemon Cake Pops uniquely yours with these easy and delicious twists!
-
Vanilla Cake Mix: Swap the lemon cake mix for a vanilla version to enjoy a sweeter, less tangy option. This change allows a lovely, subtle flavor while still keeping the cake pop experience enjoyable.
-
Almond Extract: Instead of lemon juice, use a few drops of almond extract in the buttercream for a rich, nutty flavor that pairs beautifully with lemon.
-
Dark Chocolate Coating: Replace the white chocolate coating with dark chocolate for a deeper, more intense flavor contrast against the lemony brightness.
-
Coconut Shredding: Roll the finished cake pops in shredded coconut after coating with chocolate for an added layer of flavor and a tropical twist that will surprise your guests.
-
Crunchy Texture: Mix in finely chopped nuts (like pistachios or almonds) into the cake mixture for a delightful crunch with every bite, making each pop even more satisfying.
-
Spicy Kick: Add a pinch of cayenne pepper to the chocolate coating for a surprising and delicious heat that perfectly complements the tangy lemon.
-
Fruit-Infused Buttercream: Incorporate other fruit purees such as raspberry or strawberry into the buttercream for a vibrant, fruity twist that complements the lemon flawlessly.
-
Matcha Swirl: Blend in a bit of matcha powder into the buttercream for a unique color and subtle earthy flavor that enhances the overall aesthetic and taste.
For more creative dessert ideas, don’t miss out on my Cinnamon Roll Pancakes or elevate your gathering with my delightful Strawberry Crunch Cheesecake. Enjoy experimenting and making these treats your own!
Storage Tips for Lemon Cake Pops
- Fridge: Keep your Lemon Cake Pops stored in an airtight container in the refrigerator for up to 4 days. This helps maintain their freshness and vibrant flavor.
- Room Temperature: For the best texture, you can let them sit at room temperature for about 30 minutes before serving. This makes them soft and delightful!
- Freezer: Avoid freezing your cake pops, as the chocolate coating can develop cracks when defrosted, compromising their beautiful appearance.
- Reheating: No reheating is necessary for these treats; simply enjoy them cool or at room temperature for the best experience!
Make Ahead Options
These Lemon Cake Pops are a fantastic dessert to prep in advance, saving you time on a busy day! You can prepare the cake mixture and chill it for up to 24 hours before forming the pops. Simply bake the cake, crumble it, and mix in the buttercream as instructed, then roll the mixture into balls and refrigerate. To maintain their quality, ensure you keep the cake pops wrapped tightly in plastic wrap or an airtight container while chilling. When you’re ready to serve, dip them in melted chocolate and add your favorite sprinkles for a delightful finish that’s just as delicious as if you made them fresh!
What to Serve with Easy Lemon Cake Pops
These zesty delights not only brighten up dessert tables but also pair beautifully with various sides and sips.
-
Refreshing Lemonade: The tangy zing complements the cake pops, enhancing their citrus flavor while providing a refreshing sip.
-
Mixed Berry Salad: A medley of ripe berries adds a sweet and fruity balance, making each bite of cake pop feel even more joyful.
-
Vanilla Ice Cream: The creamy smoothness of vanilla ice cream enriches the lightness of the lemon, creating an indulgent dessert experience.
-
Coconut Macaroons: Their chewiness and hint of tropical flavor harmonize perfectly with the bright lemony essence of the pops.
-
Sparkling Water with Lime: This effervescent drink offers a refreshing contrast and enhances the zestiness of the cake pops, keeping the party light and bubbly.
-
Chocolate Dipped Strawberries: The rich sweetness of chocolate pairs beautifully with the tartness of lemon, creating a deliciously complementary dessert duo.
These pairings bring out the best in your Lemon Cake Pops, transforming them into an unforgettable treat that friends and family will adore!
Expert Tips for Lemon Cake Pops
-
Cool Completely: Ensure the cake is completely cooled before crumbling to prevent excess moisture which can affect texture.
-
Buttercream Gradually: When mixing the cake and buttercream, add the buttercream slowly to achieve a creamy consistency without overpowering the cake.
-
Stick Adherence: Dip the tips of lollipop sticks into the melted chocolate before inserting them; this helps the sticks stay put and prevents any slips.
-
Chilling Time: Be sure to chill the formed cake balls for at least 2 hours; this ensures they hold their shape during the dipping process.
-
Avoid Freezing: Refrigerate the final product for storage; avoid freezing to prevent cracking of the chocolate coating for your lemon cake pops.
Lemon Cake Pops Recipe FAQs
What kind of lemon cake mix should I use?
Absolutely! Any lemon cake mix will work, but I recommend using popular brands such as Duncan Hines or Betty Crocker. They deliver consistent results and a delicious flavor that pairs perfectly with the homemade buttercream.
How long can I store lemon cake pops?
Store your Lemon Cake Pops in an airtight container in the refrigerator for up to 4 days. Keeping them refrigerated helps retain their freshness and zesty flavor. If you need to serve them later, let them sit at room temperature for about 30 minutes before enjoying for the best texture.
Can I freeze lemon cake pops?
I definitely advise against freezing your Lemon Cake Pops. Freezing can cause the chocolate coating to crack upon thawing, which affects their delightful appearance. Instead, refrigerate them for freshness and bring them to room temperature when ready to serve.
What should I do if my cake pops are falling apart?
If you find your cake pops falling apart during assembly, it’s likely due to either moisture or insufficient chilling. Make sure your cake is completely cooled before crumbling, and chill the formed balls for at least 2 hours to firm them up. You can also try adding a little more buttercream, blending it in until the mixture holds together better.
Are there any dietary considerations for lemon cake pops?
Certainly! If anyone in your group has allergies, be aware that the cake mix and buttercream contain gluten and dairy. You can substitute a gluten-free cake mix and use non-dairy butter and milk alternatives to accommodate those with dietary restrictions. Just remember to check all ingredient labels for allergens.
Can I make these lemon cake pops ahead of time?
Very! You can prepare the cake mixture in advance and chill it for up to 24 hours before rolling into balls. Just ensure to keep the mixture covered in the fridge, which makes it super convenient for last-minute gatherings or parties.
Lemon Cake Pops: Sweet, Tangy Bites of Joy for Any Occasion
Ingredients
Equipment
Method
- Preheat your oven to 350°F (175°C) and prepare the cake mix according to the package instructions.
- Bake the cake for 25-30 minutes. Allow it to cool completely before trimming any caramelized edges.
- In a mixing bowl, beat 1 cup of softened unsalted butter until creamy. Gradually mix in 4.5 cups of confectioner’s sugar, then add 3 tablespoons of lemon juice, lemon zest, 1.5 tablespoons of milk, salt, and yellow food coloring. Blend until smooth.
- Crumble the cooled cake into a large bowl, mixing in the buttercream gradually until the mixture reaches a dough-like consistency.
- Roll 2 tablespoons of the mixture into balls. Chill for 2 hours on a lined baking sheet.
- Melt 12 ounces of white chocolate chips in a microwave-safe bowl, stirring until smooth. Optionally add yellow food coloring to the melted chocolate.
- Dip the tips of lollipop sticks into melted chocolate before inserting them into the center of each cake ball. Dip the entire ball in the chocolate coating and allow excess to drip off.
- Decorate with sprinkles or edible glitter before the chocolate sets. Place the pops upright in a Styrofoam block or cardboard base.
Leave a Reply