
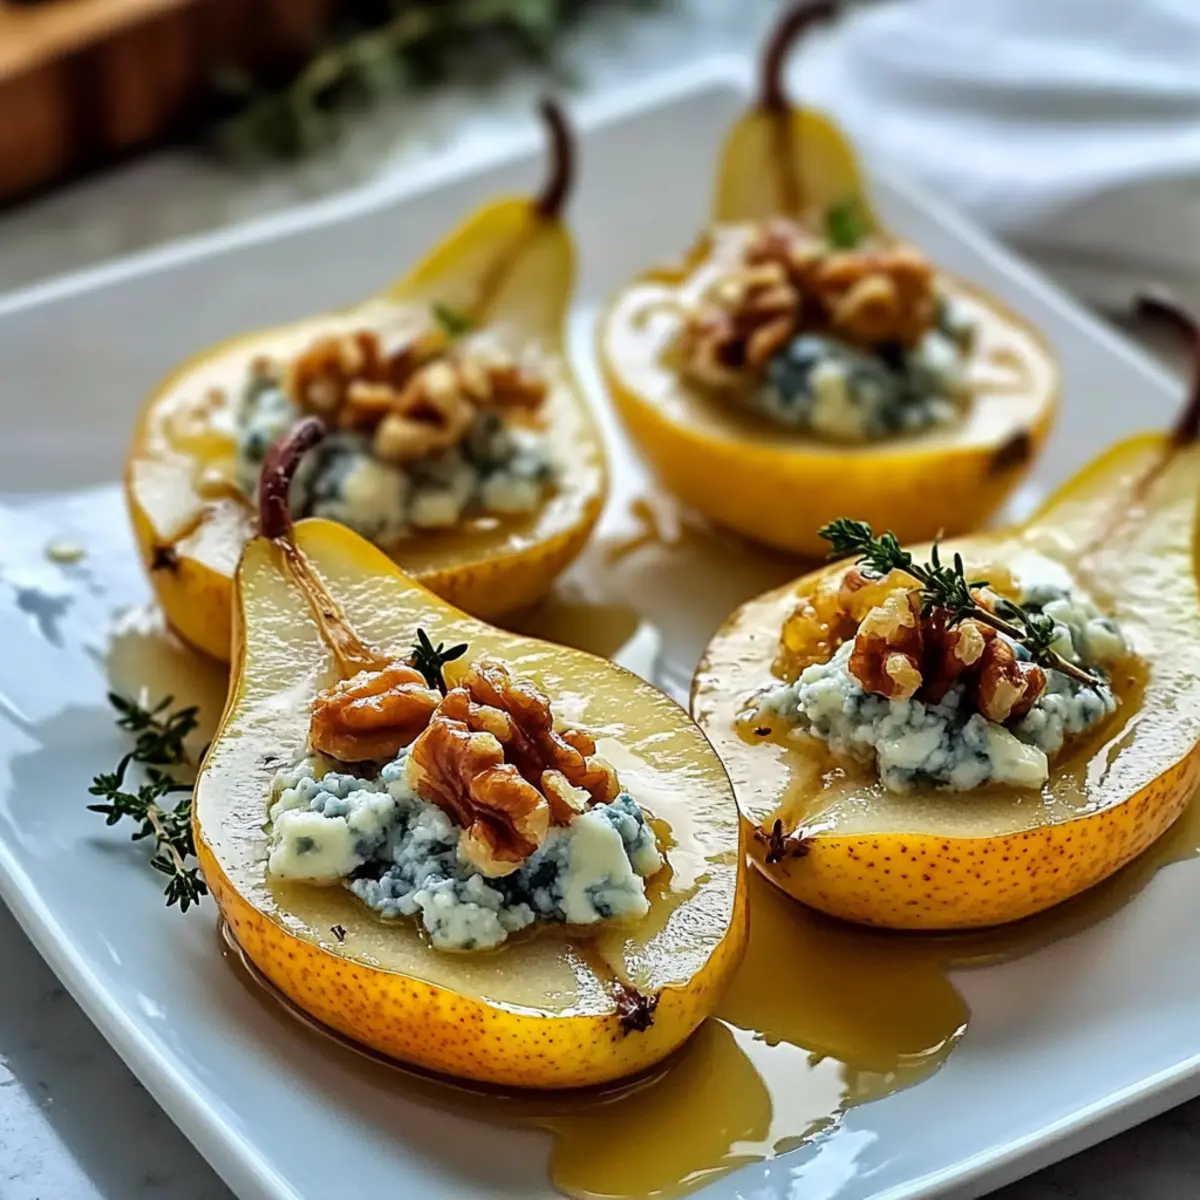
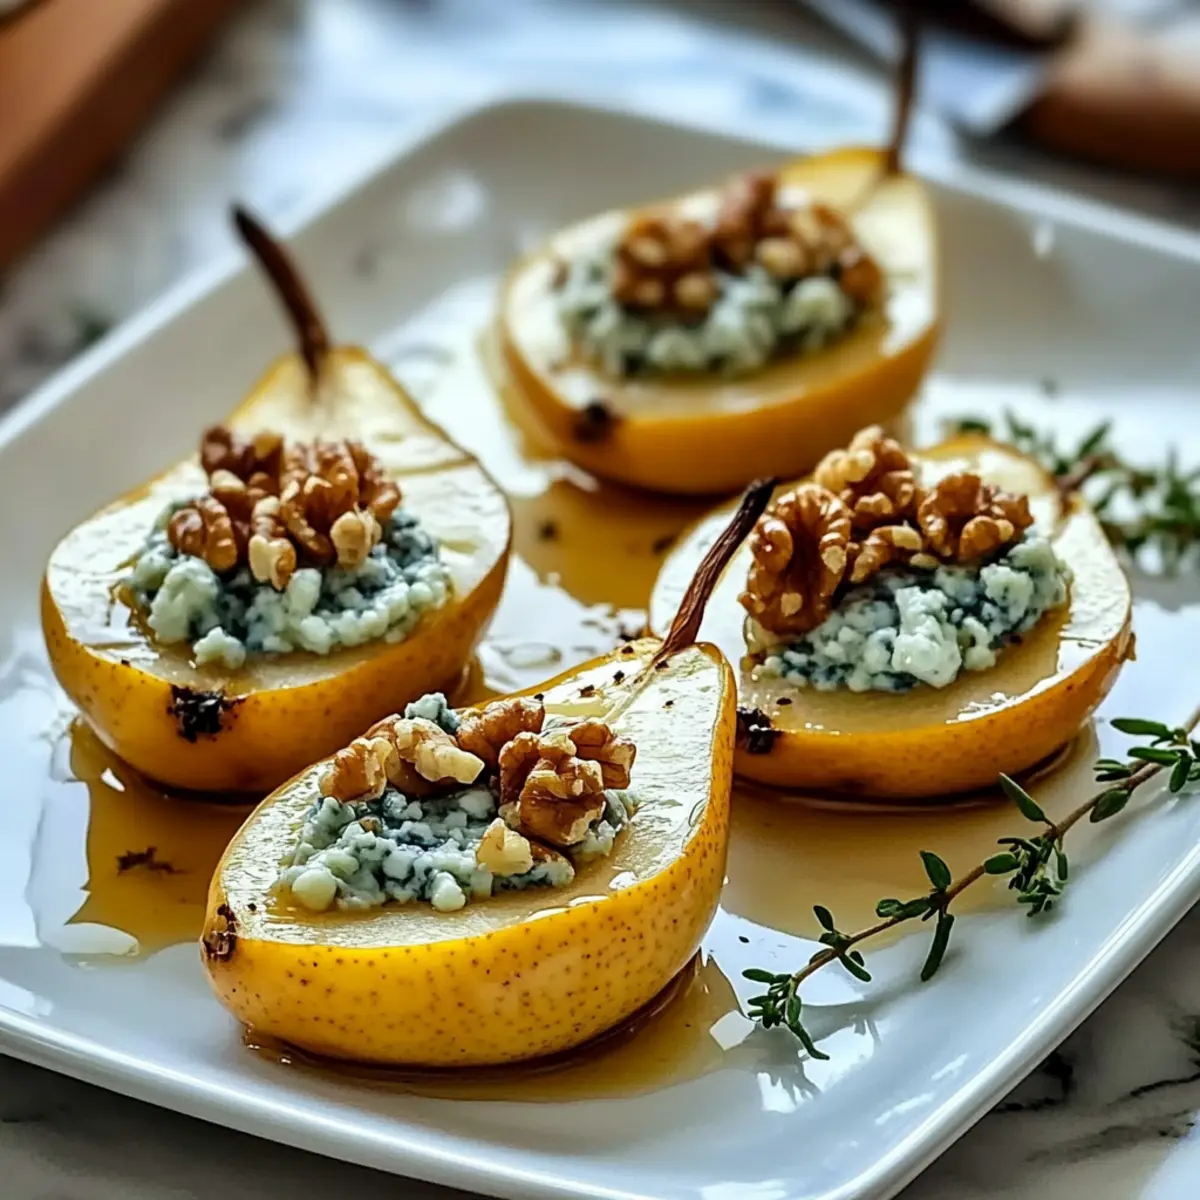
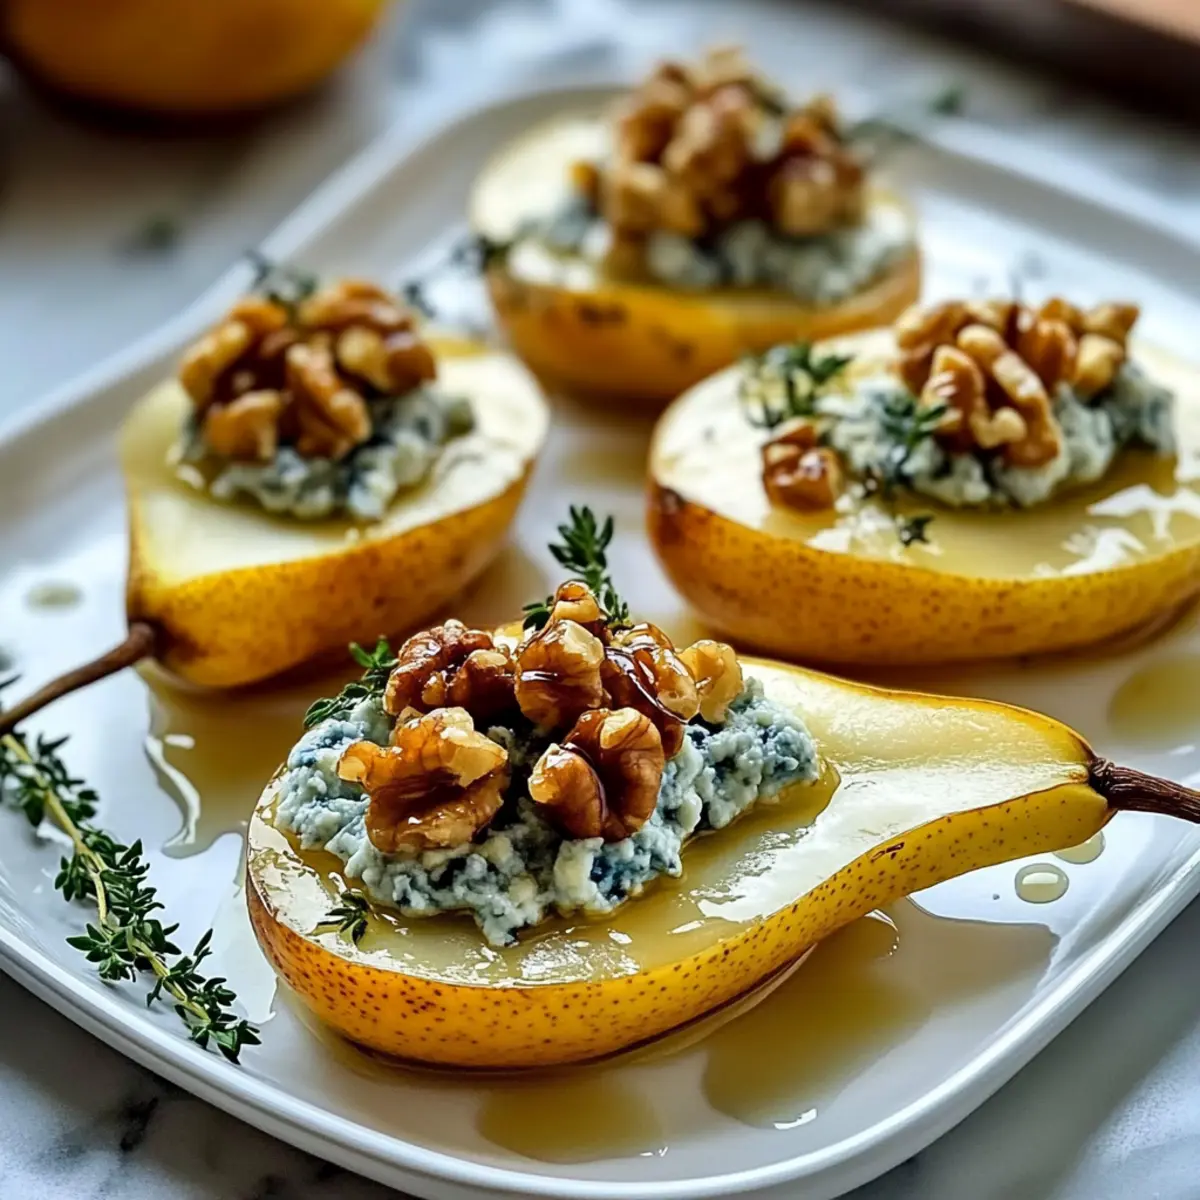
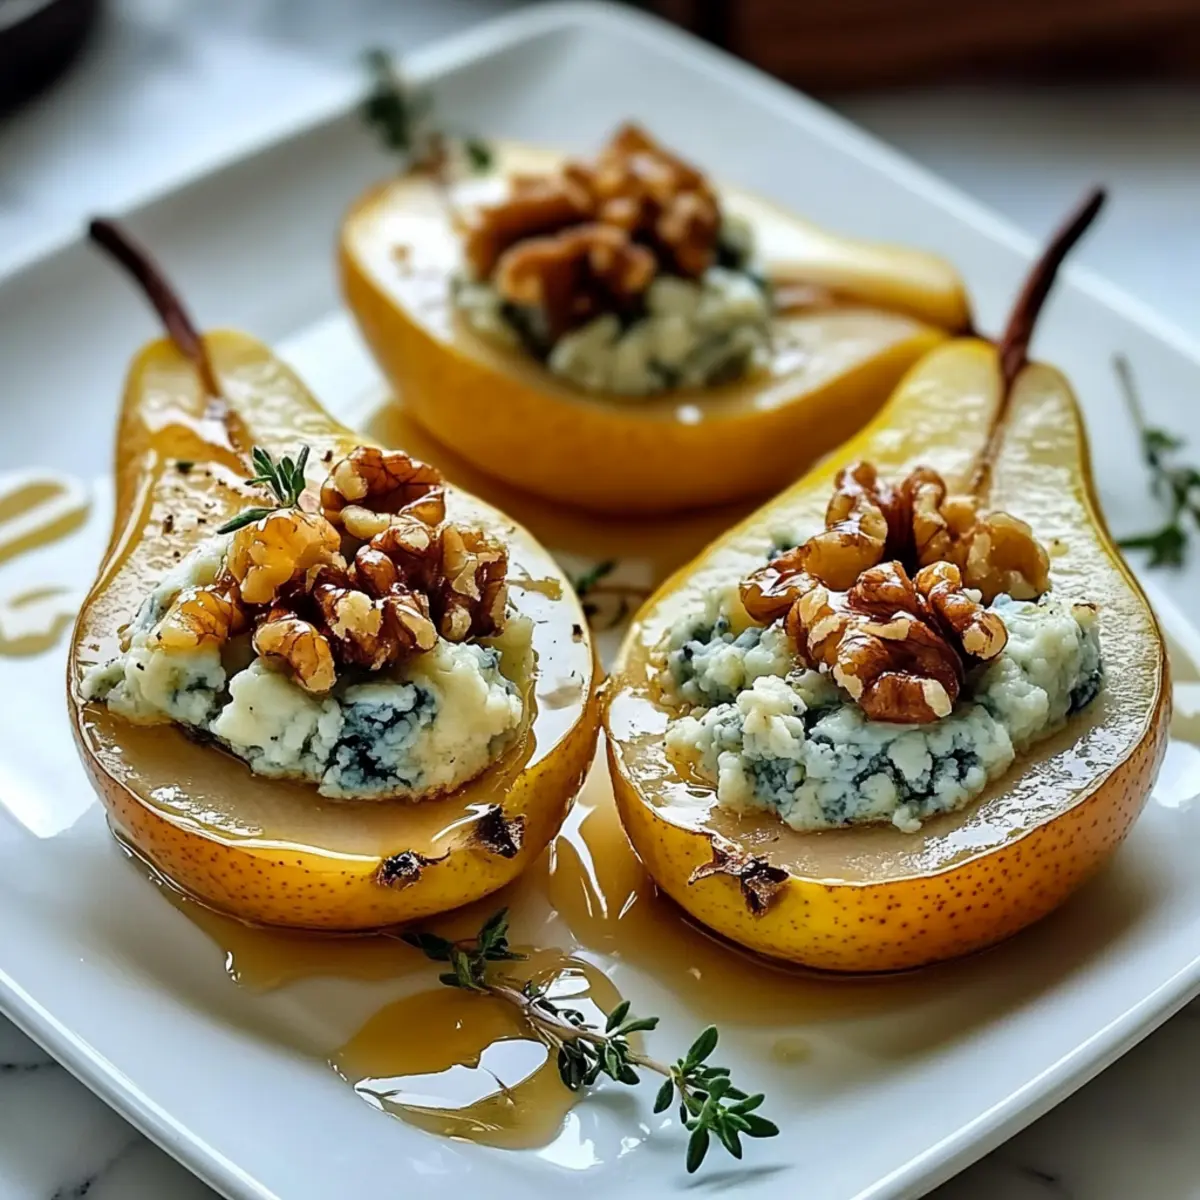
Stepping into my kitchen with a basket of ripe pears feels like uncovering a treasure chest, brimming with possibilities. Among the many culinary delights I adore, Elegant Blue Cheese Stuffed Pears stand out for their simplicity and stunning presentation. The creamy blue cheese melds beautifully with the natural sweetness of the pears, creating a symphony of flavors that’s both elegant and comforting. Best of all, this quick and versatile recipe comes together in just 30 minutes, making it perfect for impressing guests or enjoying as a delightful snack. Whether served warm as an appetizer or transformed into a sophisticated dessert, these stuffed pears are sure to elevate any meal. Curious about how to make these vibrant bites that marry sweet with savory so effortlessly? Let’s dive in!
Why Try Blue Cheese Stuffed Pears?
Elevated Dining: These Elegant Blue Cheese Stuffed Pears transform simple ingredients into a restaurant-quality dish that wows guests.
Quick Preparation: With just 30 minutes needed, this recipe is perfect for a spontaneous gathering or a cozy night in.
Versatile Flavor Combinations: Enjoy them as a savory appetizer or a sweet dessert. You can even explore variations like Apple Goat Cheese for a twist!
Stunning Presentation: Their visual appeal makes them a standout centerpiece at any table, impressing family and friends alike.
Vegetarian-Friendly: This dish caters to various diets by offering adaptable cheese options and a delightful experience free of meat.
Give these pears a try, and enjoy a sophisticated yet simple culinary indulgence that’s sure to become a beloved favorite!
Blue Cheese Stuffed Pears Ingredients
For the Pears
• Pears – Choose ripe but firm varieties like Bosc or Anjou for the best texture and sweetness.
• Olive Oil – Lightly coat the pears to promote caramelization while baking.
For the Filling
• Blue Cheese – Adds a creamy, bold flavor; substitute with goat cheese for a milder taste or ricotta for extra softness.
• Walnuts/Pecans – Use raw or toasted nuts for crunch; toasting intensifies their flavor!
• Thyme – Provides an earthy aroma; swap for fresh rosemary if you prefer a different herb.
For the Finish
• Honey – Drizzle for added sweetness and gloss; adjust according to your taste!
• Black Pepper – A sprinkle balances the dish’s richness; can be omitted for a milder flavor.
These Blue Cheese Stuffed Pears not only offer a delightful combination of demographics but also a blend of flavors that will enhance any meal!
Step‑by‑Step Instructions for Blue Cheese Stuffed Pears
Step 1: Preheat & Prepare
Begin by preheating your oven to 375°F (190°C). While the oven warms up, prepare a baking dish by lining it with parchment paper or lightly greasing it with olive oil to prevent sticking. This will ensure your Elegant Blue Cheese Stuffed Pears bake evenly and release easily once done.
Step 2: Cut & Hollow Pears
Carefully halve the ripe pears lengthwise, using a sharp knife for clean cuts. With a small spoon or melon baller, gently scoop out the core of each half, creating enough of a hollow to hold the filling. Aim to leave some fruit at the bottom to maintain the pear’s shape and integrity during baking.
Step 3: Oil the Pears
Once the pears are halved and hollowed, brush the cut sides with a light coating of olive oil. This step enhances browning and caramelization while baking, giving your Blue Cheese Stuffed Pears a beautiful golden color. Place the pear halves, cut-side up, in the prepared baking dish, ensuring they are spaced out for even cooking.
Step 4: Mix Filling
In a mixing bowl, combine the creamy blue cheese with your choice of walnuts or pecans and a sprinkle of fresh thyme. Use a fork to blend the ingredients until they’re evenly distributed, and the mixture becomes cohesive. The filling should be creamy but firm enough to hold its shape when stuffed into the pears.
Step 5: Stuff Pears
Generously fill each hollowed pear half with the blue cheese mixture, mounding it slightly above the edges for an appealing presentation. Don’t be shy—this filling is the star of the dish! The richness of the cheese against the sweet pear will create a delectable contrast once baked.
Step 6: Bake
Gently place the baking dish in the preheated oven and bake the pears for 15 to 18 minutes. Look for the pears to become tender to the fork but not mushy, while the cheese filling softens and begins to bubble slightly. This is when the flavors meld together beautifully, creating a lovely aroma throughout your kitchen.
Step 7: Finish & Serve
Once baked, remove the pears from the oven and drizzle them with honey, allowing it to cascade over the cheese and nuts. Sprinkle a dash of black pepper on top to enhance the flavors without overpowering them. Serve your Elegant Blue Cheese Stuffed Pears warm or at room temperature, and enjoy the delightful harmony of sweet and savory in every bite.
How to Store and Freeze Blue Cheese Stuffed Pears
Fridge: Store any leftover Blue Cheese Stuffed Pears in an airtight container for up to 3 days. Keep them covered to maintain freshness and flavor.
Freezer: For longer storage, freeze the stuffed pears after baking. Wrap each pear individually in plastic wrap, then place them in a freezer bag for up to 2 months.
Reheating: To reheat, thaw in the fridge overnight, then warm in the oven at 350°F (175°C) for about 10-15 minutes until heated through.
Make-Ahead: Prepare the pears in advance and keep them in the fridge for several hours before baking. Allow them to sit at room temperature for 10-15 minutes to ensure even cooking.
Blue Cheese Stuffed Pears: Creative Twists
Embrace your culinary creativity by exploring these delightful variations to elevate your Blue Cheese Stuffed Pears!
-
Goat Cheese: Swap blue cheese for tangy goat cheese for a creamier, milder alternative. This luscious swap provides a refreshing twist that balances beautifully with the pear’s sweetness.
-
Ricotta Delight: Enjoy a softer filling by using ricotta cheese instead of blue cheese. This gives the dish a light, fluffy texture, creating a delightful contrast to the pears.
-
Nuts of Your Choice: Replace walnuts or pecans with your favorite nuts such as almonds or hazelnuts. Each nut will bring its own unique flavor and crunch, anchoring this dish in a new direction.
-
Herb Swap: If you prefer a different aromatic flavor, try substituting thyme with fresh rosemary. This fragrant herb will add a refreshing layer that lifts the dish while still pairing well with the pears.
-
Honey Variation: Amplify the sweetness by infusing honey with a splash of balsamic vinegar or citrus zest. This extra kick creates a harmonious blend of sweet and tangy that’s absolutely divine.
-
Dessert Evolution: Elevate the dish into dessert territory by topping with a scoop of vanilla ice cream or whipped cream. The creamy addition balances the flavors, making for an unforgettable sweet treat!
-
Spice It Up: For a hint of heat, sprinkle a pinch of cayenne pepper or chili flakes into the cheese mixture. This subtle warmth adds intrigue and depth, taking your Blue Cheese Stuffed Pears to new flavor heights.
-
Presentation Styles: Serve each stuffed pear on a bed of arugula or mixed greens for a stunning visual presentation. A generous drizzle of balsamic glaze can also enhance the dish and add complexity to every bite.
These variations doesn’t just keep things exciting; they also allow you to cater to diverse tastes and embrace your inner chef. Just like with my other favorite recipes, such as Cottage Cheese Wraps, every twist can be savored in its unique way!
Make Ahead Options
These Elegant Blue Cheese Stuffed Pears are perfect for busy home cooks looking to save time! You can prepare the stuffed pears up to 24 hours in advance by following the initial steps and refrigerating them after stuffing. To maintain their quality, cover the dish tightly with plastic wrap to prevent drying out. When you’re ready to serve, simply bake the pears straight from the fridge; just remember to add an extra 2-3 minutes to the baking time for even cooking. Drizzle with honey and sprinkle with black pepper right before serving, and you’ll enjoy the same delicious, charming flavor without the last-minute rush!
What to Serve with Elegant Blue Cheese Stuffed Pears
There’s nothing quite like a meal rounded out with delightful pairings that enhance your dining experience.
-
Arugula Salad: Crisp arugula adds a peppery freshness that beautifully contrasts the sweet and savory stuffed pears.
-
Balsamic Glaze Drizzle: A rich, tangy balsamic reduction will elevate the flavors of the dish, adding a delightful acidity to balance the creaminess.
-
Candied Walnuts: Sweet, crunchy walnuts bring extra texture and warmth, complementing the nuts in your stuffed pears for a unified flavor profile.
-
Honey-Glazed Carrots: Roasted carrots with a touch of honey echo the sweetness of the pears, creating a harmonious harmony of flavors on your plate.
-
Creamy Polenta: Smooth and comforting, polenta serves as a lush base that pairs beautifully with the stuffed pears, absorbing their glorious flavors.
-
Glass of Sauvignon Blanc: A crisp, chilled Sauvignon Blanc will enhance the dish’s flavors and cleanse your palate with each bite.
Let your Elegant Blue Cheese Stuffed Pears shine by serving them with these delightful pairings for a well-rounded, unforgettable meal.
Expert Tips for Blue Cheese Stuffed Pears
-
Choose the Right Pears: Ripe but firm pears like Bosc or Anjou work best. Overripe pears can become mushy when baked, ruining texture.
-
Toast Your Nuts: Toasting walnuts or pecans before mixing them in enhances their flavor significantly. This simple step makes a world of difference!
-
Cool Before Baking: If you prep the stuffed pears in advance, let them sit at room temperature for 10-15 minutes before baking. This ensures even cooking throughout.
-
Honey Control: Drizzle honey lightly to enhance sweetness without overpowering the dish. You can always add more after tasting!
-
Season Mindfully: A sprinkle of black pepper adds depth, but keep in mind that too much can overshadow the pear’s delicate flavor. Adjust to your liking!
Blue Cheese Stuffed Pears Recipe FAQs
How do I choose ripe pears for this recipe?
Absolutely! When selecting pears, look for Bosc or Anjou varieties that are ripe but still firm to the touch. They should have a little give when gently pressed near the stem but not feel mushy. Avoid pears with dark spots or blemishes, as these can indicate over-ripeness.
How should I store leftover Blue Cheese Stuffed Pears?
You can store any leftover Blue Cheese Stuffed Pears in an airtight container in the fridge. They will maintain their freshness for up to 3 days. Be sure to cover them well, as this will prevent them from drying out and losing their delightful flavor.
Can I freeze Blue Cheese Stuffed Pears? What’s the best method?
Very! To freeze your stuffed pears, first let them cool completely after baking. Wrap each pear individually in plastic wrap, then place them in a freezer bag, ensuring to remove as much air as possible. They can stay in the freezer for up to 2 months. When you’re ready to enjoy them, thaw in the fridge overnight and reheat at 350°F (175°C) for about 10-15 minutes until heated through.
What are some common issues when making Blue Cheese Stuffed Pears, and how can I avoid them?
I often hear about pears coming out either too hard or too mushy. To avoid this, make sure to choose ripe but firm pears—overripe ones can collapse during baking. If you prep the stuffed pears in advance, let them rest at room temperature for 10-15 minutes before baking. This helps ensure even cooking and a nicely textured result. And remember, if the cheese filling leaks out, it’s often because they were overstuffed—don’t hesitate to mound, but leave a little room.
Are Blue Cheese Stuffed Pears suitable for people with allergies, like dairy?
Absolutely! For those with dairy allergies or those who prefer a lighter flavor, you can substitute the blue cheese with goat cheese for a milder experience or ricotta for a soft and creamy texture. Always double-check the ingredients of other components like nuts and honey to cater to any dietary restrictions.
Can I make Blue Cheese Stuffed Pears in advance?
Yes, you can! Prepare the pears ahead of time by stuffing them and then covering them in the refrigerator for several hours. Allow them to sit at room temperature for 10-15 minutes before baking to ensure they cook evenly. This way, they remain a convenient option for last-minute entertaining.
Blue Cheese Stuffed Pears: A Quick Elegant Delight
Ingredients
Equipment
Method
- Preheat your oven to 375°F (190°C). Line a baking dish with parchment paper or grease it with olive oil.
- Halve the pears lengthwise and scoop out the cores with a spoon or melon baller, leaving enough fruit at the bottom.
- Brush the cut sides of the pears with olive oil and place them cut-side up in the baking dish.
- In a mixing bowl, combine blue cheese, walnuts or pecans, and thyme until well mixed.
- Stuff each pear half generously with the filling, mounding it slightly above the edges.
- Bake the pears for 15 to 18 minutes, until tender, and the cheese is bubbling.
- Remove from the oven and drizzle with honey, then sprinkle with black pepper before serving.
Leave a Reply