
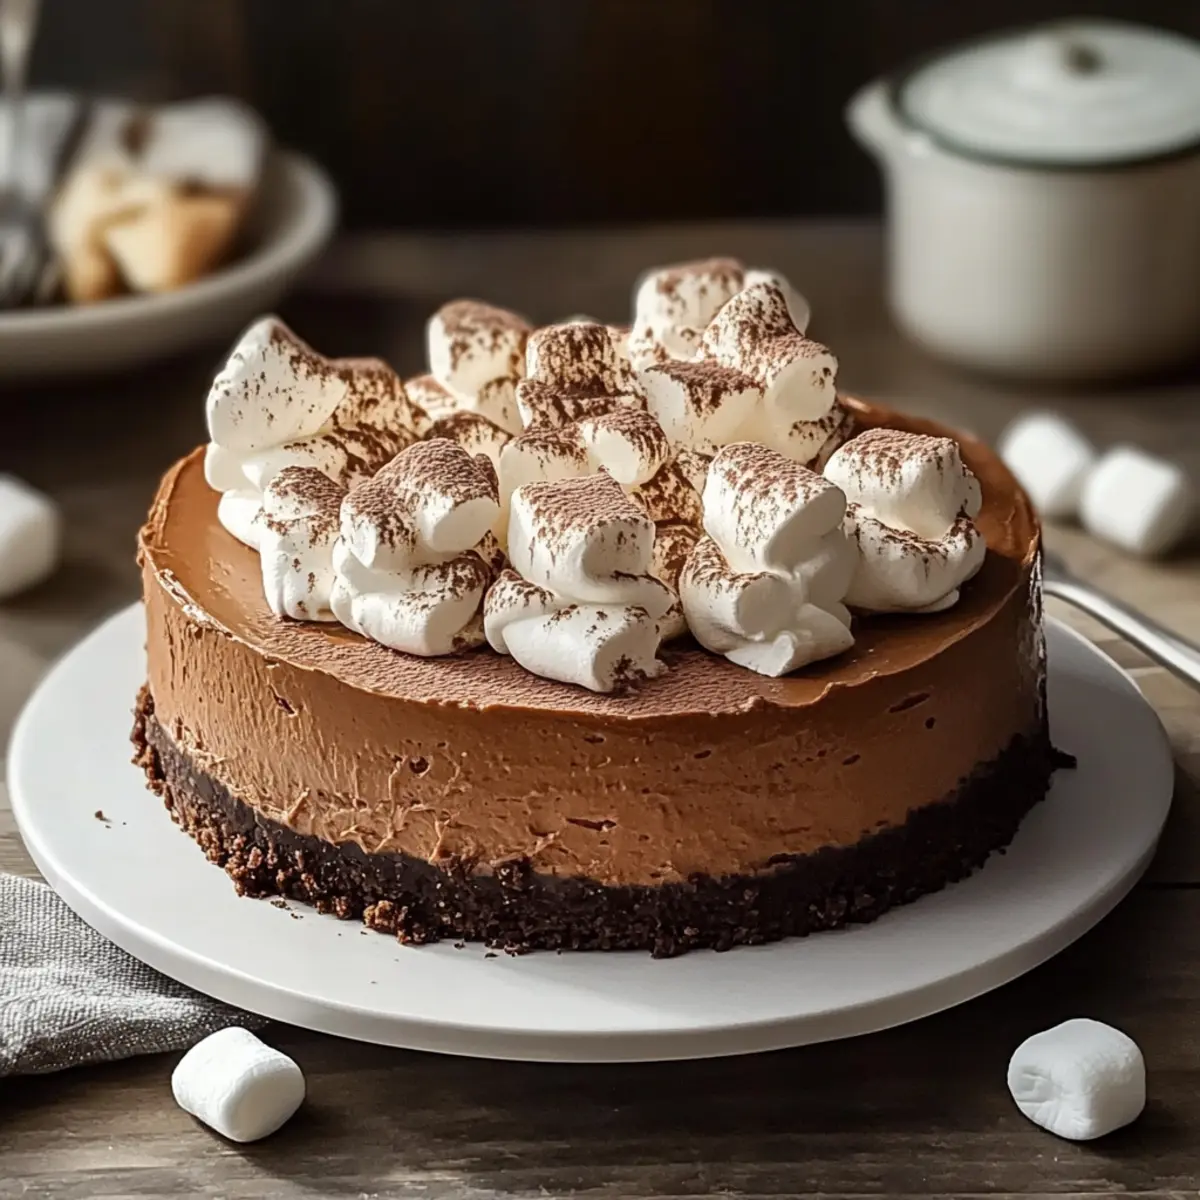
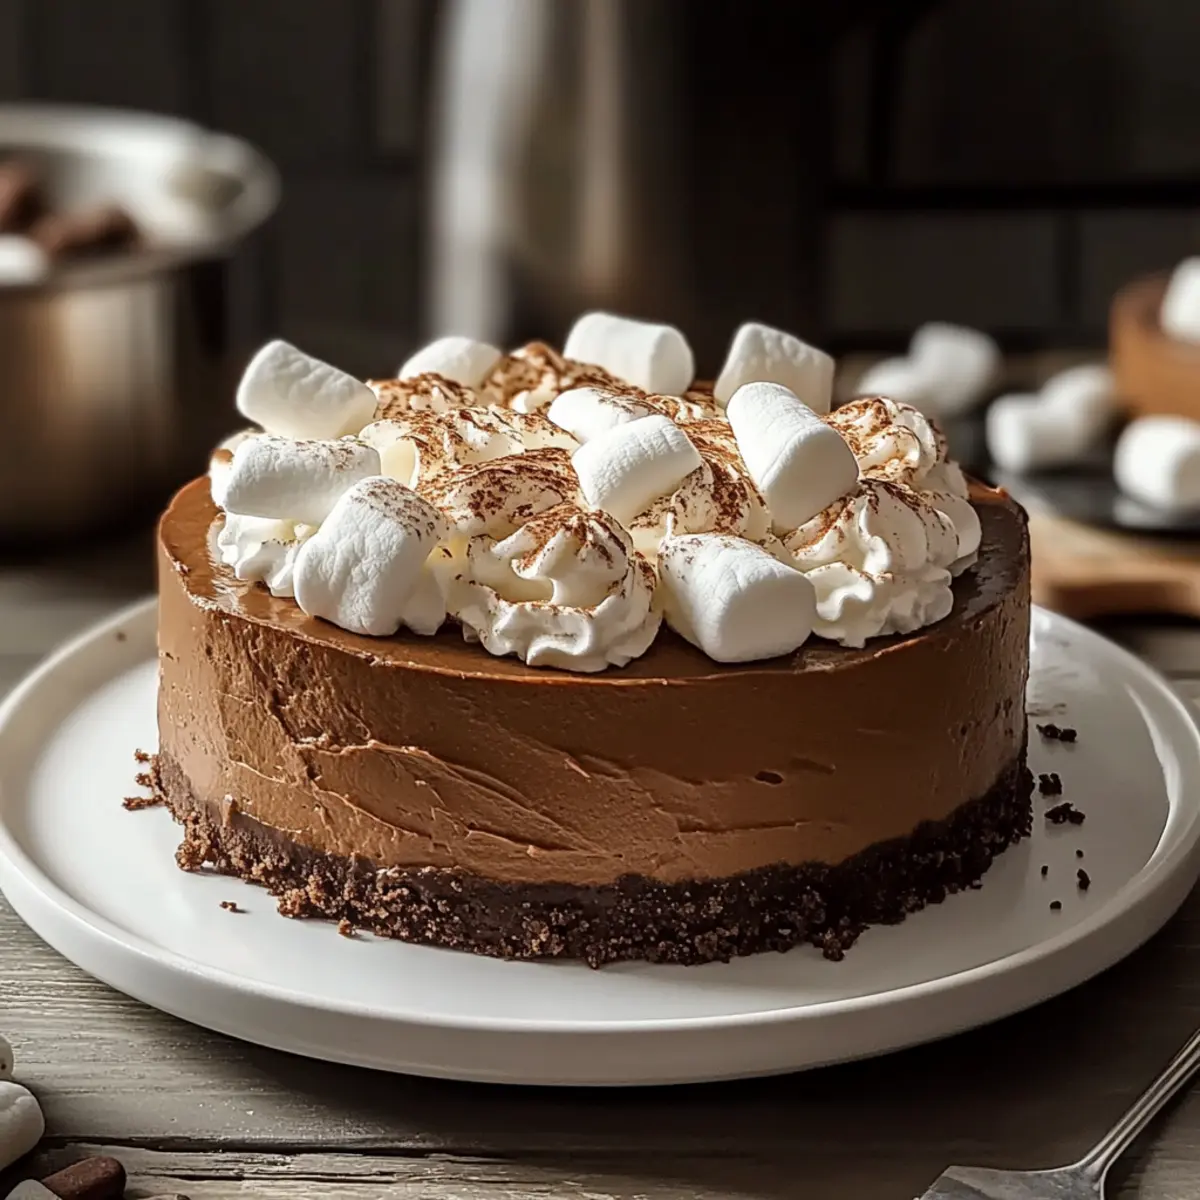
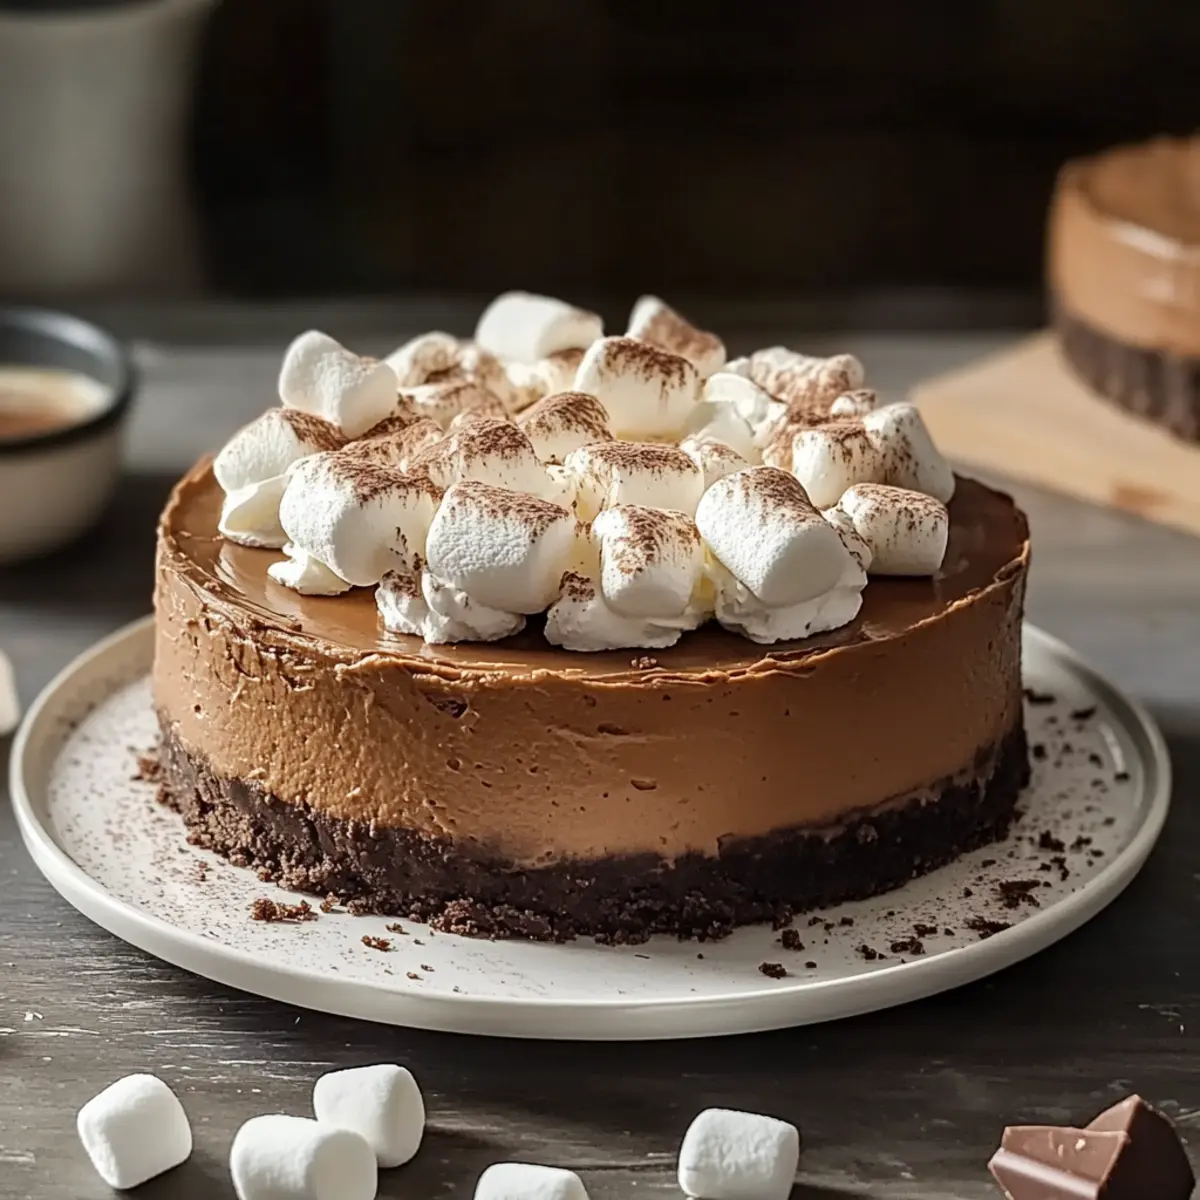
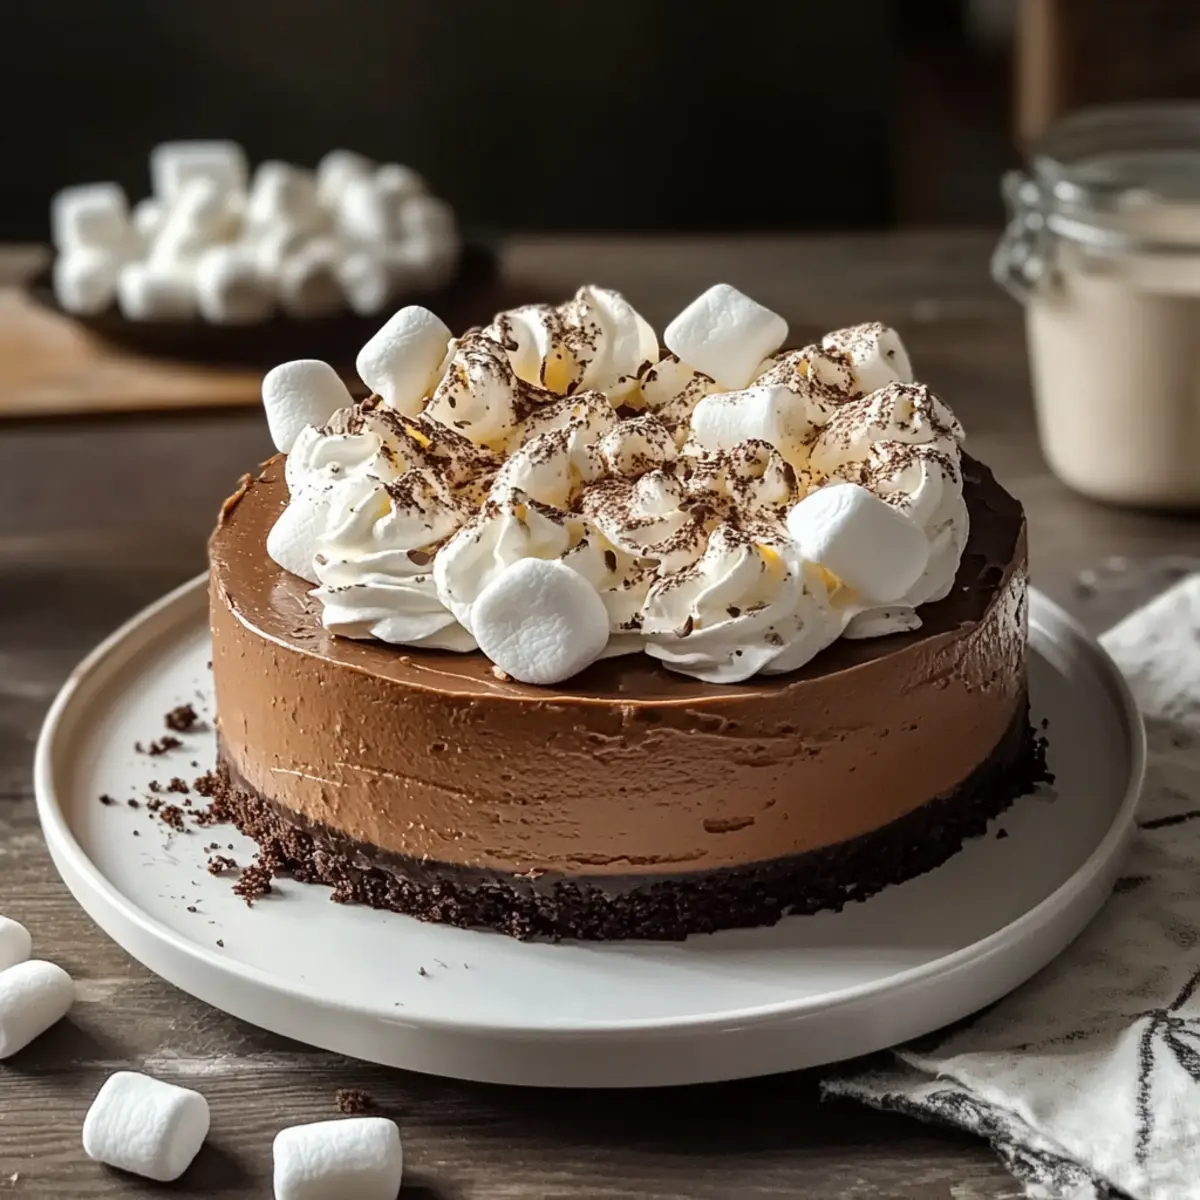
Stepping into my kitchen, the aroma of chocolate and nostalgia envelops me like a warm hug on a chilly winter evening. This is the magic of creating a Hot Cocoa Cheesecake, my go-to treat when I want to impress or simply indulge myself. With its creamy texture and delightful marshmallow whipped cream topping, this dessert is as easy to whip up as it is to savor, making it a versatile choice for everything from festive gatherings to cozy nights in. Plus, the beauty of this recipe lies in its flexibility—whether you choose to add a peppermint twist or a salted caramel surprise, you’re sure to please everyone at your table. What flavor combination would you try first?
Why Is This Cheesecake So Irresistible?
Decadent Flavor: The combination of rich cream cheese and hot cocoa mix creates a luxurious taste that brings comfort with every bite, reminiscent of your favorite childhood treat.
Feathery Topping: Topped with light, fluffy marshmallow whipped cream, this cheesecake not only pleases the palate but also looks stunning for any occasion.
Superb Versatility: Customize it easily with variations like peppermint or salted caramel, allowing you to cater to different tastes and to surprise guests with new flavors!
Simple Process: You’ll appreciate the effortless preparation, as this dessert requires only a handful of ingredients and straightforward baking steps.
Perfect for Any Gathering: Whether it’s a festive party or a cozy dinner, this cheesecake is sure to be a hit, much like my delightful Strawberry Crunch Cheesecake.
Crowd-Pleasing Treat: With its rich textures and flavors, it’s a showstopper you can confidently serve, ensuring both friends and family will ask for seconds!
Hot Cocoa Cheesecake Ingredients
• With just a handful of ingredients, you can whip up this delightful dessert that feels like a warm hug in every bite!
For the Crust
- Chocolate Cookie Crumbs – A base structure for the crust; store-bought chocolate crust can be used for convenience.
- Unsalted Butter – Binds the crust ingredients together; must be melted for mixing with crumbs.
For the Filling
- Cream Cheese – Provides richness and creaminess to the filling; use room temperature for smooth blending.
- Granulated Sugar – Sweetens the cheesecake; can adjust based on taste preference.
- Large Eggs – Acts as a binding agent for the filling; should be at room temperature for best incorporation.
- Hot Cocoa Mix – Infuses classic chocolate flavor; consider using your favorite brand for a touch of personalization.
For the Topping
- Heavy Cream – Essential for the marshmallow whipped cream topping; whip until soft peaks form for the best texture.
- Marshmallow Fluff – Sweet, fluffy topping that complements the cheesecake; available in bulk for easy storage.
Feel inspired to create this hot cocoa cheesecake – perfect for any festive gathering or cozy night in!
Step‑by‑Step Instructions for Hot Cocoa Cheesecake
Step 1: Preheat the Oven and Prepare Water Bath
Begin by preheating your oven to 325°F (160°C). To ensure a smooth baking process, create a water bath by placing a large roasting pan filled with hot water on the bottom rack of the oven. This will help maintain moisture during baking, reducing the risk of cracks in your decadent Hot Cocoa Cheesecake.
Step 2: Make the Crust
In a mixing bowl, combine your chocolate cookie crumbs with melted unsalted butter. Blend until the mixture resembles wet sand. Press this mixture firmly into the bottom of a 9-inch springform pan, using your fingers or the bottom of a measuring cup to create an even layer. This will serve as the foundation for your rich cheesecake filling.
Step 3: Prepare the Cheesecake Filling
In a large mixing bowl, beat room temperature cream cheese and granulated sugar together using an electric mixer until the mixture is smooth and creamy, about 2-3 minutes. Gradually add in the large eggs, one at a time, mixing well after each addition. Finish by incorporating the hot cocoa mix until fully blended, ensuring a uniform chocolate flavor throughout your Hot Cocoa Cheesecake.
Step 4: Bake the Cheesecake
Carefully pour the cheesecake filling over the crust in the springform pan. Then, gently place the pan into the preheated water bath on the oven rack. Bake for 50-60 minutes, until the edges are set but the center remains slightly jiggly. This will ensure a perfectly creamy texture that mimics the indulgence of hot cocoa.
Step 5: Cooling and Chilling
Once baked, remove the cheesecake from the oven and let it cool in the water bath for about 1 hour. This gradual cooling helps stabilize the cheesecake. After that, transfer it to the refrigerator and chill for at least 4 hours, or overnight if possible. This resting period allows the flavors to meld beautifully.
Step 6: Make the Marshmallow Whipped Cream
When you’re ready to serve the Hot Cocoa Cheesecake, whip the heavy cream in a medium bowl until soft peaks form, taking care not to over-whip. Gently fold in the marshmallow fluff until well combined, creating a light and airy topping. This fluffy layer will enhance the richness of your cheesecake.
Step 7: Top and Garnish
Spread the marshmallow whipped cream evenly over the cooled cheesecake, creating a delightful contrast with its chocolatey base. For an optional finishing touch, sprinkle mini marshmallows and chocolate shavings on top just before serving. This adds a visually appealing element while complementing the sumptuous flavors of your Hot Cocoa Cheesecake.
Make Ahead Options
These Decadent Hot Cocoa Cheesecakes are perfect for meal prep lovers! You can prepare the crust and filling up to 24 hours in advance; simply blend the chocolate cookie crumbs with melted butter, press into the pan, and refrigerate. The cheesecake can be baked and chilled for up to 3 days ahead, ensuring maximum flavor development. To maintain quality, wrap the cooled cheesecake tightly in plastic wrap before refrigerating. When you’re ready to serve, simply whip the heavy cream and fold in the marshmallow fluff for that light, fluffy topping, spreading it over the chilled cheesecake just before your guests arrive. You’ll be left with a delicious dessert that’s ready to impress with minimal last-minute effort!
How to Store and Freeze Hot Cocoa Cheesecake
Fridge: Store your Hot Cocoa Cheesecake in an airtight container for up to 5 days. This will keep it fresh and delicious, ready for you to enjoy each day!
Freezer: For longer storage, you can freeze the cheesecake for up to 2 months. Wrap individual slices tightly in plastic wrap, and then place them in a freezer-safe container to avoid freezer burn.
Thawing: When you’re ready to indulge again, thaw the cheesecake in the fridge overnight for the best texture and flavor.
Serving After Freezing: Once thawed, you may want to add the marshmallow whipped cream just before serving for that fresh, fluffy touch. Enjoy!
Hot Cocoa Cheesecake Variations
Feel free to get creative and personalize this cheesecake with delightful twists! Each variation adds a unique twist to this already irresistible treat.
-
Peppermint Twist: Add 1 teaspoon of peppermint extract to the batter for a festive flavor. Top with crushed candy canes for an extra crunch!
-
Salted Caramel Surprise: Mix in ½ cup of caramel sauce directly into the filling before baking – it adds a luscious creamy sweetness that pairs beautifully with chocolate.
-
Nutty Crunch: Blend in ½ cup of chopped toasted nuts into the crust for a delightful texture and nutty flavor. Consider using walnuts or hazelnuts for added richness.
-
Dark Chocolate Delight: Swap out regular hot cocoa mix with dark chocolate for a more intense chocolate experience. This variation is perfect for dark chocolate lovers!
-
Fruit Fusion: Garnish your cheesecake with fresh strawberries, raspberries, or blueberries just before serving for a pop of color and fruity contrast. The tartness balances the rich dessert beautifully.
-
Vegan Version: Substitute cream cheese with cashew-based cream and whip coconut cream instead of heavy cream for a creamy, dairy-free delight.
-
Spicy Kick: Add a pinch of cayenne pepper or chili powder to the filling for a surprising yet delicious kick. This intriguing twist creates a unique flavor experience.
-
Coconut Cream Dream: Replace heavy cream in the topping with whipped coconut cream, making a tropical-themed cheesecake that’s sure to impress! The coconut flavor enhances the overall richness.
Now that you’re inspired, why not try pairing your cheesecake with a warm drink like my beloved Seattle Hot Dogs for a delightful dessert experience? Or perhaps consider a slice of the luscious Basque Cheesecake Loaf for an alternative cheesecake adventure!
What to Serve with Decadent Hot Cocoa Cheesecake?
Indulging in a slice of chocolatey goodness is a treat, but pairing it with complementary items can elevate your dessert experience to new heights.
- Espresso or Coffee: The rich, deep flavors of coffee provide a delightful contrast to the sweet cheesecake and enhance the chocolate notes.
- Whipped Cream: Adding a dollop of traditional whipped cream allows for more texture and creaminess, balancing the cheesecake’s richness.
- Fresh Berries: Juicy strawberries or raspberries introduce a vibrant tartness, brightening up each bite while adding a fresh element to the dish.
- Chocolate Sauce Drizzle: Pouring a little chocolate sauce over the cheesecake pulls out the cocoa richness and adds another layer of indulgence.
For a cozy gathering, serve with hot chocolate on the side. Settle in with this delightful pairing, allowing the warmth of the drink to amplify the comforting flavors of the hot cocoa cheesecake.
- Mini Marshmallows: Scatter a few mini marshmallows on top of each slice for nostalgia and a fun pop of sweetness, echoing the flavors of the festive drink.
- Nutty Biscotti: Crunchy biscotti complements the cheesecake’s smoothness while offering a delightful texture change that guests will appreciate!
Expert Tips for Hot Cocoa Cheesecake
-
Use a Water Bath: This prevents cracks in your cheesecake during baking. Ensure the water is hot for best results.
-
Temperature Matters: Always use room temperature cream cheese and eggs for a smoother filling—this prevents lumps and ensures a velvety texture.
-
Avoid Over-Whipping: When making your marshmallow whipped cream, whip the heavy cream just until soft peaks form. Over-whipping can lead to curdled cream.
-
Chill Time is Key: For a truly luscious texture, chill the cheesecake in the fridge for at least 4 hours or overnight; flavors meld beautifully with time.
-
Experiment with Flavors: Don’t hesitate to customize your hot cocoa cheesecake with variations like peppermint or salted caramel for a twist everyone will love!
Hot Cocoa Cheesecake Recipe FAQs
How do I choose the right chocolate cookie crumbs for the crust?
The key to a delicious crust is using good-quality chocolate cookie crumbs. You can use homemade crumbs from your favorite chocolate cookies or purchase pre-made ones for convenience. Look for crumbs that have a fine texture and don’t contain any dark spots or moisture—this ensures a crispy, well-structured crust!
How long can I store my Hot Cocoa Cheesecake in the fridge?
Absolutely! You can store your Hot Cocoa Cheesecake in an airtight container for up to 5 days. This helps keep it fresh and flavorful, letting you enjoy a slice whenever the mood strikes. Just make sure to check that it’s well covered to prevent any drying out.
Can I freeze the Hot Cocoa Cheesecake?
Very! To freeze your Hot Cocoa Cheesecake, first wrap individual slices tightly in plastic wrap; then place them in a freezer-safe container to prevent freezer burn. It will keep well for up to 2 months. When you’re ready to enjoy it, simply thaw it in the refrigerator overnight for the best texture.
What should I do if my cheesecake cracks during baking?
If you notice cracks forming, don’t worry! This can often be due to baking at too high a temperature or not using a water bath. For next time, ensure your oven is preheated accurately and maintain the water bath to keep moisture levels consistent. If cracks do happen, consider garnishing with marshmallow whipped cream to hide them!
Are there any dietary considerations I should be aware of for this recipe?
Definitely! This Hot Cocoa Cheesecake isn’t gluten-free or vegan in its original form. However, for dietary adjustments, you can substitute typical ingredients: use a gluten-free chocolate cookie crust and swap cream cheese for a cashew-based cream. Using coconut cream for the whipped topping is lovely too—everyone deserves a slice of this deliciousness!
What’s the best way to serve my Hot Cocoa Cheesecake?
The more the merrier! Serve it with a warm beverage like coffee or traditional hot cocoa for a delightful experience. For an added touch, consider garnishing each slice with mini marshmallows and chocolate shavings just before serving to entice everyone at your table. Enjoy!
Irresistible Hot Cocoa Cheesecake with Fluffy Topping
Ingredients
Equipment
Method
- Preheat your oven to 325°F (160°C) and prepare a water bath.
- Combine chocolate cookie crumbs and melted butter in a mixing bowl, then press into the bottom of a 9-inch springform pan.
- In a large mixing bowl, beat cream cheese and sugar until smooth. Gradually add eggs and then hot cocoa mix.
- Pour the filling over the crust and place the pan in the water bath. Bake for 50-60 minutes until edges are set.
- Cool in the water bath for 1 hour, then refrigerate for at least 4 hours or overnight.
- Whip heavy cream until soft peaks form, then gently fold in marshmallow fluff.
- Spread the marshmallow whipped cream over the cooled cheesecake. Optionally, sprinkle mini marshmallows and chocolate shavings on top.
Leave a Reply