
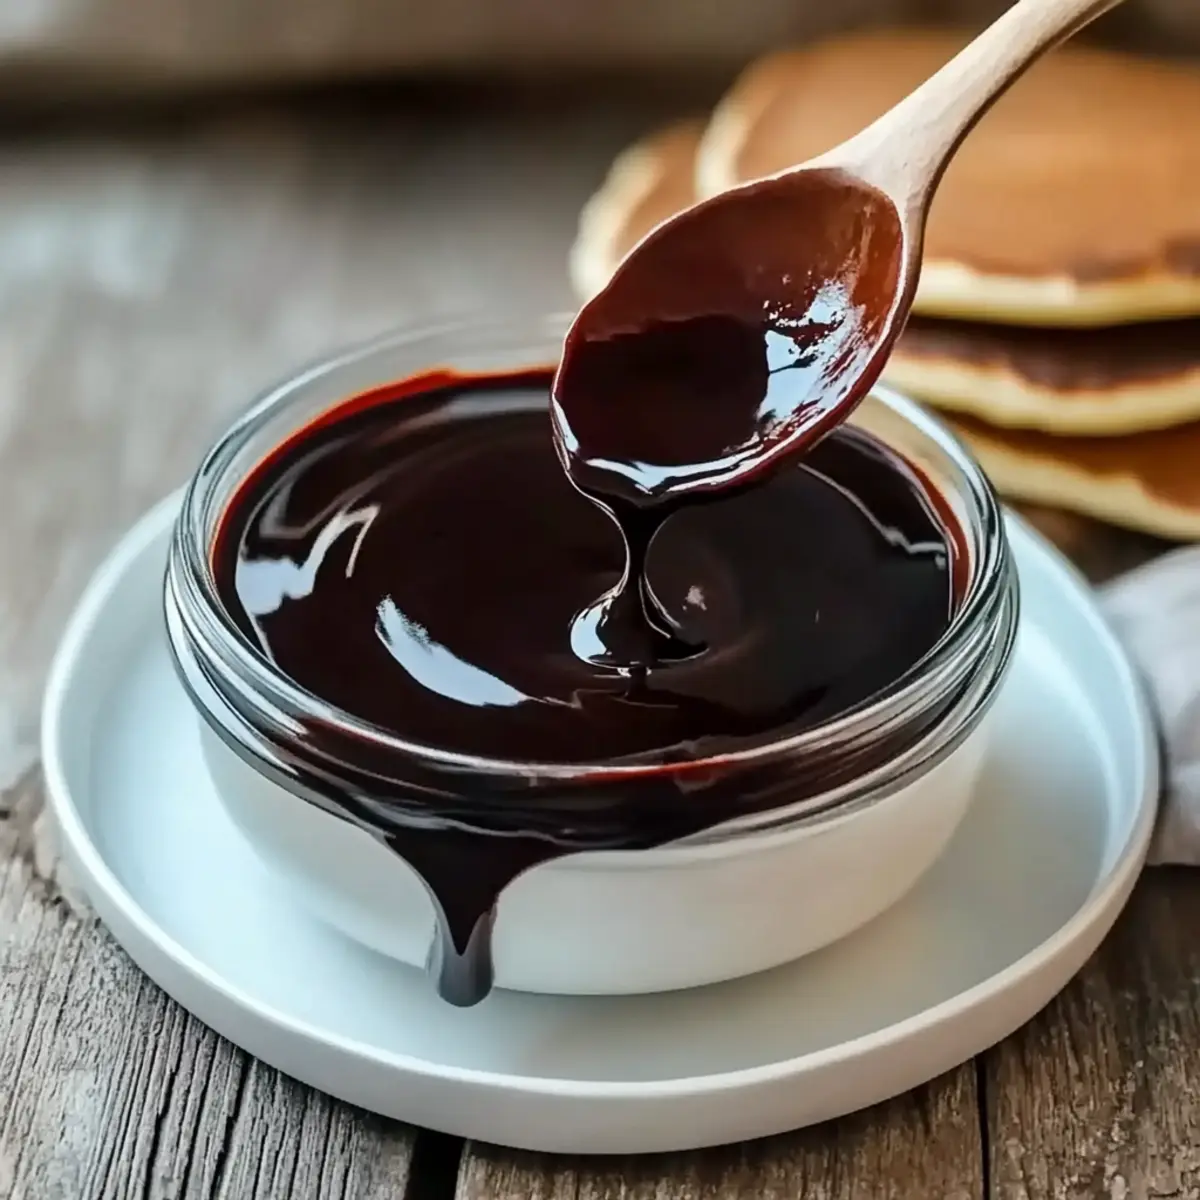
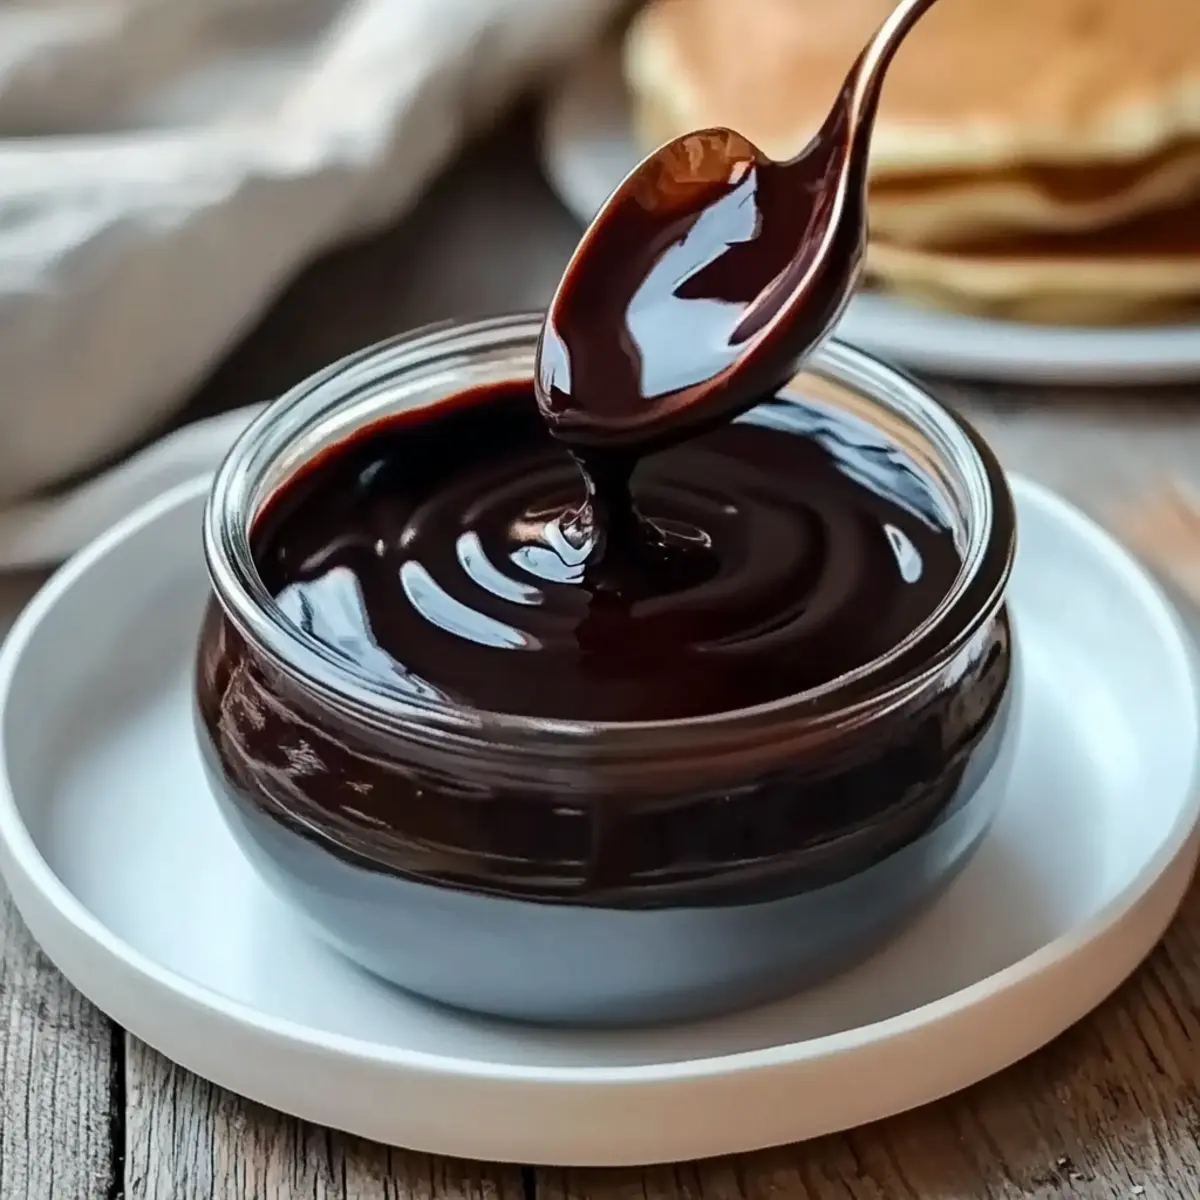
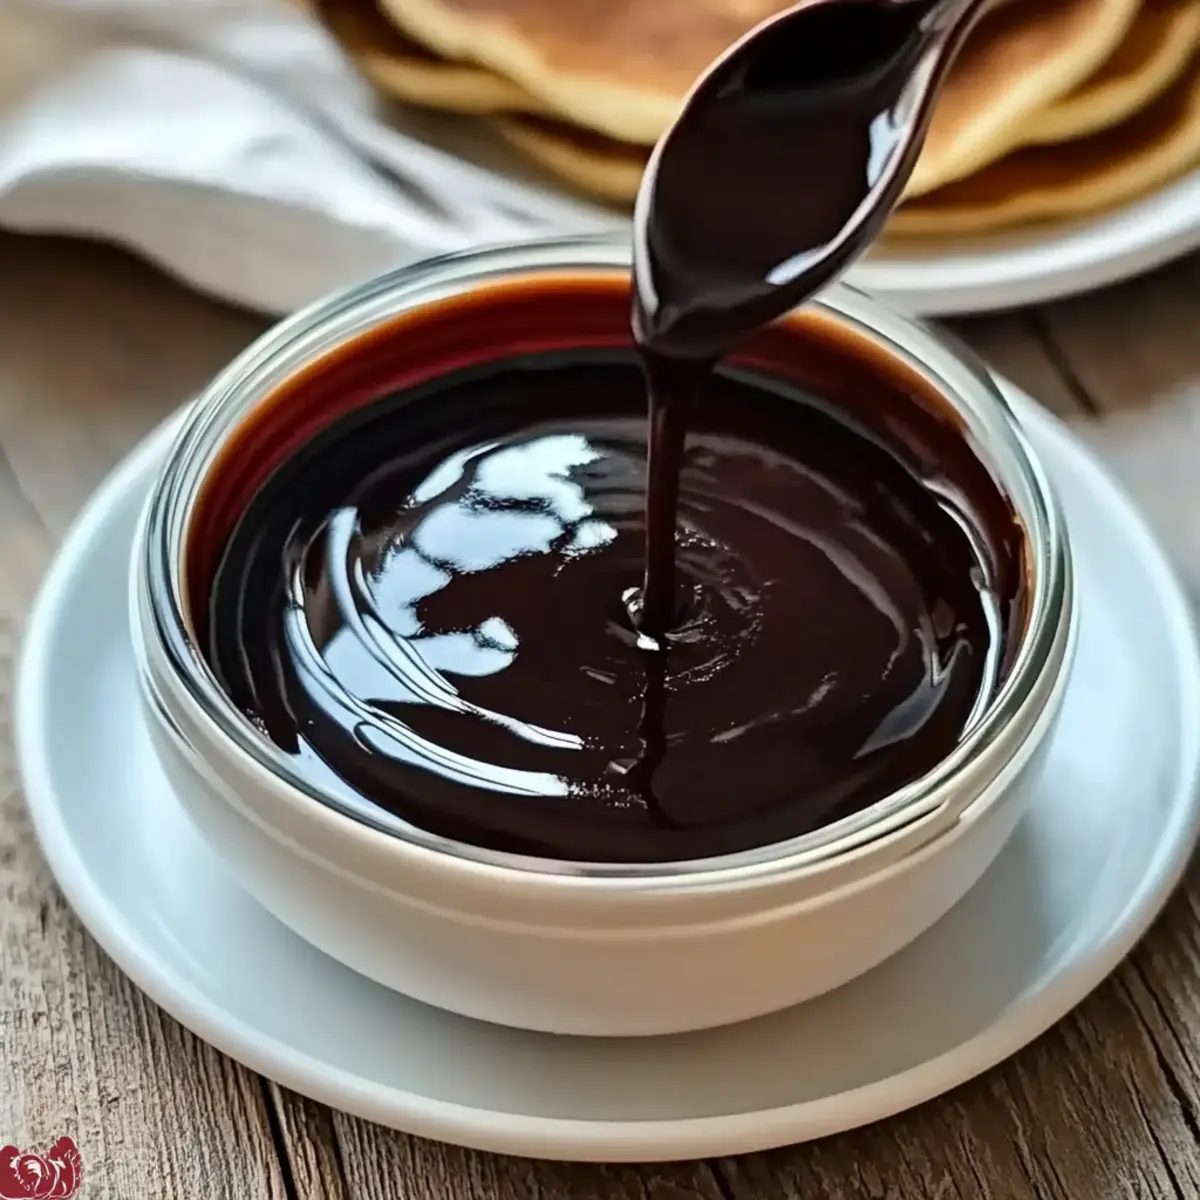
The moment I pour this rich Homemade Chocolate Syrup over a stack of pancakes, I’m transported back to my childhood—a time when dessert ruled the breakfast table. What makes this recipe special is just how easy it is to whip up, taking less than 10 minutes using simple pantry staples. Not only does this quick and vegan chocolate syrup deliver an indulgent flavor without additives, but it also enhances everything from ice cream sundaes to your morning oatmeal. Imagine the delight in your loved ones’ eyes when they dig into their favorite dishes, now elevated by your homemade creation. Curious about how to create this chocolatey magic at home? Let’s dive into the recipe!
Why Make Homemade Chocolate Syrup?
Simplicity and Speed: This recipe is incredibly straightforward, requiring just a few pantry staples and less than 10 minutes to prepare.
Decadent Flavor: Made from unsweetened cocoa powder, this syrup boasts an intense chocolate flavor that elevates any dish.
Versatile Uses: Whether drizzled over pancakes, swirled into Greek yogurt, or mixed into warm milk, this syrup transforms your meals into delicious treats.
Vegan-Friendly: You can enjoy this delightful topping guilt-free, as it contains no animal products and can easily fit into various dietary lifestyles.
Crowd-Pleasing Appeal: Everyone loves chocolate, making this syrup a surefire hit at family brunches or gatherings. It’s a delightful way to impress your friends and family, just like with my Homemade Butter Chicken or Chocolate Protein Pudding!
Homemade Chocolate Syrup Ingredients
• For the Syrup
- Unsweetened Cocoa Powder – This is the star ingredient, providing that rich chocolatey flavor you crave; opt for Dutch-processed cocoa for a deeper taste.
- Granulated Sugar – Sweetens the syrup to your liking; feel free to adjust the quantity based on how sweet you want it.
- Water – Hydrates the cocoa and sugar, creating a smooth syrup-like consistency; use filtered water for the best flavor.
- Salt – A pinch of salt balances the sweetness and enhances all the flavors; just enough to elevate the taste.
- Vanilla Extract – Adds a warm, aromatic note; stir it in right at the end to preserve its fragrant qualities.
Now that you have all the essentials for making your very own homemade chocolate syrup, get ready to whip it up and indulge in that delightful chocolate experience!
Step‑by‑Step Instructions for Homemade Chocolate Syrup
Step 1: Combine Dry Ingredients
In a medium saucepan, gently whisk together 1 cup of unsweetened cocoa powder, 1 cup of granulated sugar, and a pinch of salt. Make sure there are no lumps in the mixture as you blend these dry ingredients. This step forms the rich base for your homemade chocolate syrup, so take a moment to ensure it’s completely smooth.
Step 2: Add Water
Gradually pour in 1 cup of filtered water while continuously whisking. This will help prevent clumps from forming and create a smooth mixture. Keep stirring until everything is well combined and you achieve a thick, syrupy consistency. This smooth base is essential for the chocolate flavor to fully develop.
Step 3: Heat the Mixture
Place the saucepan over medium heat and bring the mixture to a gentle boil, stirring consistently. Watch closely as you heat it—a boil should be subtle, not vigorous. This will take about 3–5 minutes, and you want to see small bubbles forming while you stir frequently to avoid burning the syrup.
Step 4: Simmer to Thicken
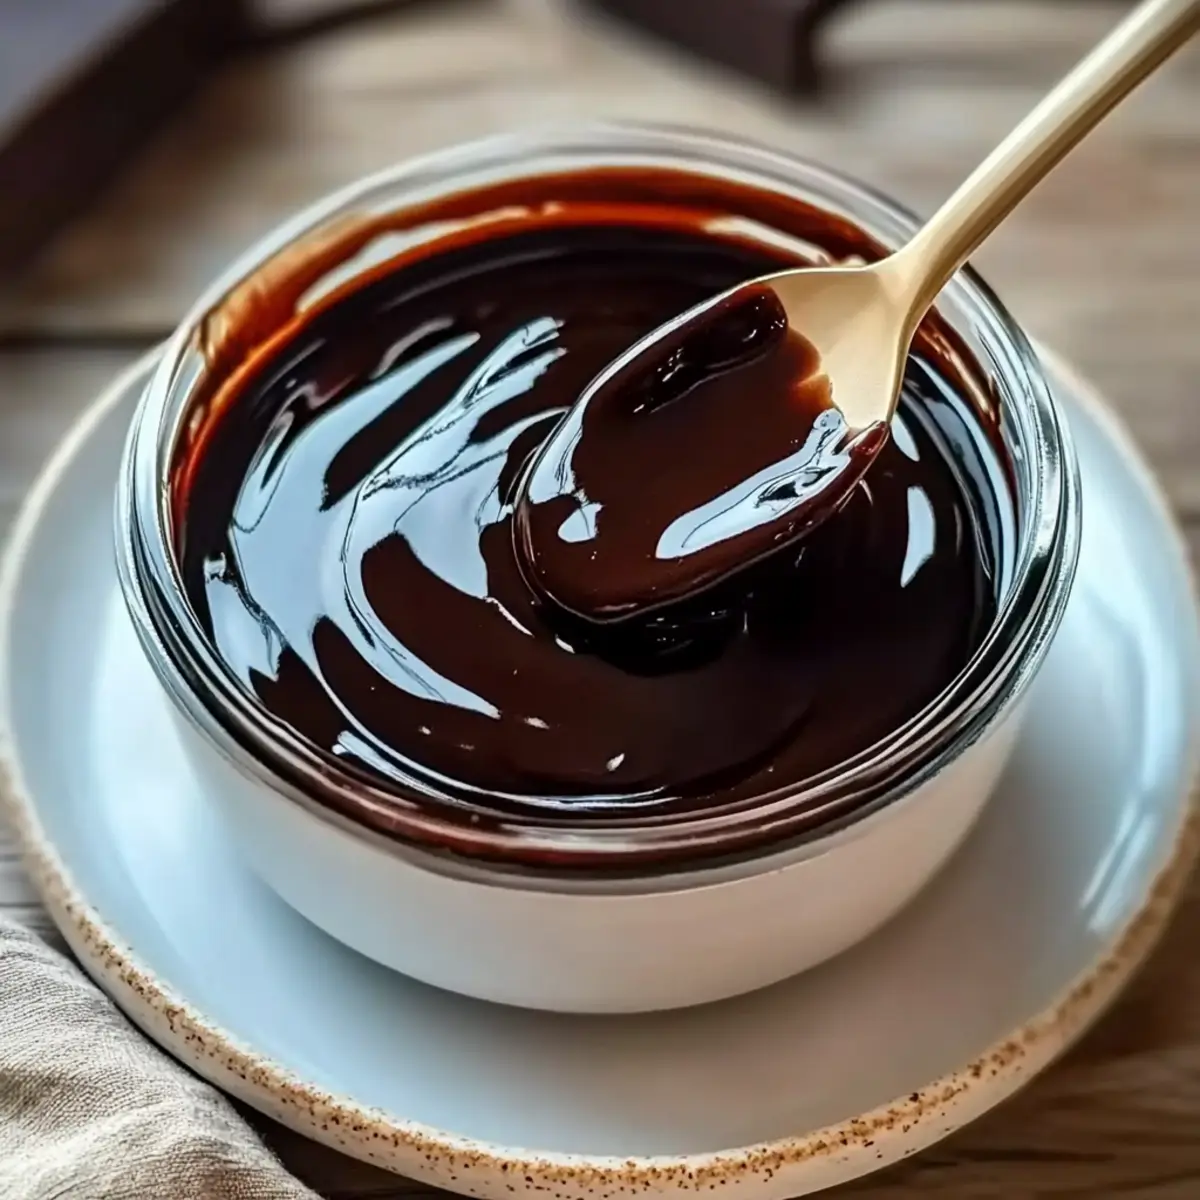
Once boiling, lower the heat slightly and let it simmer for an additional 3–5 minutes, continuing to stir. You’ll notice the texture thickening as it cooks—the syrup should start clinging to the back of a spoon. This is when your homemade chocolate syrup reaches its perfect consistency!
Step 5: Add Vanilla
Remove the saucepan from heat and immediately stir in 1 teaspoon of vanilla extract. This step enhances the flavor of your homemade chocolate syrup, adding depth. Make sure to mix well as the syrup is still hot, allowing the vanilla to meld beautifully with the chocolatey goodness.
Step 6: Cool the Syrup
Let the chocolate syrup cool to room temperature in the saucepan for about 10–15 minutes. As it cools, the syrup will thicken even more. This is a great time to prepare a clean glass jar or airtight container for storage, ensuring your homemade chocolate syrup stays fresh and delicious.
Step 7: Store the Syrup
Once cooled, carefully pour the syrup into your prepared jar or container. Seal it tightly, and store it in the refrigerator where it will keep for 3–4 weeks. Just remember to give it a gentle stir or heat it slightly before using, as it may thicken even more once chilled. Enjoy the rich, indulgent flavor in your favorite desserts!
What to Serve with Easy Homemade Chocolate Syrup
Indulge in sweet satisfaction as you elevate your favorite treats with luscious chocolate goodness.
-
Fluffy Pancakes: A classic pairing, warm pancakes are the perfect canvas for drizzles of rich chocolate syrup, making every bite feel like a special treat.
-
Creamy Vanilla Ice Cream: The cool creaminess of vanilla ice cream pairs beautifully with the thick syrup, creating a delightful melting experience that balances temperature and flavor.
-
Fruit Salad: Fresh, juicy fruits like strawberries, bananas, or apples are given a luxurious twist when dipped into chocolate syrup, satisfying both the sweet tooth and craving for freshness.
-
Chocolate Milkshake: Blend some milk, ice cream, and a generous swirl of syrup for a decadent chocolate milkshake. It’s a nostalgic drink that will take you back to childhood.
-
Greek Yogurt Parfait: Swirl the syrup into creamy Greek yogurt, then layer with granola or nuts for a nutritious breakfast with a sweet indulgence that feels like dessert.
-
Mocha Coffee: Add a tablespoon of chocolate syrup to your morning coffee for a quick mocha flavor boost that transforms your coffee ritual into an indulgent experience.
-
Homemade Brownies: Drizzle the chocolate syrup over warm brownies for a double chocolate experience that will satisfy even the most intense chocolate cravings.
-
Banana Split: Create a divinely satisfying dessert with a scoop of ice cream, banana slices, nuts, and of course, a generous drizzle of homemade chocolate syrup.
-
Baked Oatmeal: Mix in chocolate syrup right before serving for an extra chocolatey boost in your breakfast bowl. It pairs perfectly with nuts and fruits!
Tips for the Best Homemade Chocolate Syrup
-
Constant Stirring: Always stir continuously while heating to prevent any burnt bits clinging to the bottom of the pan, ensuring a smooth homemade chocolate syrup.
-
Adjust Sweetness: Taste your syrup before cooling. If it’s not sweet enough for your liking, add a little more sugar and heat for another minute to dissolve.
-
Watch the Thickness: If the syrup seems too thin after cooling, simply simmer a bit longer—but don’t overcook, as this can lead to a burnt taste.
-
Storage Tips: Transfer the syrup to a clean glass jar while still warm; it will thicken in the fridge. Shake or stir well before each use!
-
Flavor Experimentation: Feel free to swap in flavored extracts or sweeteners; try almond or coconut for a fun twist in your homemade chocolate syrup!
Make Ahead Options
This delicious homemade chocolate syrup is perfect for meal prep enthusiasts looking to save time on busy mornings or dessert preparations! You can prepare the syrup up to 3 days in advance, allowing the flavors to meld beautifully. To make ahead, simply follow the recipe instructions and allow the syrup to cool completely before transferring it to an airtight container. Store it in the refrigerator for maximum freshness. When you’re ready to enjoy, just reheat the syrup gently on the stovetop or in the microwave to loosen it up before drizzling it over pancakes, ice cream, or any of your favorite treats. By prepping in advance, you’ll have this rich and indulgent homemade chocolate syrup ready to elevate your meals at a moment’s notice!
Storage Tips for Homemade Chocolate Syrup
Fridge: Store the homemade chocolate syrup in an airtight container in the refrigerator for up to 3–4 weeks. It thickens as it cools, so gently stir before use.
Freezer: If you want to keep it longer, pour portions of the syrup into ice cube trays and freeze. This allows for easy, quick use in future recipes.
Reheating: When ready to use, reheat the syrup in the microwave or on the stovetop for a smooth, pourable consistency.
Room Temperature: For best flavor, serve the syrup at room temperature, which enhances its rich chocolate taste!
Homemade Chocolate Syrup Variations
Feel free to explore these delightful twists on your homemade chocolate syrup to cater to your taste buds!
-
Brown Sugar Boost: Use half brown sugar instead of granulated for a richer flavor. The molasses notes will deepen the syrup’s taste.
-
Mocha Madness: Stir in a tablespoon of instant coffee granules while cooking for a delicious mocha flavor. It adds an energizing kick that’s perfect for coffee lovers.
-
Flavored Extracts: Swap vanilla extract for almond or peppermint for an exciting twist. Whether it’s a cozy winter vibe or a refreshing summer treat, you’ll be inspired by these new flavors.
-
Spicy Chocolate: Whisk in a pinch of cayenne pepper or chili powder for a spicy kick. It gives your syrup an unexpected warmth that pairs beautifully with desserts!
-
Coconut Sugar Swap: For a healthier option, substitute granulated sugar with coconut sugar. This will infuse a subtle caramel flavor while keeping it vegan-friendly.
-
Nutty Indulgence: Add a tablespoon of nut butter, like almond or hazelnut, for a deliciously creamy texture that’s perfect in smoothies or on ice cream.
-
Healthy Sweetener: Use maple syrup or agave nectar to sweeten your syrup naturally. These alternatives can add intriguing new flavors while accommodating dietary preferences.
-
Fruit Fusion: Drizzle some fruit puree, such as raspberry or strawberry, into your chocolate syrup. This fruitiness will brighten up your desserts, creating a lovely contrast to the rich cocoa.
Make your homemade chocolate syrup an even more charming and unforgettable experience! You can even try it over ice cream, with pancakes alongside my creamy Chocolate Chip Toffee cookies, or combine with Double Chocolate Chip muffins for an indulgent treat. Enjoy experimenting!
Homemade Chocolate Syrup Recipe FAQs
How do I select the best cocoa powder for this recipe?
Absolutely! Choosing high-quality cocoa powder is key to achieving that rich chocolate flavor. I recommend using Dutch-processed cocoa for a deeper color and chocolatey taste, but if you’re looking for a more natural option, unsweetened cocoa will work just fine. Just be wary of any lumps when mixing.
How should I store homemade chocolate syrup, and how long does it last?
You should store the homemade chocolate syrup in an airtight container in the refrigerator. It will last for up to 3–4 weeks, but remember that it will thicken as it cools, so give it a gentle stir before each use to make it pourable again.
Can I freeze chocolate syrup for later use?
Yes, you can! Pour the syrup into ice cube trays to freeze it in convenient portions for up to 3 months. Once frozen, transfer the cubes to a freezer-safe bag. When you’re ready to use, just thaw out a cube or two either at room temperature or by gently reheating.
What should I do if my chocolate syrup ends up too thick or too thin?
If your syrup is too thin after cooling, don’t worry! Simply simmer it on low heat for an additional minute while stirring until it thickens to your liking. Conversely, if it becomes too thick, you can whisk in a tiny bit of warm water as it heats until you reach the desired consistency.
Is this chocolate syrup suitable for people with dietary restrictions?
Very! This homemade chocolate syrup is vegan-friendly, but be sure to check that your sugar is certified vegan if that’s important to you. It’s also free of common allergens, so it should be safe for most diets. However, always consult with guests regarding their dietary needs.
How long can I leave the syrup at room temperature before it goes bad?
It’s best to refrigerate your homemade chocolate syrup. If you accidentally leave it out, it’s safe for a few hours, but beyond that, I recommend refrigerating it promptly to keep it fresh and tasty.
Delicious Homemade Chocolate Syrup Ready in 10 Minutes
Ingredients
Equipment
Method
- In a medium saucepan, gently whisk together the cocoa powder, sugar, and salt until smooth.
- Gradually pour in water while continuously whisking to prevent clumps.
- Place the saucepan over medium heat and bring to a gentle boil while stirring.
- Once boiling, lower the heat and let it simmer for 3–5 minutes until thickened.
- Remove from heat and stir in vanilla extract.
- Let the syrup cool to room temperature for 10–15 minutes.
- Pour the cooled syrup into a jar, seal tightly, and store in the refrigerator.
Leave a Reply