
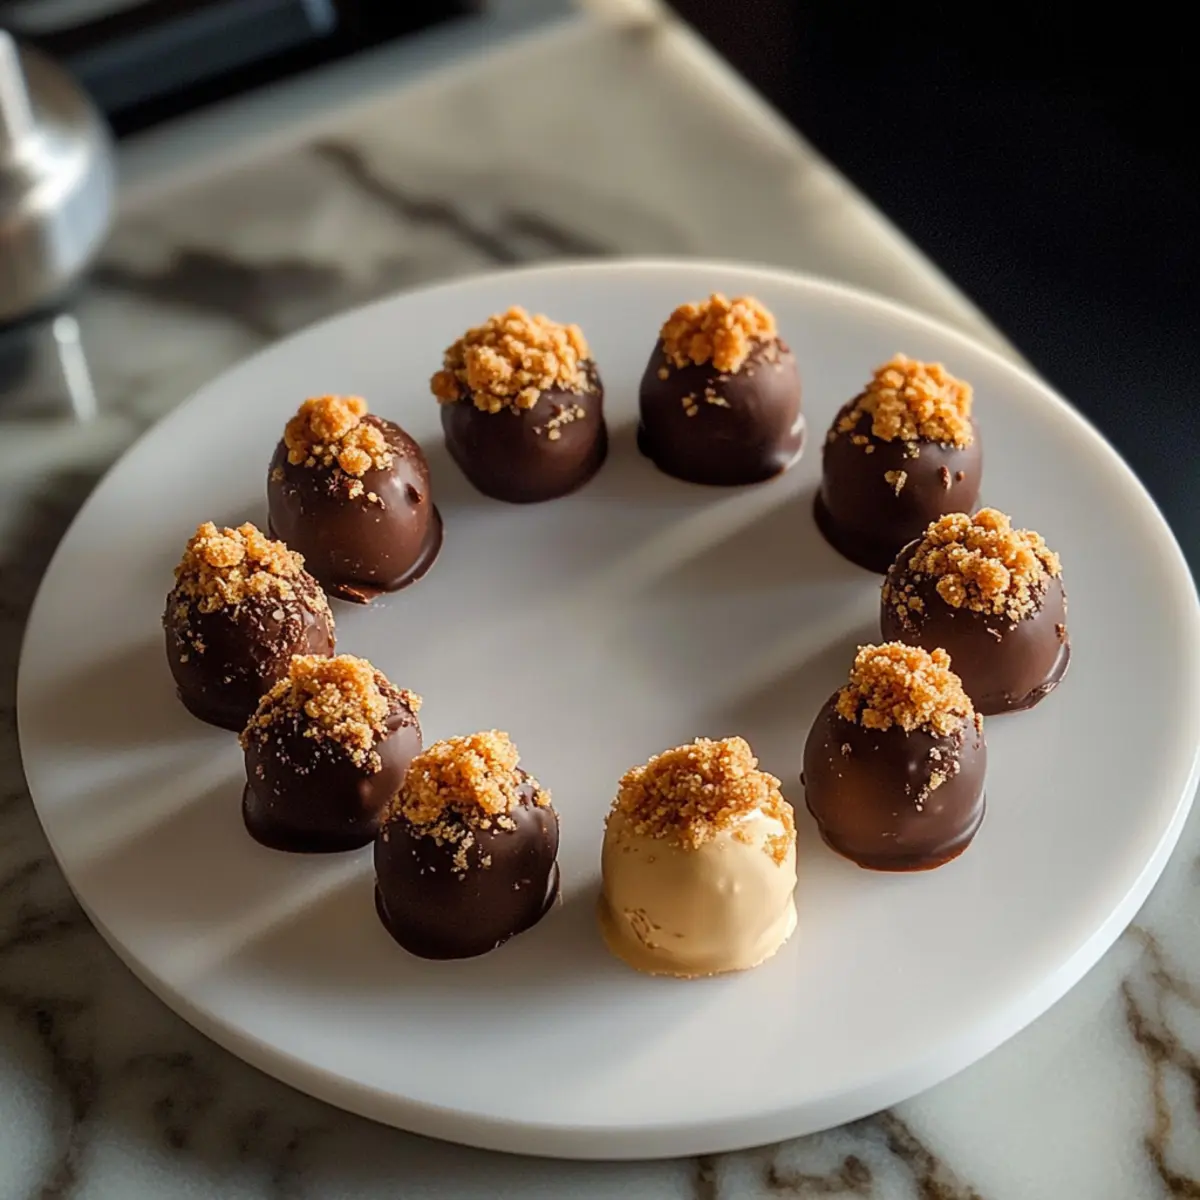
As I reached for the last bite of my homemade dessert, I couldn’t help but smile—these No-Bake Biscoff Cookie Butter Truffles were the highlight of my week! Combining the sweet, spiced goodness of cookie butter with a creamy filling, these truffles are an easy dessert that practically makes itself. With just a few simple ingredients and no oven required, they’re the perfect quick fix for satisfying your sweet tooth. Plus, they’re adaptable for whatever cravings strike; coat them in melted chocolate or roll them in crushed cookies for an irresistible twist. Whether you’re hosting friends for a movie night or just treating yourself after a long day, these truffles promise to bring joy in every bite. Curious to whip up this delightful treat? Let’s dive into the recipe together!

Why are these truffles a must-try?
Decadent Delight: These Biscoff Cookie Butter Truffles are the perfect blend of creamy and crunchy, offering an indulgent dessert experience without any baking involved.
Customizable Coatings: Choose between rich melted chocolate for a classic touch or roll them in crushed cookies for added texture—either way, they’re sure to impress!
Quick and Easy: With minimal prep time, you can whip up these truffles in no time, making them a go-to recipe for any occasion.
Dairy-Free Friendly: Simply swap in dairy-free cream cheese and chocolate chips to create a delicious treat that everyone can enjoy, ensuring no one misses out!
Want more inspiration? Don’t forget to check out my Spicy Garlic Butter for a savory twist or indulge in Creme Brulee Cookies for another sweet delight!
Biscoff Cookie Butter Truffles Ingredients
For the Truffle Mixture
- Biscoff Cookie Butter – A creamy base that gives truffles their rich flavor; feel free to substitute with any cookie butter you prefer.
- Biscoff Cookies – Adds delightful crunch; crush these into fine crumbs to incorporate smoothly into the mixture.
- Cream Cheese – Binds everything together with a rich texture; for a dairy-free option, use dairy-free cream cheese.
For the Coating
- Chocolate Chips – This sweet coating creates a luscious chocolate shell; melt in short bursts to ensure they don’t burn. Dairy-free chocolate chips work wonderfully here too!
- Coconut Oil (optional) – Adds a smoother consistency to your melted chocolate; it’s not essential, but recommended for a better finish.
These Biscoff Cookie Butter Truffles are the perfect treat to satisfy those sweet cravings while being super easy to make!
Step‑by‑Step Instructions for Biscoff Cookie Butter Truffles
Step 1: Prep Cookies
Start by crushing the Biscoff cookies into fine crumbs. Use a food processor for a quick method, or place the cookies in a zip-top bag and roll them with a rolling pin until finely crushed. This dust-like texture is essential for seamlessly blending it into the truffle mixture, ensuring a delightful crunch throughout your Biscoff Cookie Butter Truffles.
Step 2: Make Filling
In a medium bowl, combine softened cream cheese and Biscoff cookie butter using a hand mixer or a sturdy spatula. Beat until the mixture is smooth and creamy, approximately 1-2 minutes. Gradually add the crushed Biscoff cookies, mixing until a thick, dough-like consistency forms. This luscious filling is the star of your Biscoff Cookie Butter Truffles.
Step 3: Form Truffles
Scoop out about 1 tablespoon of the filling and roll it into a ball between your palms. Place each formed truffle on a parchment-lined baking sheet, making sure they’re spaced apart. Continue this process until all the mixture is used, yielding around 20-24 truffles. Their uniform size will ensure even coating later!
Step 4: Chill
Transfer the baking sheet with the truffles into the freezer and chill for 20-30 minutes. This step is crucial as it firms up the truffles, making them easier to coat in chocolate without losing shape. You’ll know they’re ready when they feel solid to the touch.
Step 5: Melt Chocolate
In a microwave-safe bowl, combine the chocolate chips and coconut oil (if using). Heat in the microwave in 20-30 second bursts, stirring in between until the chocolate is fully melted and smooth. This process usually takes about 1-2 minutes. Use caution to avoid scorching the chocolate, as burnt chocolate can ruin your truffle coating.
Step 6: Coat Truffles
Dip each chilled truffle into the melted chocolate, using a fork to turn it for an even coating. Allow excess chocolate to drip off before placing it back onto the parchment paper. If desired, sprinkle crushed cookies or a pinch of sea salt over the top before the chocolate sets, adding an extra layer of flavor to your Biscoff Cookie Butter Truffles.
Step 7: Set Chocolate
Once all truffles are coated, place the baking sheet back in the refrigerator for 15-20 minutes. This will allow the chocolate to harden completely, giving your Biscoff Cookie Butter Truffles a beautiful finish. You’ll know they’re set when the chocolate is no longer tacky to the touch.
Step 8: Store
After the chocolate has hardened, transfer the truffles to an airtight container. Store them in the refrigerator, where they will stay fresh for up to a week. This will keep your Biscoff Cookie Butter Truffles cool and ready to satisfy your sweet cravings whenever they hit!

Biscoff Cookie Butter Truffles Variations
Feel free to get creative and make these truffles your own—each variation brings a unique twist to a beloved treat!
-
Dairy-Free: Substitute cream cheese and chocolate chips with dairy-free alternatives to make these truffles a universally enjoyed dessert. Enjoy the same creamy texture and delightful taste without the dairy!
-
Nutty Version: Swap out the cookie butter for peanut butter or almond butter for a nutty twist. This creates a deliciously rich flavor that pairs beautifully with all the textures in the truffles.
-
Crushed Cookie Coating: Instead of chocolate, roll the truffles in crushed Biscoff cookies or Oreos for an additional crunch. This adds a delightful layer of flavor and texture, enhancing the cookie experience.
-
Flavor Infusions: Experiment by mixing in a teaspoon of vanilla, cinnamon, or even a hint of espresso powder to your truffle mixture. These subtler tastes can transform the entire dessert experience!
-
Add Some Heat: If you’re feeling adventurous, a sprinkle of cayenne pepper or chili powder in your chocolate coating can elevate these truffles to another level. The heat will contrast wonderfully with the sweetness!
-
Toasted Coconut: Roll truffles in shredded, toasted coconut for a tropical surprise. Not only does this add flavor, but it also provides a lovely visual appeal, making your truffles truly stunning.
-
Chocolate Drizzle: Once your truffles are set, drizzle some melted white chocolate or dark chocolate over the top for an elegant touch. It adds a decorative flair and enhances the overall sweetness!
-
Mini Truffle Bites: For a fun twist, make smaller bites by rolling the mixture into mini balls. These bite-sized treats are perfect for parties or just as a guilt-free indulgence during snack time.
Feeling inspired? Don’t stop here—why not pair these delightful truffles with a coffee and a few French Toast Cookies for the ultimate cozy afternoon treat? You can also explore the flavors of Chocolate Chip Cookies alongside your truffles for an inviting dessert spread. Happy baking!
Expert Tips for Biscoff Cookie Butter Truffles
-
Room Temperature Ingredients: Ensure your cookie butter and cream cheese are at room temperature; this makes the mixing process smoother and easier.
-
Chocolate Melting Caution: Melt chocolate in short bursts and stir often to avoid burning. Overheating can ruin the coating for your Biscoff Cookie Butter Truffles.
-
Experiment with Coatings: If you’re not in the mood for chocolate, roll the truffles in crushed cookies, cocoa powder, or powdered sugar for a fun twist!
-
Chill for Best Results: Don’t skip the chilling step! Firm truffles are easier to coat and maintain their shape. Aim for a solid feel before dipping.
-
Storage Secrets: Keep the truffles in an airtight container in the refrigerator for up to a week, or freeze for longer storage.
How to Store and Freeze Biscoff Cookie Butter Truffles
Fridge: Keep your Biscoff Cookie Butter Truffles in an airtight container in the refrigerator. They will stay fresh for up to a week, ready whenever a sweet craving strikes.
Freezer: For long-term storage, freeze the truffles in a single layer on a baking sheet until solid, then transfer to an airtight container. They can be frozen for up to 3 months.
Thawing: When you’re ready to enjoy, simply transfer the frozen truffles to the fridge for a few hours to thaw. This ensures they retain their creamy texture and delightful taste.
Make Ahead Options
These Biscoff Cookie Butter Truffles are perfect for meal prep enthusiasts looking to save time during busy weeks! You can prepare the truffle mixture and roll them into balls up to 24 hours in advance; simply store them in an airtight container in the refrigerator to maintain their freshness. Additionally, the truffles can be frozen for up to 3 months. To finish, just take them out and let them sit at room temperature for a few minutes before dipping them in melted chocolate. This way, you’ll have delectable Biscoff Cookie Butter Truffles ready to impress whenever those sweet cravings hit, all with minimal effort!
What to Serve with Biscoff Cookie Butter Truffles?
Indulge your senses by pairing these delightful bites of bliss with some complementary flavors and textures that will elevate your dessert experience.
-
Fresh Berries: Juicy strawberries or raspberries offer a refreshing contrast, balancing the rich sweetness of the truffles with their tartness.
-
Coffee or Espresso: A warm cup of coffee or a shot of espresso enhances the flavors of the truffles, making for a comforting pairing that awakens your palate.
-
Vanilla Ice Cream: A scoop of creamy vanilla ice cream alongside these truffles creates a dreamy combo, adding a silky texture that harmonizes beautifully.
-
Chocolate-Covered Pretzels: The salty crunch of chocolate-covered pretzels provides a delightful textural contrast, making each bite an intriguing mix of flavors.
-
Nutty Granola: Serve these truffles with a sprinkle of nutty granola for an added crunch. The toasty flavors can complement the cookie butter richness wonderfully.
-
Coconut Whipped Cream: Light and airy coconut whipped cream adds a tropical twist, bringing a delicious creaminess that pairs beautifully with the truffles.
-
Chai Tea: This spiced tea, with its warm flavors, enhances the cookie butter’s essence and adds an aromatic experience that’s perfect for cozy moments.
Biscoff Cookie Butter Truffles Recipe FAQs
What is the best way to select ripe ingredients for this recipe?
Absolutely! For the best flavor in your Biscoff Cookie Butter Truffles, make sure to choose a fresh, creamy Biscoff cookie butter without any dark spots or bitterness, indicating it’s past its prime. When selecting cream cheese, opt for one that’s fresh and smooth—check the expiration date, and allow it to reach room temperature before mixing for effortless blending.
How should I store Biscoff Cookie Butter Truffles, and how long do they last?
You’ll want to store your truffles in an airtight container in the refrigerator to keep them fresh. They can last up to 7 days, just waiting for you to indulge! If you’re looking for extended storage, feel free to freeze them.
Can I freeze Biscoff Cookie Butter Truffles? If so, how?
Definitely! To freeze, place the truffles in a single layer on a parchment-lined baking sheet and freeze until solid. Then, transfer them to an airtight container or freezer bag. They can last up to 3 months frozen. When you’re ready to enjoy, just thaw them in the fridge for a few hours before serving to restore their creamy texture.
What are some common troubleshooting tips for my truffles?
If your truffles are too soft to shape, consider refrigerating the mixture for a bit before rolling. If the chocolate coating is too thick, adding a teaspoon of coconut oil can help achieve a smoother consistency. Ensure you’re using room temperature ingredients to avoid lumps; melted chocolate should always be melted in short bursts to prevent scorching.
Are there any dietary considerations I should be aware of?
Yes! If you’re serving guests with dietary restrictions, you can easily make these truffles dairy-free by using dairy-free cream cheese and chocolate chips. This ensures that everyone can enjoy these delightful Biscoff Cookie Butter Truffles without worry.
Irresistible Biscoff Cookie Butter Truffles You’ll Love
Ingredients
Equipment
Method
- Start by crushing the Biscoff cookies into fine crumbs using a food processor or by rolling them in a zip-top bag.
- In a medium bowl, combine softened cream cheese and Biscoff cookie butter. Mix until smooth and creamy, about 1-2 minutes.
- Gradually add the crushed Biscoff cookies and mix until a thick, dough-like consistency forms.
- Scoop out about 1 tablespoon of the filling and roll it into a ball; place on a parchment-lined baking sheet.
- Transfer the baking sheet to the freezer and chill for 20-30 minutes until firm.
- Melt chocolate chips and coconut oil in a microwave-safe bowl in short bursts, stirring in between.
- Dip each chilled truffle into the melted chocolate, allowing excess chocolate to drip off.
- Place the coated truffles back on parchment paper and sprinkle with crushed cookies or sea salt before the chocolate sets.
- Refrigerate for 15-20 minutes until chocolate hardens completely.
- Store the truffles in an airtight container in the refrigerator for up to a week.
Leave a Reply