
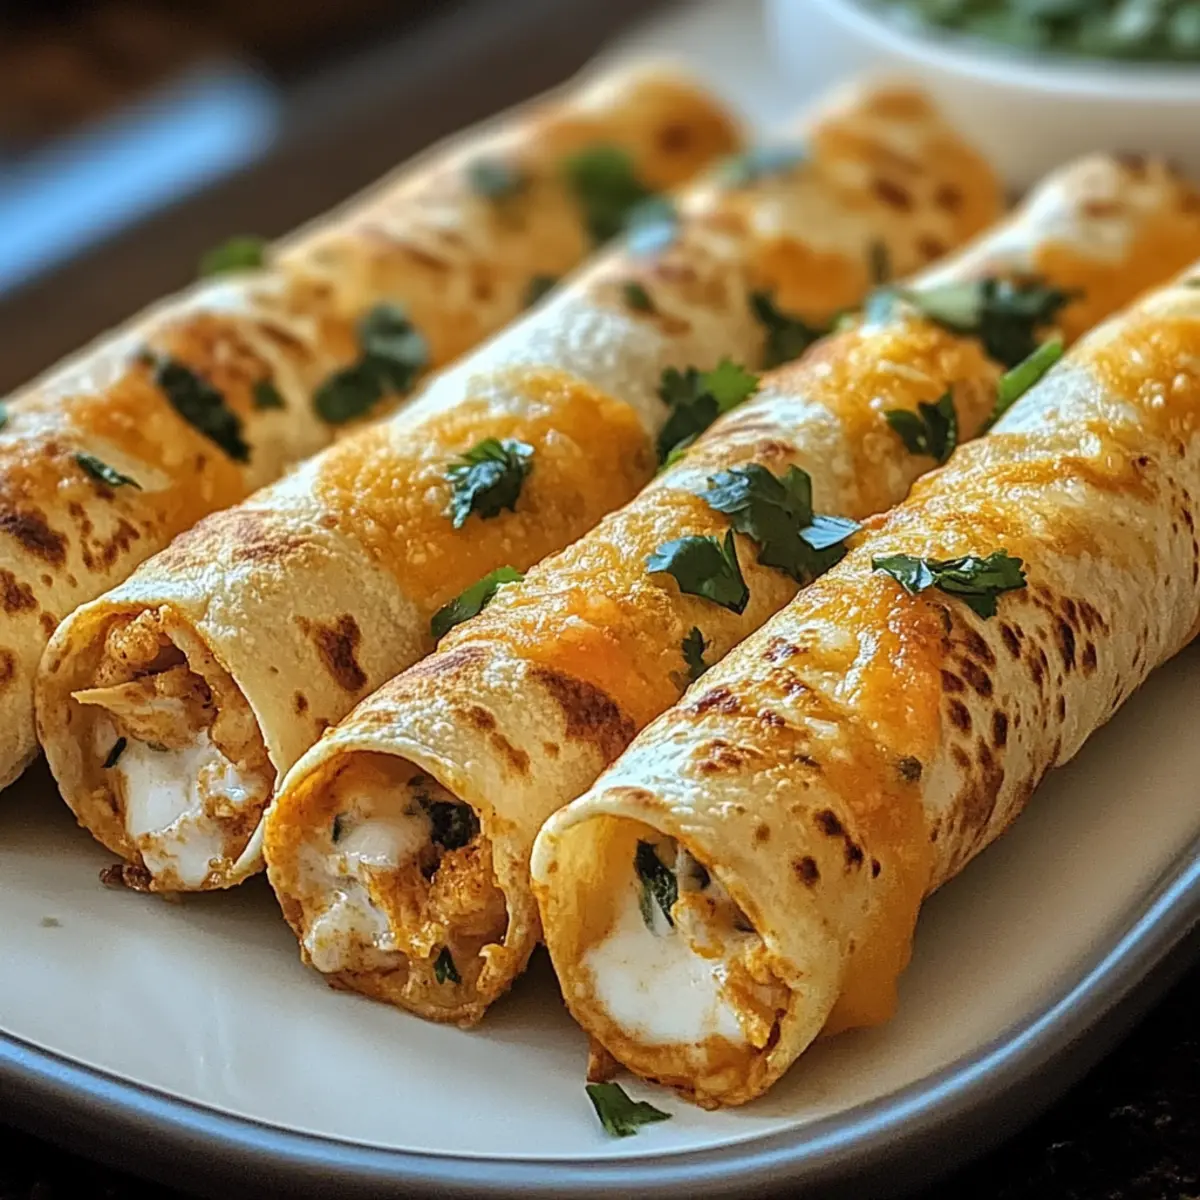
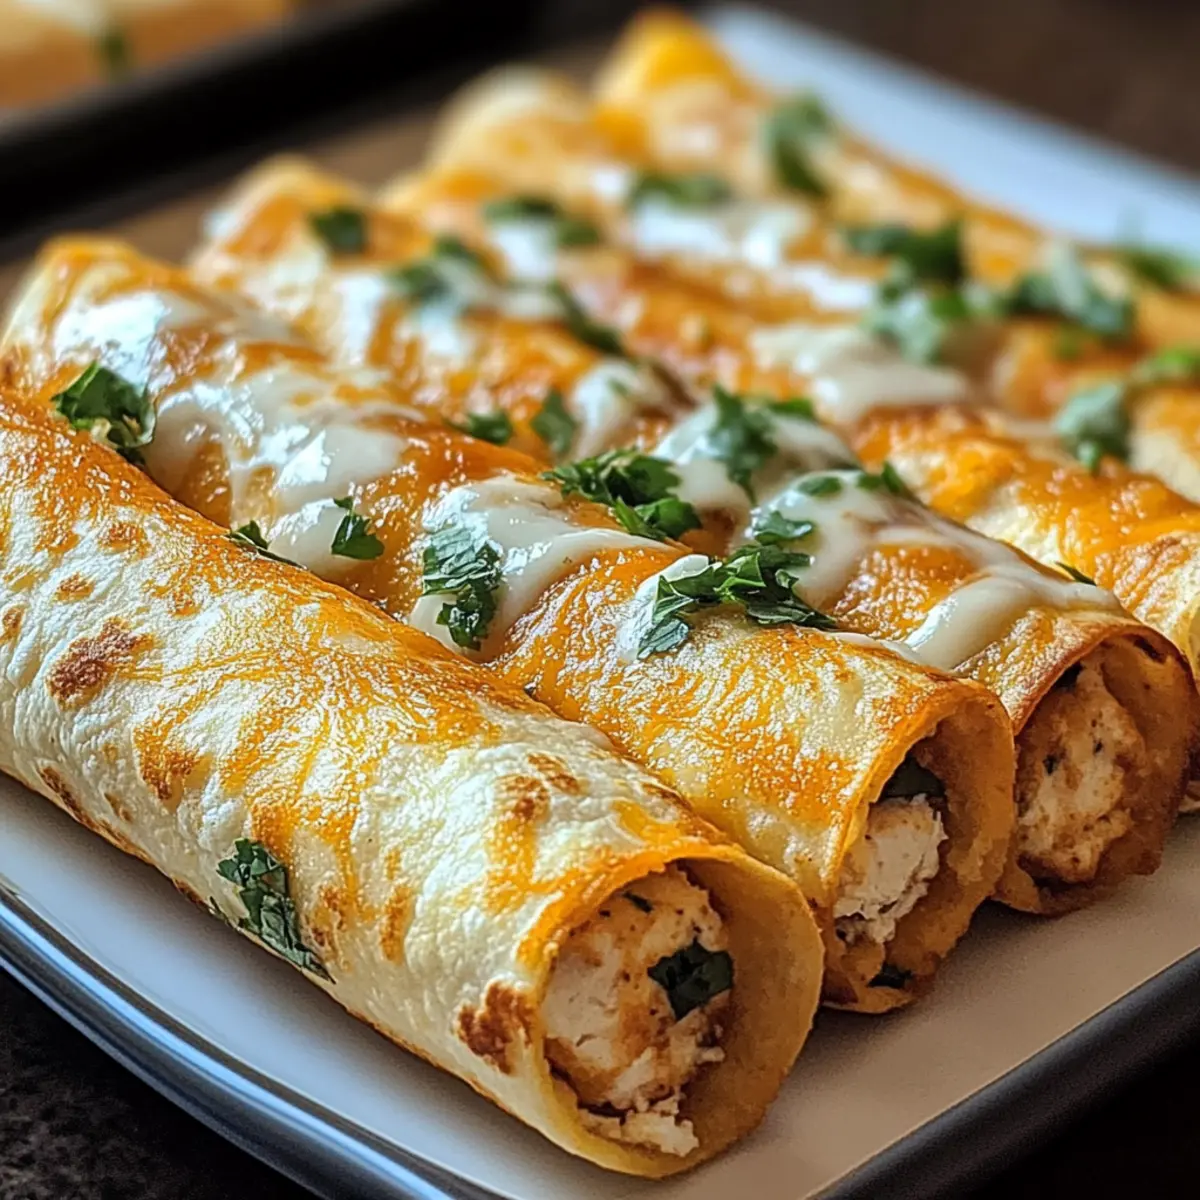
As I was scrolling through my social media feeds, my stomach grumbled at the sight of golden, crispy taquitos twinkling under a sprinkle of fresh herbs. This delightful vision inspired me to whip up my own version: Crispy Chicken Taquitos. These mouthwatering, oven-baked wonders are not only incredibly easy to make, but they’re also a crowd-pleaser for both game days and quick weeknight dinners. With a flavorful filling of creamy shredded chicken and melty cheese, they burst with the vibrant tastes of Mexican cuisine. Plus, they’re customizable for everyone’s palate and can be made gluten-free with just a simple swap. Intrigued about how to create this deliciousness at home? Let’s dive into the recipe!
Why are these Crispy Chicken Taquitos amazing?
Bold flavors: The combination of shredded chicken, cream cheese, and spices creates a mouthwatering filling that will keep everyone coming back for more.
Customizable: Easily adapt the filling to your taste—swap in ground beef or add black beans for a protein-packed twist!
Healthier choice: Oven-baking ensures a guilt-free option that’s lower in fat compared to fried taquitos, without sacrificing that delightful crunch.
Quick prep time: You can whip these up in no time, perfect for unexpected guests or busy weeknights!
Crowd favorite: Serve them at parties or family gatherings; they’ll be gone in a flash! Need more inspiration? Check out Korean Chicken Bao for another fun appetizer idea.
Crispy Chicken Taquitos Ingredients
• Everything you need to make the perfect taquitos at home!
For the Filling
• Cooked Shredded Chicken – A time-saver; using rotisserie chicken enhances flavor without the fuss.
• Cream Cheese – Adds a creamy richness; soften it before mixing for ease.
• Shredded Cheddar or Mexican Blend Cheese – Provides that melty goodness; feel free to switch it up with other cheese blends.
• Salsa – Elevates the flavor profile; choose a spiciness that suits your taste.
• Garlic Powder – A dash of this boosts flavor; fresh minced garlic can be a vibrant alternative.
• Chili Powder – Adds warmth and depth; adjust according to your spice preference.
• Cumin – Infuses an earthy note typical of Mexican cuisine.
• Salt and Black Pepper – Essential seasoning; tailor it to your liking.
For the Taquitos
• Flour or Corn Tortillas – The base for your taquitos; choose corn for a gluten-free option.
• Cooking Spray or Oil – Essential for achieving a crispy finish when baking.
These Crispy Chicken Taquitos are more than just a meal; they are a customizable culinary adventure just waiting for your personal touch!
Step‑by‑Step Instructions for Crispy Chicken Taquitos
Step 1: Preheat the Oven
Begin by preheating your oven to 425°F (220°C). While the oven is warming up, line a baking sheet with parchment paper or lightly coat it with cooking spray. This step is essential for achieving that perfect crispy texture on your Crispy Chicken Taquitos, ensuring they won’t stick when it’s time to bake.
Step 2: Prepare the Filling
In a large mixing bowl, combine the cooked shredded chicken, softened cream cheese, shredded cheese, salsa, garlic powder, chili powder, cumin, salt, and black pepper. Use a spatula or fork to mix everything together thoroughly until well combined. The filling should look creamy and cohesive, ensuring each taquito will be packed with flavor.
Step 3: Warm the Tortillas
To make rolling easier and prevent cracking, warm the flour or corn tortillas in the microwave for about 20 seconds. This quick step helps to achieve pliable tortillas that will hold the delicious filling without tearing, setting the stage for perfectly rolled Crispy Chicken Taquitos.
Step 4: Assemble the Taquitos
Take a warmed tortilla and place 2-3 tablespoons of the chicken filling on one side. Roll the tortilla tightly around the filling, tucking in the sides as you go to secure the contents. Repeat this process for each tortilla, placing the rolled taquitos seam-side down on your prepared baking sheet to keep them intact.
Step 5: Brush with Oil
Lightly brush the assembled taquitos with cooking spray or a bit of oil. This step is crucial as it will help them brown beautifully in the oven, adding to the crispy finish of your Crispy Chicken Taquitos. Make sure they are evenly coated for consistent crispiness throughout.
Step 6: Bake Until Golden
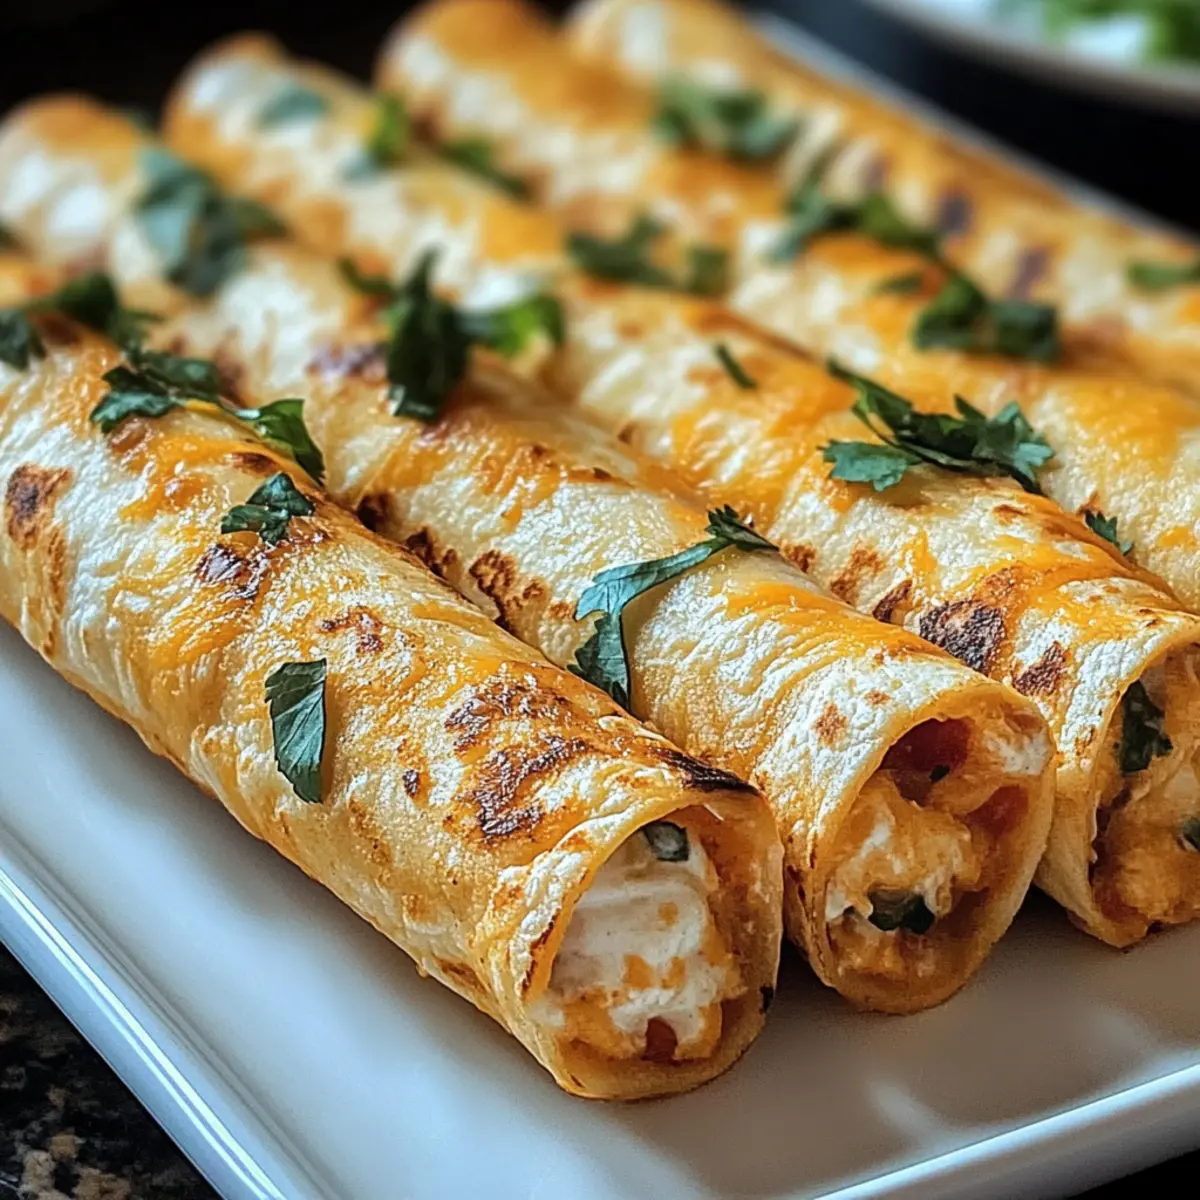
Place the baking sheet in your preheated oven, letting the taquitos bake for 15-20 minutes. Keep an eye on them as they bake; you’re looking for a golden-brown color and a satisfying crunch. If desired, turn on the broiler for an additional 1-2 minutes at the end for extra crispiness.
Step 7: Serve Warm with Toppings
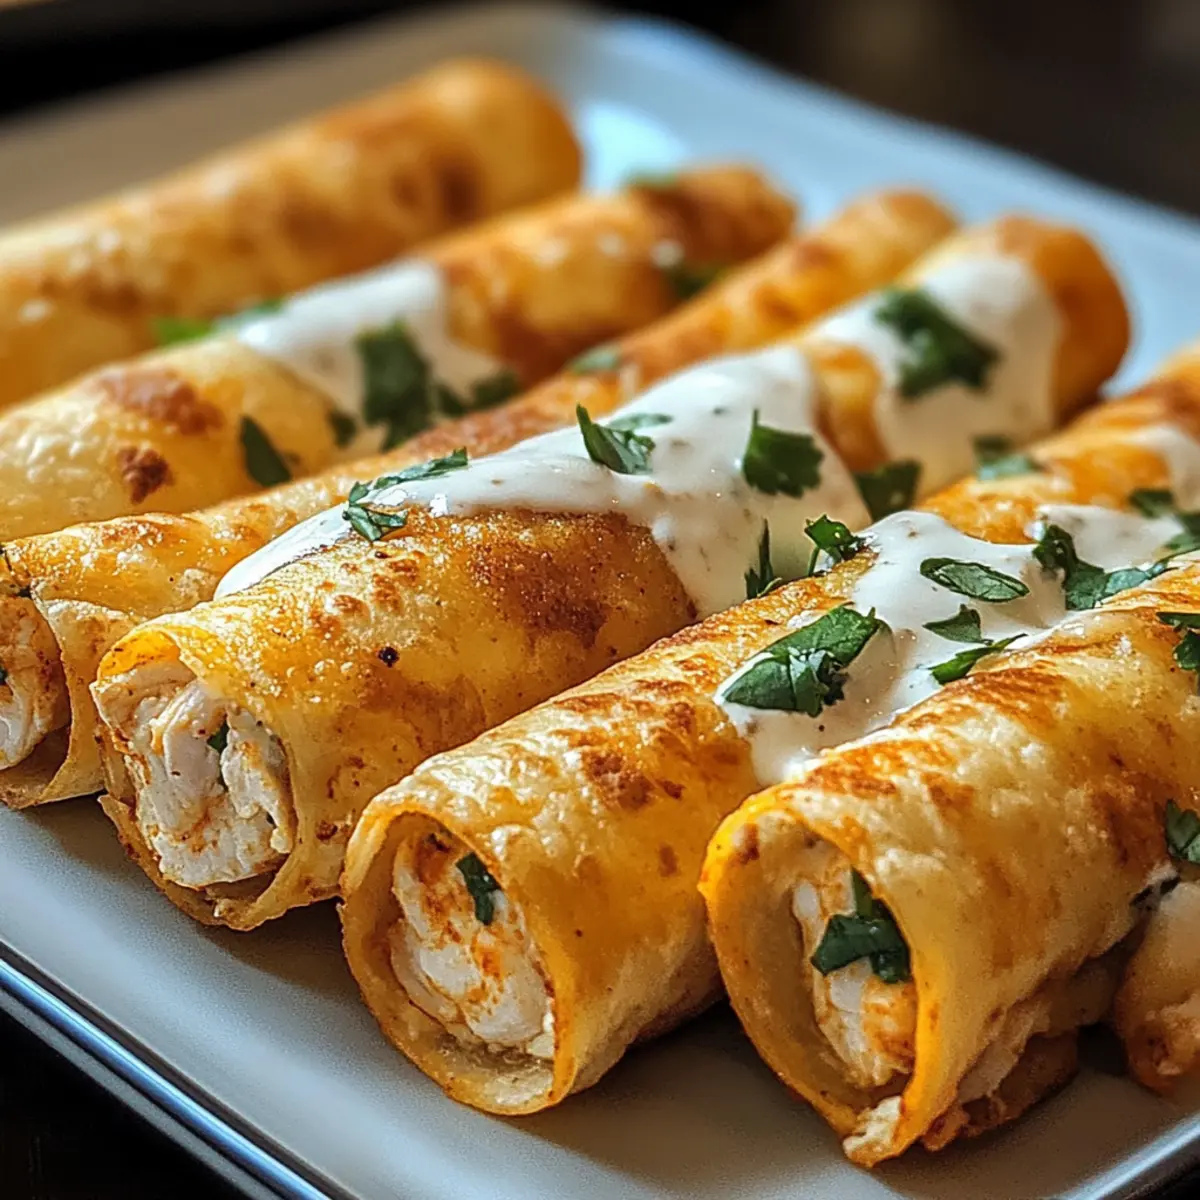
Once baked, remove the taquitos from the oven and let them cool for a few minutes. Serve them warm with your favorite toppings, such as sour cream, guacamole, or additional cheese. These Crispy Chicken Taquitos are best enjoyed straight out of the oven, bursting with flavor and that perfect crunch!
Crispy Chicken Taquitos Variations & Substitutions
Feel free to get creative with these Crispy Chicken Taquitos and personalize them to satisfy your taste buds!
-
Protein Swap: Replace the shredded chicken with cooked ground beef or turkey for a different flavor experience. The idea is to keep it versatile; each protein brings its unique taste to the filling.
-
Cream Cheese Twist: Use flavored cream cheese, like garlic or herb, to give your filling an extra layer of deliciousness. It’s a simple way to elevate the flavor profile without any fuss.
-
Veggie Boost: Add black beans, corn, or diced bell peppers into the filling for added nutrition and texture. Plus, the hints of color will make your taquitos not just tasty but visually appealing too!
-
Spicy Kick: Incorporate diced jalapeños or green chilies for a fiery finish. If you’re a heat lover, don’t be shy; adjust the quantity to ignite the flavors even more!
-
Cheese Variation: Switch shredded cheddar for pepper jack or mozzarella for a different cheesy delight. Each cheese adds its unique meltiness and flavor; it’s all about your preference!
-
Gluten-Free: Choose corn tortillas to make the entire dish gluten-free. These pair beautifully with the filling and still provide that delightful crunch everyone loves.
-
Mini Taquitos: For bite-sized goodness, use mini tortillas and create smaller taquitos, perfect for kids or as appetizers at gatherings. It’s a fun way to serve them!
-
Herbed Delight: Add fresh herbs like cilantro or parsley to the filling for a pop of freshness. It’s amazing how a handful of herbs can brighten the overall flavor!
Pair your taquitos with sides, like a fresh salad or Sticky Garlic Chicken, to make an unforgettable meal. Enjoy exploring these variations!
What to Serve with Crispy Chicken Taquitos
Transform your meal into a flavor fiesta with the perfect pairings for your delicious taquitos!
- Spanish Rice: This savory side adds a fluffy, comforting element that absorbs the taquito’s bold flavors beautifully.
- Fresh Pico de Gallo: Bright and vibrant, this salsa made with tomatoes, onions, and cilantro adds a refreshing crunch that complements the taquitos perfectly.
- Guacamole: Creamy and rich, guacamole provides a luxurious counterpart that balances the crispiness of the taquitos while adding a hint of coolness.
- Charred Corn Salad: Sweet, grilled corn mixed with lime and cilantro gives a delightful contrast and brings brightness to your plate.
- Black Bean Salad: Packed with protein and flavor, this hearty salad enhances the meal’s nutritional value while adding textural variety.
- Cilantro-Lime Quinoa: Light and zesty, this grain adds a nutritional boost alongside your taquitos, providing a lovely contrast in texture.
- Margaritas: Celebrate with a classic lime margarita or a fruity twist to elevate the evening’s culinary experience with a refreshing drink.
- Churros: For dessert, these sweet, fried dough treats dusted with cinnamon sugar will end your meal on a high note, guaranteeing smiles all around!
How to Store and Freeze Crispy Chicken Taquitos
Fridge: Store cooked Crispy Chicken Taquitos in an airtight container for up to 3 days. Reheat in the oven for best results to regain their crispiness.
Freezer: For longer storage, freeze uncooked taquitos in a single layer on a baking sheet. Once frozen, transfer them to a freezer-safe bag for up to 3 months.
Reheating: Reheat baked taquitos in the oven at 350°F (175°C) for about 10-15 minutes, or until heated through and crispy. If reheating from frozen, increase time to ensure they are heated all the way through.
Make Ahead Options
These Crispy Chicken Taquitos are perfect for meal prep enthusiasts! You can assemble the taquitos up to 24 hours in advance, simply refrigerating them before baking. First, prepare the filling and roll the taquitos tightly, then arrange them seam-side down on a baking sheet lined with parchment paper. To maintain quality, lightly spray the assembled taquitos with oil before covering them with plastic wrap to prevent drying out. When ready to serve, bake the taquitos directly from the fridge for 15-20 minutes at 425°F (220°C) until they’re golden and crispy. This makes your weeknight dinners a breeze, delivering delicious, homemade flavors with minimal effort!
Expert Tips for Crispy Chicken Taquitos
-
Warm Tortillas: Using warm tortillas prevents tearing while rolling. This small step can make a big difference in your taquito’s appearance!
-
Flavor Boost: Add diced jalapeños or green chilies to the filling for an extra kick. Don’t be shy to spice things up!
-
Make Ahead: Assemble your Crispy Chicken Taquitos a day in advance and refrigerate them. Bake fresh when ready, and enjoy the convenience!
-
Oven vs. Air Fryer: If using an air fryer, cook at 400°F for 8-10 minutes, flipping halfway for even crispiness. Perfect for a quicker option!
-
Storage Tips: Freeze uncooked taquitos for longer storage. Bake directly from the freezer, just adding a few minutes to the baking time.
-
Perfect Crispiness: To achieve that golden crunch, make sure to brush the taquitos lightly with oil before baking. Happy cooking!
Crispy Chicken Taquitos Recipe FAQs
What type of chicken is best for the filling?
Using cooked shredded chicken makes for a quick preparation, and rotisserie chicken works wonderfully as it’s flavorful and saves time in the kitchen. If you don’t have cooked chicken on hand, you may also use leftovers from a previous meal or poach chicken breasts beforehand.
How should I store my taquitos after cooking?
Once you’ve cooked your Crispy Chicken Taquitos, allow them to cool completely before storing them in an airtight container. They can be stored in the fridge for up to 3 days. For reheating, the oven is your best friend; pop them in at 350°F (175°C) for about 10-15 minutes to bring back their crispy texture.
Can I freeze the taquitos before baking?
Absolutely! To freeze your taquitos, arrange the uncooked versions in a single layer on a baking sheet and freeze them until solid. Then, transfer them into a freezer-safe bag for up to 3 months. When you’re ready to enjoy them, bake straight from the freezer, adding a few extra minutes to the baking time.
What should I do if my taquitos are cracking while rolling?
If your tortillas are cracking, it’s likely they’re too cold or not pliable enough. To avoid this, always warm the tortillas in the microwave for about 20 seconds. You can also use a damp paper towel to cover them while warming, as it adds moisture and prevents them from drying out.
Are there any allergens I should consider for these taquitos?
Yes! For those with gluten sensitivities, be sure to use corn tortillas, which are gluten-free. Additionally, if you have lactose intolerance, you can swap the cream cheese and regular cheese for dairy-free alternatives, ensuring everyone can join in the deliciousness of these Crispy Chicken Taquitos!
What can I serve alongside my taquitos?
These delightful taquitos pair beautifully with sides like Spanish rice, fresh guacamole, or a zesty salad. You can also whip up some tangy salsa or creamy avocado dip to have on the side for an extra burst of flavor. Enjoy and get creative!
Crispy Chicken Taquitos That'll Make You Ditch Takeout Forever
Ingredients
Equipment
Method
- Preheat your oven to 425°F (220°C) and line a baking sheet with parchment paper or lightly coat it with cooking spray.
- In a large mixing bowl, combine the cooked shredded chicken, softened cream cheese, shredded cheese, salsa, garlic powder, chili powder, cumin, salt, and black pepper until well mixed.
- Warm the flour or corn tortillas in the microwave for about 20 seconds to make rolling easier.
- Take a warmed tortilla and place 2-3 tablespoons of the chicken filling on one side. Roll it tightly around the filling and place seam-side down on the baking sheet.
- Lightly brush the taquitos with cooking spray or a bit of oil for even browning.
- Bake the taquitos for 15-20 minutes until golden brown. Turn on the broiler for an additional 1-2 minutes if desired.
- Let them cool for a few minutes before serving warm with your favorite toppings.
Leave a Reply