
“Have you ever stared into your freezer, staring down a bag of frozen peas, and wondered what to do with them?” Well, I’m here to tell you that those little green gems can transform into an incredible side dish with just a few simple steps! In this post, I’ll guide you through making perfectly seasoned sautéed frozen peas in just 10 minutes—yes, you read that right. This quick and easy recipe is not only budget-friendly but also packs a nutritional punch, making it a splendid addition to any meal. Whether you’re rushing through a busy weeknight or showcasing your culinary skills at a gathering, these vibrant peas are your ticket to a deliciously simple side. So, are you ready to turn your frozen peas into something extraordinary?
Why Cook Frozen Peas?
Unexpectedly Versatile: Frozen peas are incredibly adaptable, allowing you to experiment with various seasonings and add-ins to match any culinary theme.
Quick and Simple: In just 10 minutes, you can bring a delightful side dish to life, perfect for busy weeknights or entertaining guests.
Nutritionally Rich: Packed with vitamins and minerals, these little green powerhouses are naturally gluten-free and a fantastic source of nutrients.
Bright and Flavorful: When sautéed with garlic, herbs, and a squeeze of lemon, frozen peas shine with freshness and vibrant color that elevate your plate.
Budget-Friendly: Using frozen peas is an economical choice, proving that delicious sides don’t have to break the bank. For more budget-friendly ideas, check out my guide on affordable meal planning.
Crowd-Pleasing Appeal: Whether paired with grilled salmon or meatloaf, these peas are a family favorite that everyone will love!
Frozen Peas Ingredients
For the Sauté:
• Frozen Peas – These little green gems are sweet and tender, providing the perfect base for our dish.
• Butter or Olive Oil – Choose butter for a rich, creamy finish; olive oil offers a lighter, healthier alternative.
• Garlic (Minced) – Freshly minced garlic adds aromatic depth; garlic powder can be used in a pinch.
• Kosher Salt – Enhances the flavors of the dish; adjust to your taste preference.
• Black Pepper – Offers a mild kick; feel free to use more or less based on your heat tolerance.
For Flavor Enhancements:
• Fresh Lemon Zest – Brightens the dish, adding a burst of freshness.
• Fresh Herbs (Mint, Dill, Parsley, Chives) – Use any blend you prefer for a flavor lift; fresh herbs are recommended to bring out the best in frozen peas.
• Fresh Cheese (Parmesan, Feta, Cotija) – Add creaminess and richness; feel free to omit if you’re aiming for a lighter dish.
• Red Pepper Flakes – Add a touch of heat, depending on your flavor tolerance; optional spice for an extra kick.
• Sugar – Just a pinch helps to balance the flavors; optional but can enhance sweetness.
These ingredients will come together beautifully to create the perfect sautéed frozen peas that are not only a tasty side but also an ideal showcase for how delightful frozen peas can be!
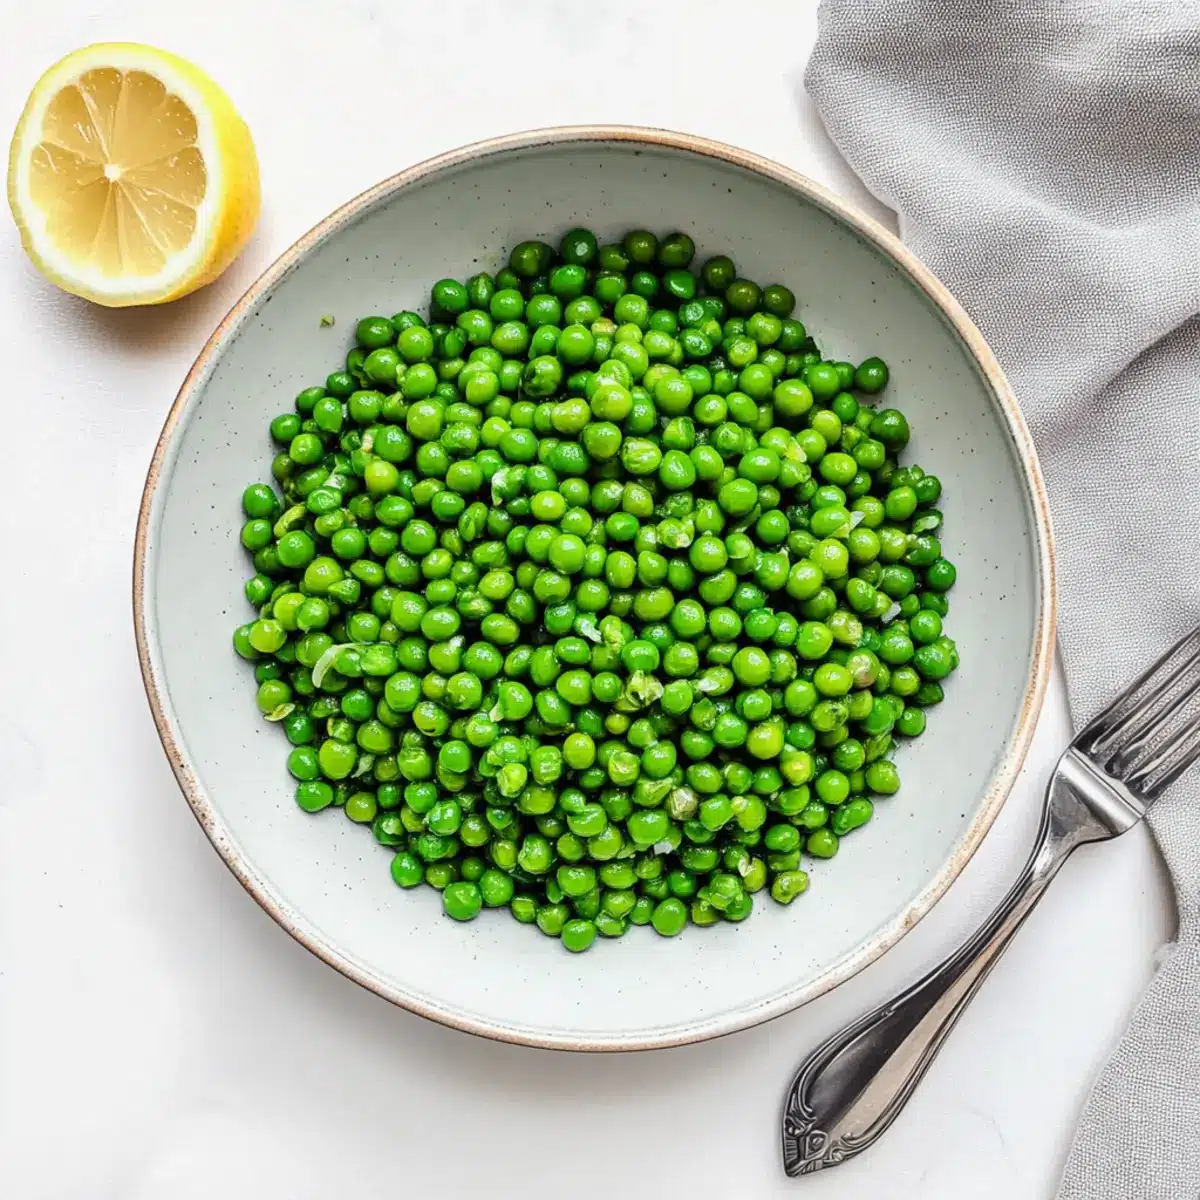
Step‑by‑Step Instructions for Perfectly Seasoned Sautéed Frozen Peas in 10 Minutes
Step 1: Melt Butter or Oil
Begin by heating a large skillet over medium heat. Add 1 to 2 tablespoons of butter or olive oil, allowing it to melt or heat until shimmering. This step is essential as it creates the flavorful base for the sautéed frozen peas. Use a spatula to ensure even coating of the pan.
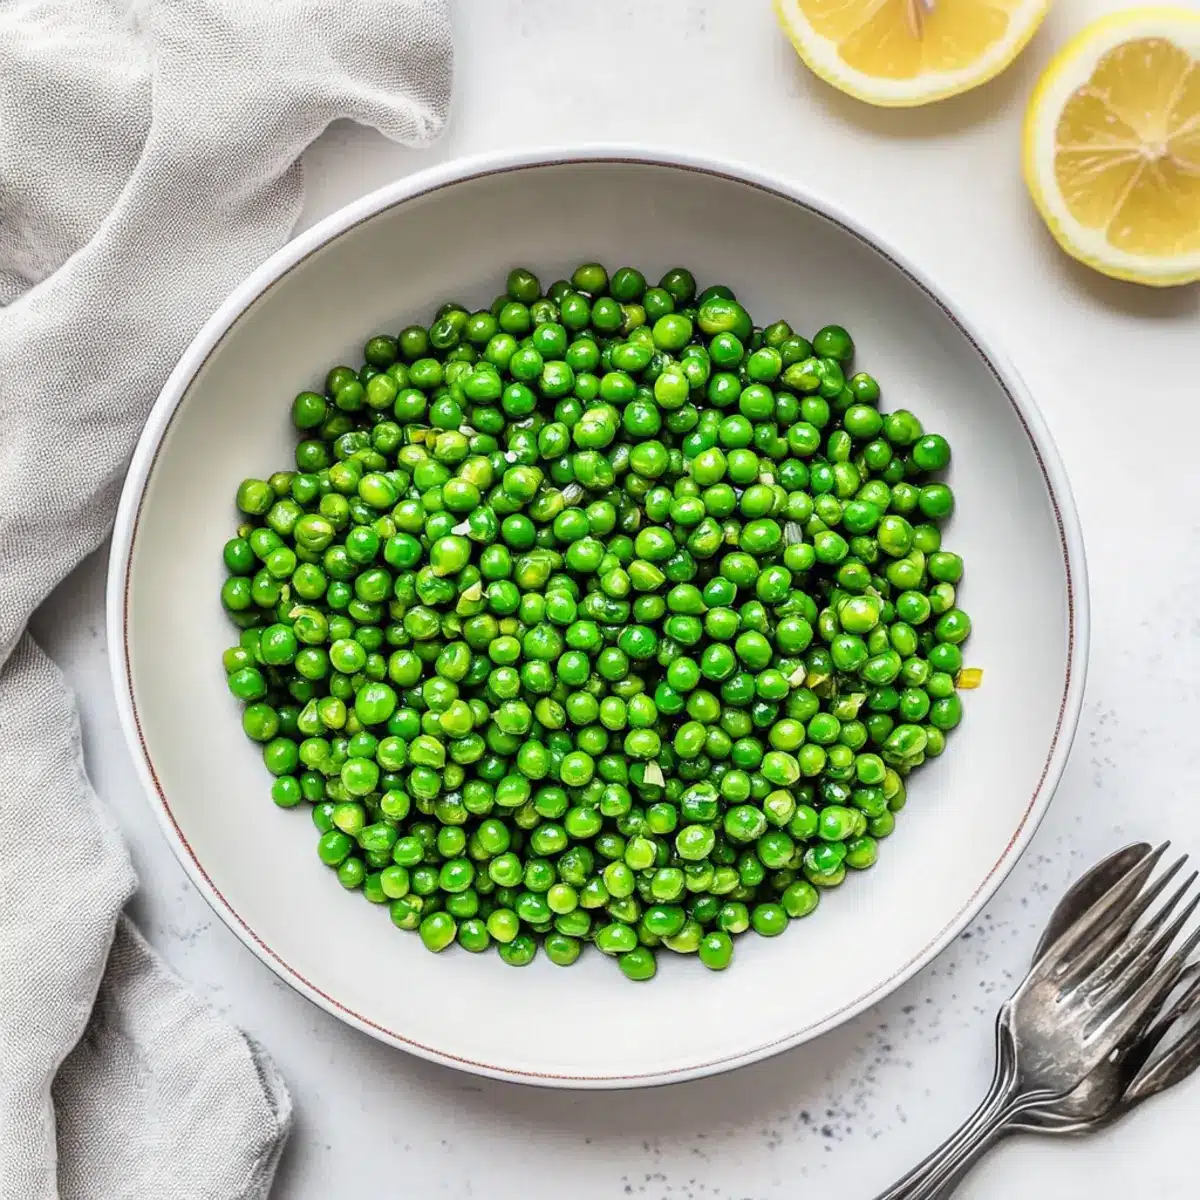
Step 2: Add Frozen Peas
Once the butter is sizzling (or the oil is shimmering), pour in the frozen peas directly from the bag without thawing. Stir gently to coat the peas in the hot fat, then cook for 6 to 8 minutes. You’ll know they’re done when they become vibrant green and tender, but still maintain a slight firmness.
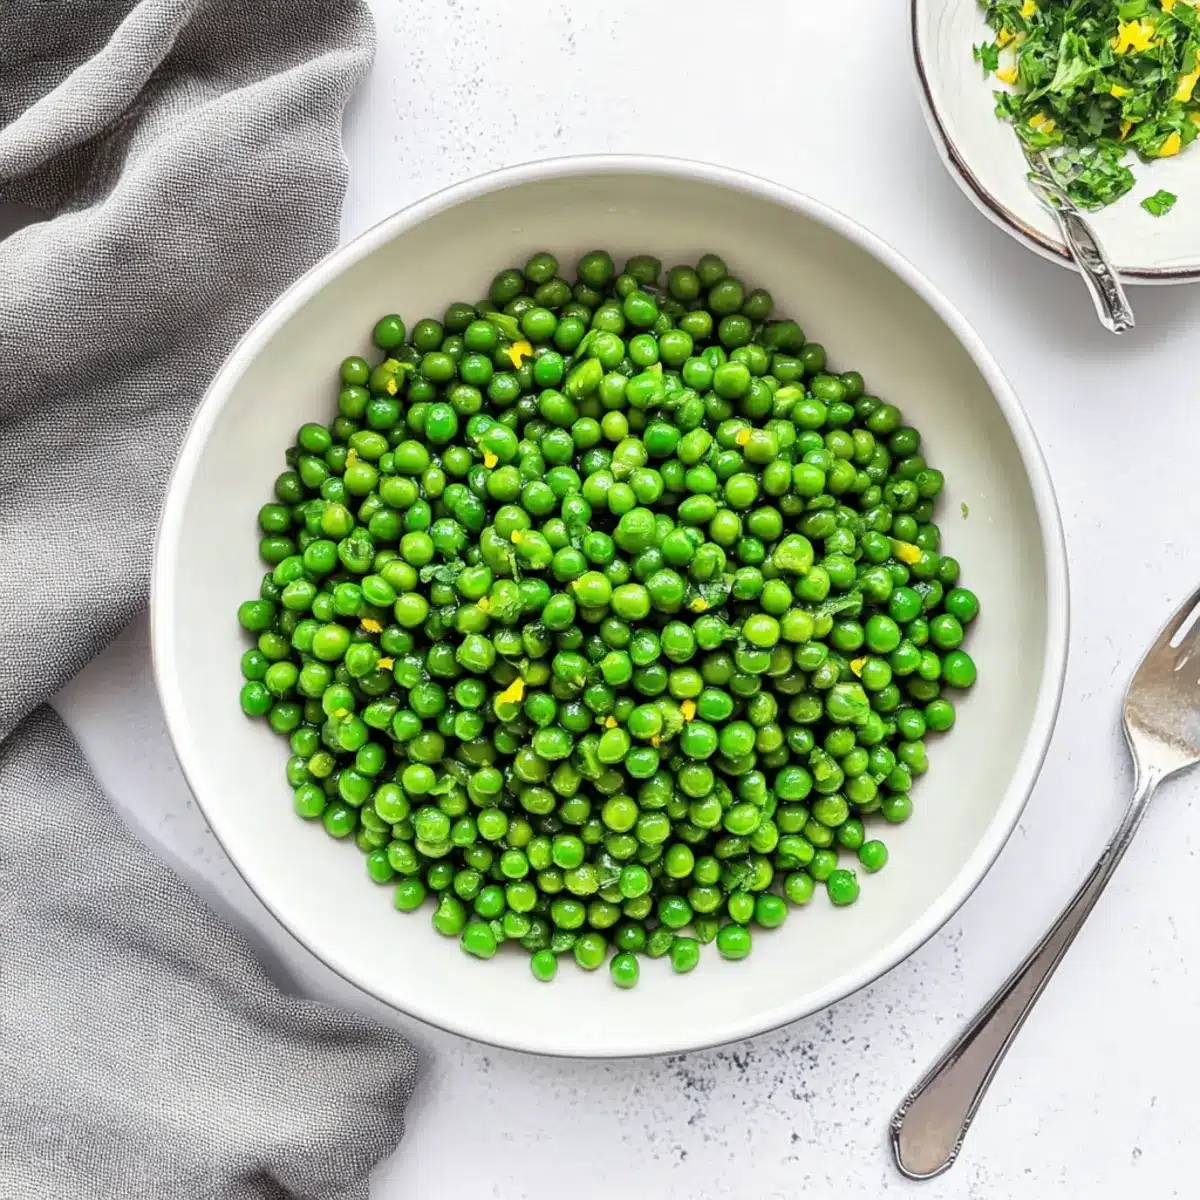
Step 3: Season the Mixture
After the peas have cooked, stir in minced garlic, kosher salt, and black pepper. Continue to cook for an additional 30 to 60 seconds, stirring frequently until the garlic becomes fragrant. This will enhance the flavor of your sautéed frozen peas, infusing them with a delicious garlicky aroma.
Step 4: Taste and Adjust
Now is the time to taste your dish. If you want to enhance the flavor of your sautéed frozen peas, consider adjusting the seasoning by adding more salt, pepper, or a pinch of sugar for balance. You might also want to mix in fresh herbs like mint, dill, or chives, depending on your preference.
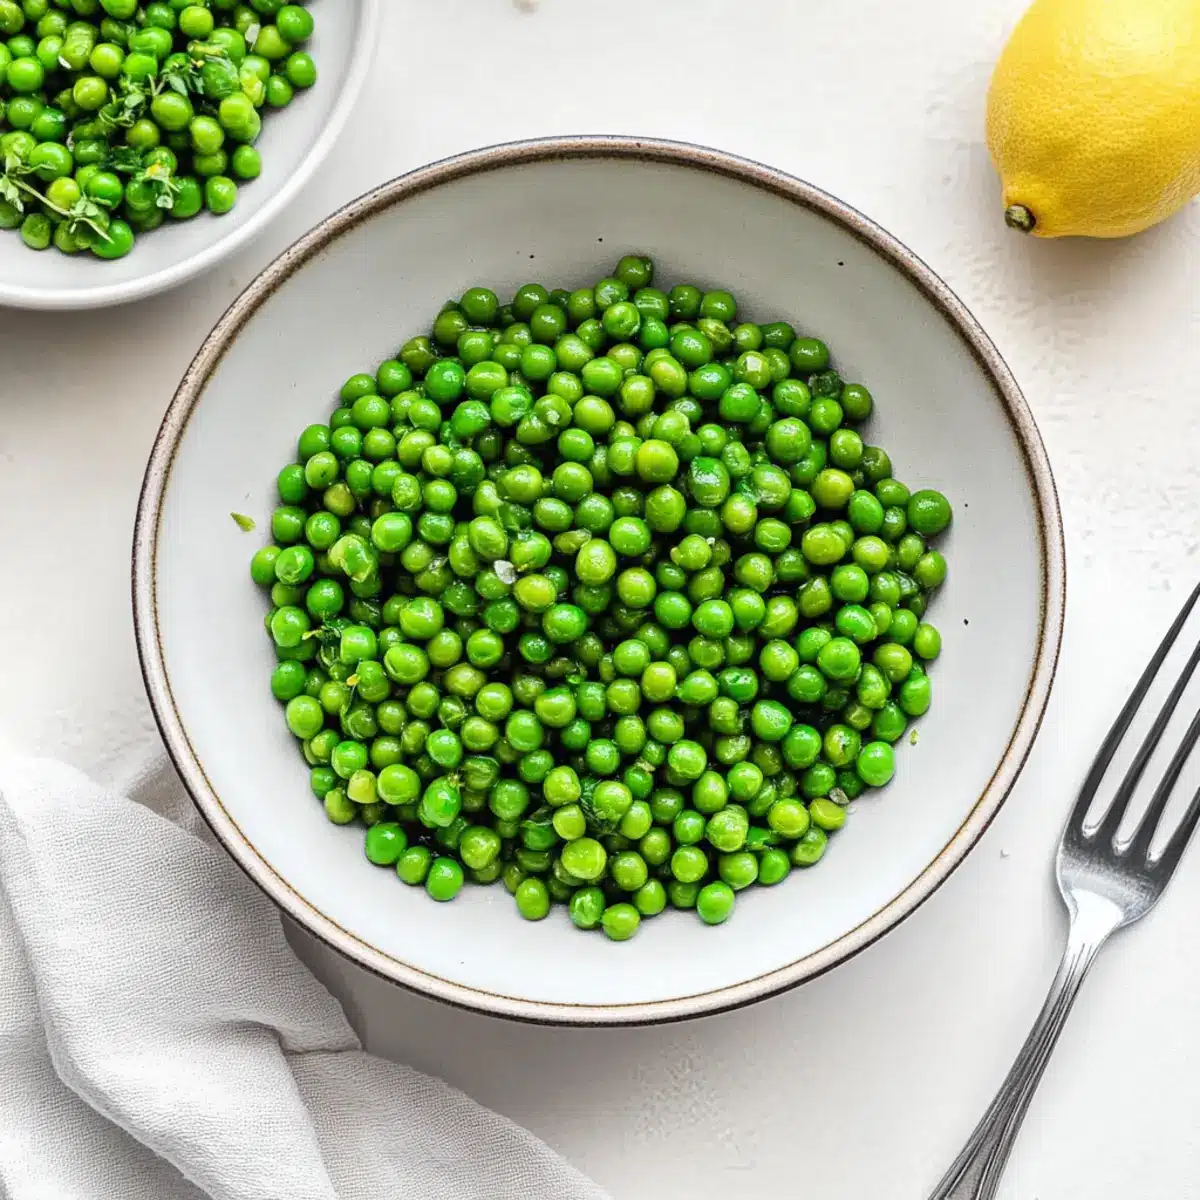
Step 5: Serve Immediately
Your perfectly seasoned sautéed frozen peas are now ready to shine! Serve them immediately while they’re warm, vibrant, and bursting with flavor. If you’ve made a larger batch, store any leftovers in an airtight container in the fridge to enjoy later.
Storage Tips for Frozen Peas
Fridge: Store cooked frozen peas in an airtight container for up to 3 days. This keeps them fresh and ready for quick meals.
Freezer: If you want to store leftovers longer, freeze cooked peas in a zip-top bag for up to 3 months. Be sure to remove excess air to prevent freezer burn.
Reheating: When ready to enjoy, reheat sautéed frozen peas in a skillet over low heat for 3–5 minutes, adding a touch of butter or oil to restore their creaminess.
Freshness Tip: If you’re storing raw frozen peas, they can last in your freezer indefinitely, but for the best flavor, aim to use them within 6 months.
What to Serve with Perfectly Seasoned Sautéed Frozen Peas?
Imagine a vibrant plate that bursts with color and flavor, perfectly complementing your meal!
-
Roasted Chicken: The juicy tenderness of roasted chicken pairs beautifully with the sweet, bright flavor of sautéed peas.
-
Grilled Salmon: The rich, flaky texture of salmon harmonizes with the freshness of peas, creating a delightful contrast.
-
Meatloaf: This comforting classic benefits from the vibrant greens, adding a fresh note to the heartiness of meatloaf.
-
Garlic Bread: Crunchy, buttery garlic bread provides a satisfying crunch alongside the tender peas, enhancing the overall dining experience.
-
Quinoa Salad: A refreshing quinoa salad with herbs and citrus complements the peas’ sweetness while adding a wholesome grain element.
-
Mashed Potatoes: Creamy mashed potatoes deliver a luscious texture partnership, absorbing the garlic and butter notes from the peas.
-
Lemonade or Iced Tea: A chilled glass of lemonade or herbal iced tea brings a refreshing balance, cutting through the richness of your main dish.
-
Chocolate Mousse: End your meal on a sweet note with a light, airy chocolate mousse, offering a delightful contrast to the savory flavors.
Make Ahead Options
These perfectly seasoned sautéed frozen peas are a fantastic option for meal prep! You can sauté the peas up to 24 hours in advance, letting them cool completely before transferring them to an airtight container in the refrigerator. When you’re ready to serve, simply reheat them in a skillet over medium heat for a few minutes, adding a splash of olive oil or a pat of butter to restore their vibrant texture. To keep them tasting just as delicious, avoid overcooking initially, and store them without overcrowding in the container. By prepping ahead, you can enjoy a quick and flavorful side dish with minimal effort on busy nights!
Expert Tips for Cooking Frozen Peas
-
Don’t Overcook: Aim for plump and bright peas; if they start to turn brown, they’re overdone. Perfectly cooked peas should remain vibrant!
-
Sautéing is Key: For the best texture and taste, sautéing is preferred. If boiling, be mindful of timing—just 2-3 minutes is all you need to avoid mushiness.
-
Visual Cues Matter: When the peas are a vibrant green and tender yet still firm, you know they’re cooked just right. Trust your eyes for the best frozen peas results.
-
Herbs for Freshness: Incorporate fresh herbs like mint or dill to bring an extra burst of flavor to your sautéed frozen peas. Mix and match according to your dish!
-
Adjust Seasonings: Taste your dish as you cook! Adding a pinch of sugar can balance flavors, making your sautéed frozen peas even more delightful.
Frozen Peas Variations & Substitutions
Get ready to take your frozen peas to the next level with these fun and creative tweaks!
-
Herb Blitz: Swap out herbs for fresh basil or cilantro for a twist; they add a unique flavor that brightens every bite.
-
Cheesy Goodness: Try different cheeses like goat cheese or gouda, which offer distinctive textures and flavors, making your peas creamy and delicious.
-
Add Heat: Toss in diced jalapeños or a splash of hot sauce for a spicy kick that warms up your dish.
-
Sweet Surprise: Mix in a handful of sweet corn or diced carrots; the natural sweetness complements the peas perfectly and adds color to your plate.
-
Crispy Topping: Top with crushed crispy bacon or fried onions for a delightful crunch that enhances the texture and flavor blend.
-
Asian Flair: Stir in soy sauce and sesame oil with a sprinkle of sesame seeds for an Asian-inspired twist that’s bold and savory.
-
Mediterranean Zing: Mix in olives and sun-dried tomatoes for a Mediterranean vibe; this combination brings out an unexpected explosion of flavors.
-
Nutty Crunch: Add slivered almonds or chopped walnuts to the sauté for extra crunch and healthy fats, elevating your dish to new heights.
Feel free to use these variations to play around with your recipe! For even more flavor ideas, check out my collection of herb-infused recipes that can add a delightful twist to your meals. Remember, the goal is to have fun while cooking and create something uniquely yours!
Frozen Peas Recipe FAQs
How do I select the best frozen peas?
Absolutely! When choosing frozen peas, look for packages with bright green peas that don’t have ice crystals or clumping, as this indicates good quality. Opt for petite peas if you prefer a sweeter taste and tender texture. Check the expiration date to ensure freshness.
How should I store leftover cooked frozen peas?
I often recommend storing cooked frozen peas in an airtight container in the refrigerator for up to 3 days. This keeps them fresh and flavorful, making them perfect for quick meals or stir-fries!
Can I freeze cooked frozen peas for later use?
Yes, you can! To freeze cooked frozen peas, allow them to cool completely. Then, pack them into a zip-top bag, making sure to remove as much air as possible to prevent freezer burn, and store them for up to 3 months. When ready to use, just reheat them straight from the freezer on the stove or in the microwave.
What should I do if my frozen peas are mushy after cooking?
Very good question! If your frozen peas turn mushy, it might be due to overcooking. To avoid this in the future, aim for a vibrant green color and a tender bite, but don’t let them brown. If you find they are too soft, next time you cook, reduce the cooking time to just 6 to 8 minutes and stir frequently.
Are frozen peas safe for pets?
Yes, frozen peas are generally safe for most pets in moderation. They are a non-toxic treat for dogs and cats, packed with fiber and vitamins! However, always check for allergies, and avoid adding seasoning when sharing with your furry friends.
Can I use fresh peas instead of frozen peas in this recipe?
Certainly! If you have fresh peas, you can use them, but keep in mind they’ll need a slightly shorter cooking time—about 3 to 5 minutes. Fresh peas offer a delightful sweetness and crispness that’s absolutely delicious! Make sure to taste as you go to achieve the perfect texture.
Delicious Frozen Peas: Quick and Flavorful Side Dish Magic
Ingredients
Equipment
Method
- Melt Butter or Oil: Heat a large skillet over medium heat. Add 1-2 tablespoons of butter or olive oil to melt or heat until shimmering.
- Add Frozen Peas: Pour in the frozen peas directly from the bag without thawing and stir gently to coat.
- Season the Mixture: Stir in minced garlic, kosher salt, and black pepper, and cook for an additional 30 to 60 seconds.
- Taste and Adjust: Adjust seasoning as necessary, adding more salt, pepper, or fresh herbs.
- Serve Immediately: Serve warm, bursting with flavor. Store leftovers in an airtight container.
Leave a Reply