
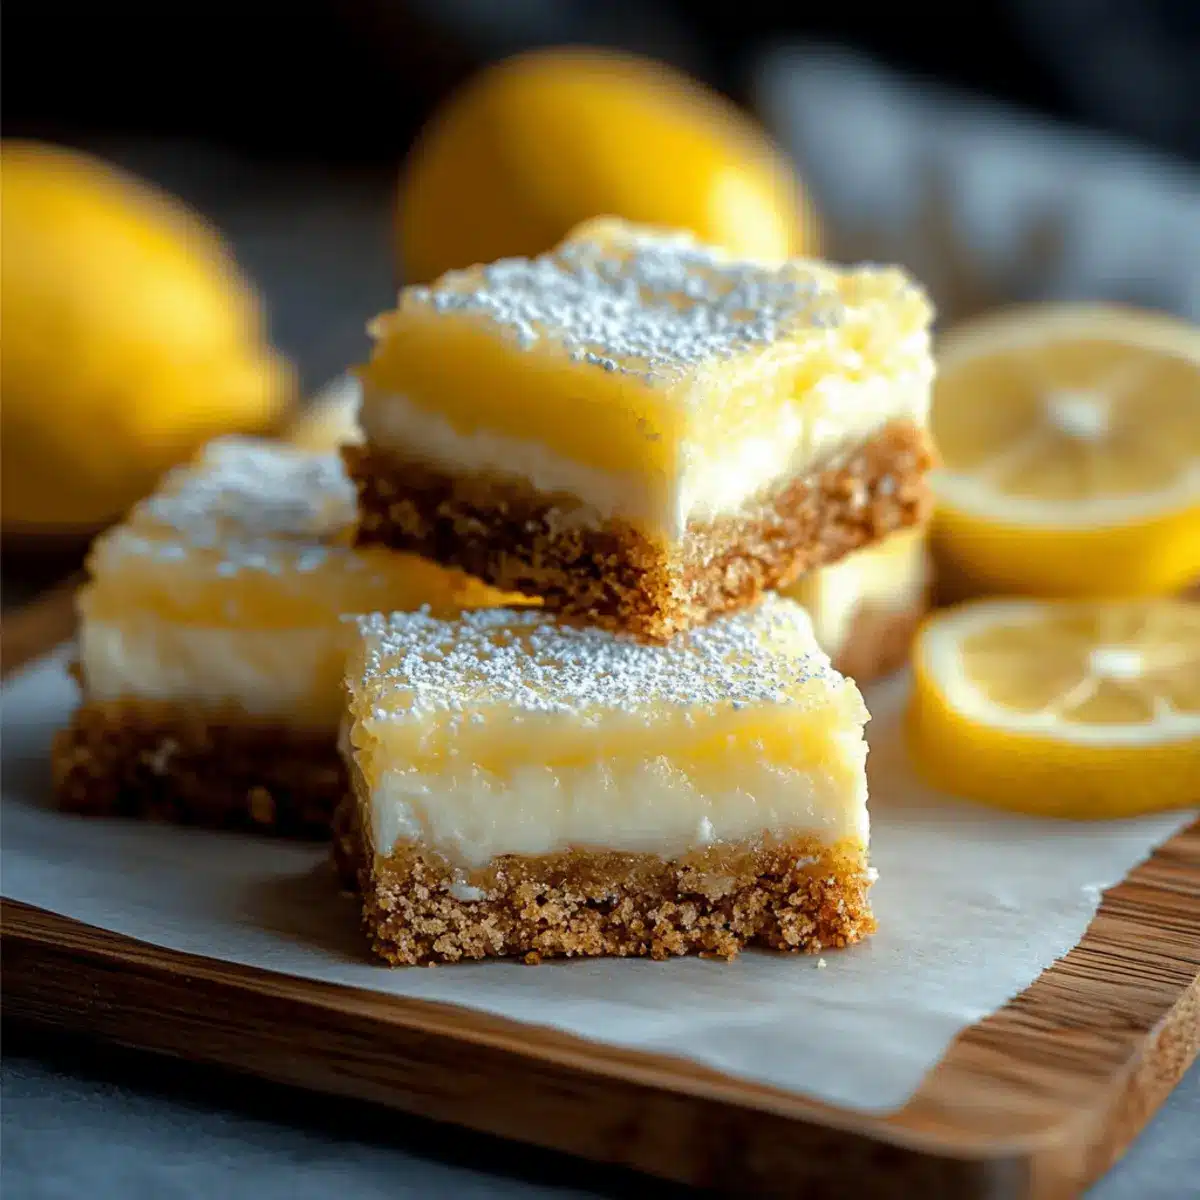
As I stood in my kitchen, the scent of fresh lemons filled the air, instantly transporting me to warm summer days. That’s when inspiration struck for these delightful Lemon Cream Cheese Bars. Combining the tangy zest of citrus with the creamy goodness of cream cheese, this recipe strikes a beautiful balance between refreshing and indulgent. What’s even better? These bars are incredibly easy to whip together, making them a perfect treat for busy bakers and an impressive dessert for any gathering. Whether you’re looking to elevate a potluck or simply satisfy your sweet tooth, these Lemon Cream Cheese Bars are your answer. Curious about how to make this creamy citrus delight that everyone will rave about? Let’s dive in!
Why are these Lemon Cream Cheese Bars a must-try?
Easy to Make: You’ll love how simple it is to whip up these bars with just a handful of ingredients. Perfect for novice bakers or seasoned chefs alike!
Bright, Zesty Flavor: The tangy lemon zest paired with creamy filling creates a delightful explosion of taste that dances on your palate.
Crowd-Pleasing Dessert: These bars are a guaranteed hit at parties, potlucks, or family gatherings, making your dessert save the day!
Versatile Treat: Serve them as they are, or elevate them with fresh berries or a dusting of powdered sugar for a stunning presentation.
Make-Ahead-Friendly: Prep them a day in advance, so you can relax before your event and still impress your guests with this delightful dish. Enjoy a lovely treat that pairs perfectly with a cup of tea after trying our Cottage Cheese Wraps or refresh your palate with a Blueberry Grilled Cheese for that extra zing!
Lemon Cream Cheese Bars Ingredients
• Here’s what you need to create these delightful Lemon Cream Cheese Bars.
For the Crust
- Graham Cracker Crumbs – Provides a crunchy base that contrasts beautifully with the creamy filling. Tip: Use digestive biscuits for a richer flavor.
- Unsalted Butter – Adds richness and helps bind the crumbs together. Note: Make sure it’s melted for easy mixing.
- Granulated Sugar (for crust) – Sweetens the base and aids in browning.
For the Filling
- Cream Cheese – The star ingredient that gives the bars their creamy texture. Substitution: Neufchâtel cheese can lighten up the filling.
- Granulated Sugar (for filling) – Balances the tartness of the lemon for a harmonious flavor.
- Eggs – Acts as a binder, providing structure. Note: Use large eggs for best results.
- Vanilla Extract – Adds depth to the flavor profile of the filling.
- Lemon Zest – Infuses an aromatic citrus flavor into the bars. Tip: Fresh lemon zest is best for maximum taste.
- Freshly Squeezed Lemon Juice – Gives the filling its signature tang. Substitution: Bottled lemon juice can work, but fresh is highly recommended.
- Salt – Enhances overall flavor and balances sweetness.
For the Topping
- Powdered Sugar (optional) – Adds a touch of sweetness and a gorgeous finish. Tip: Dust before serving for an elegant presentation.
With these flavorful ingredients, you’re on your way to creating the perfect Lemon Cream Cheese Bars that will leave everyone asking for seconds!
Step‑by‑Step Instructions for Lemon Cream Cheese Bars
Step 1: Preheat the Oven
Begin by preheating your oven to 350°F (175°C). While the oven heats up, prepare a 9×9 inch baking pan by greasing it lightly or lining it with baking paper. This will ensure your Lemon Cream Cheese Bars release easily after baking, making clean-up a breeze.
Step 2: Make the Crust
In a mixing bowl, combine graham cracker crumbs, melted unsalted butter, and granulated sugar. Use a fork to mix the ingredients until they resemble a coarse, crumbly texture. This mixture will serve as the base for your bars, so be sure to combine well for even flavor throughout the crust.
Step 3: Bake the Crust
Press the crumb mixture evenly into the bottom of the prepared pan, creating a solid, compact layer. Place the pan in the preheated oven and bake for 8 to 10 minutes, or until the crust is golden brown. You’ll know it’s ready when it starts to smell deliciously toasty; remove it from the oven and let it cool slightly.
Step 4: Prepare the Filling
In a separate bowl, beat the softened cream cheese using an electric mixer or whisk until it’s smooth and creamy. This step is crucial for your filling; you want it to be completely lump-free to ensure your Lemon Cream Cheese Bars will have a delightful, silky texture.
Step 5: Mix in the Sweetness
Add granulated sugar, large eggs, vanilla extract, lemon zest, freshly squeezed lemon juice, and a pinch of salt to the cream cheese. Mix everything together until well combined and smooth. The vibrant lemon zest will infuse the filling with aromatic flavor, contributing to the lovely taste of these bars.
Step 6: Assemble the Bars
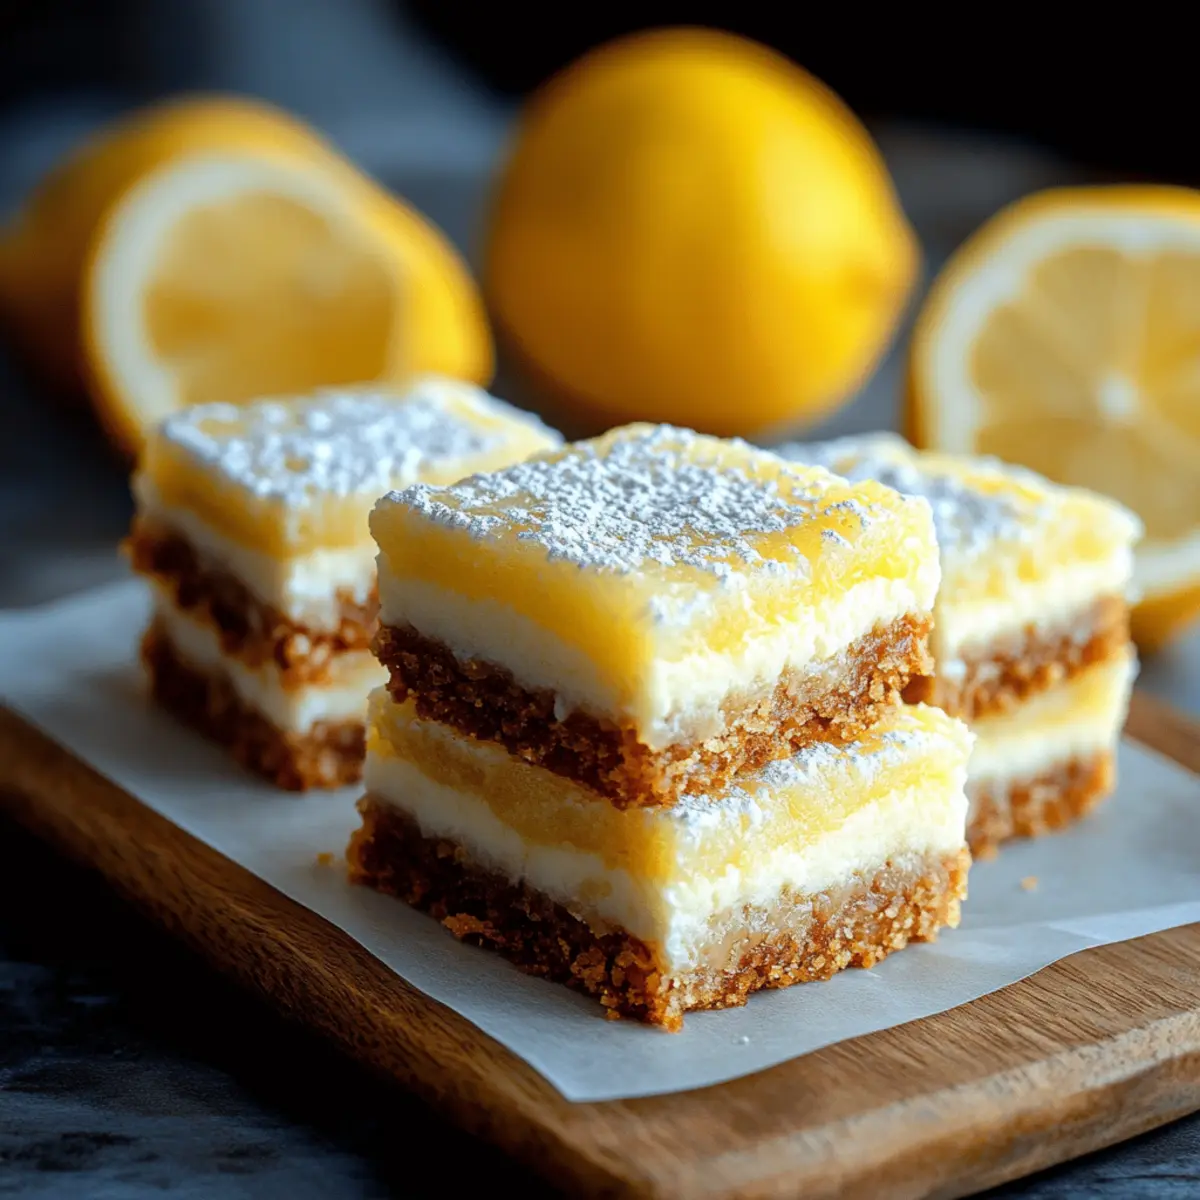
Pour the creamy filling over the cooled crust, spreading it evenly with a spatula. The filling should completely cover the crust, creating a beautiful layer of creamy goodness that will make your Lemon Cream Cheese Bars irresistible once baked.
Step 7: Bake to Perfection
Return the pan to the oven and bake for an additional 20 to 25 minutes. You’ll know your bars are done when the center is set but has a slight jiggle. Be careful not to overbake, as this could lead to a dry texture that detracts from the creaminess.
Step 8: Cooling Time
Once baked, remove the pan from the oven and allow the Lemon Cream Cheese Bars to cool to room temperature. After cooling, refrigerate them for at least 2 hours. This step is essential for allowing the bars to set properly, resulting in perfect slices when cut.
Step 9: Final Touch and Serve
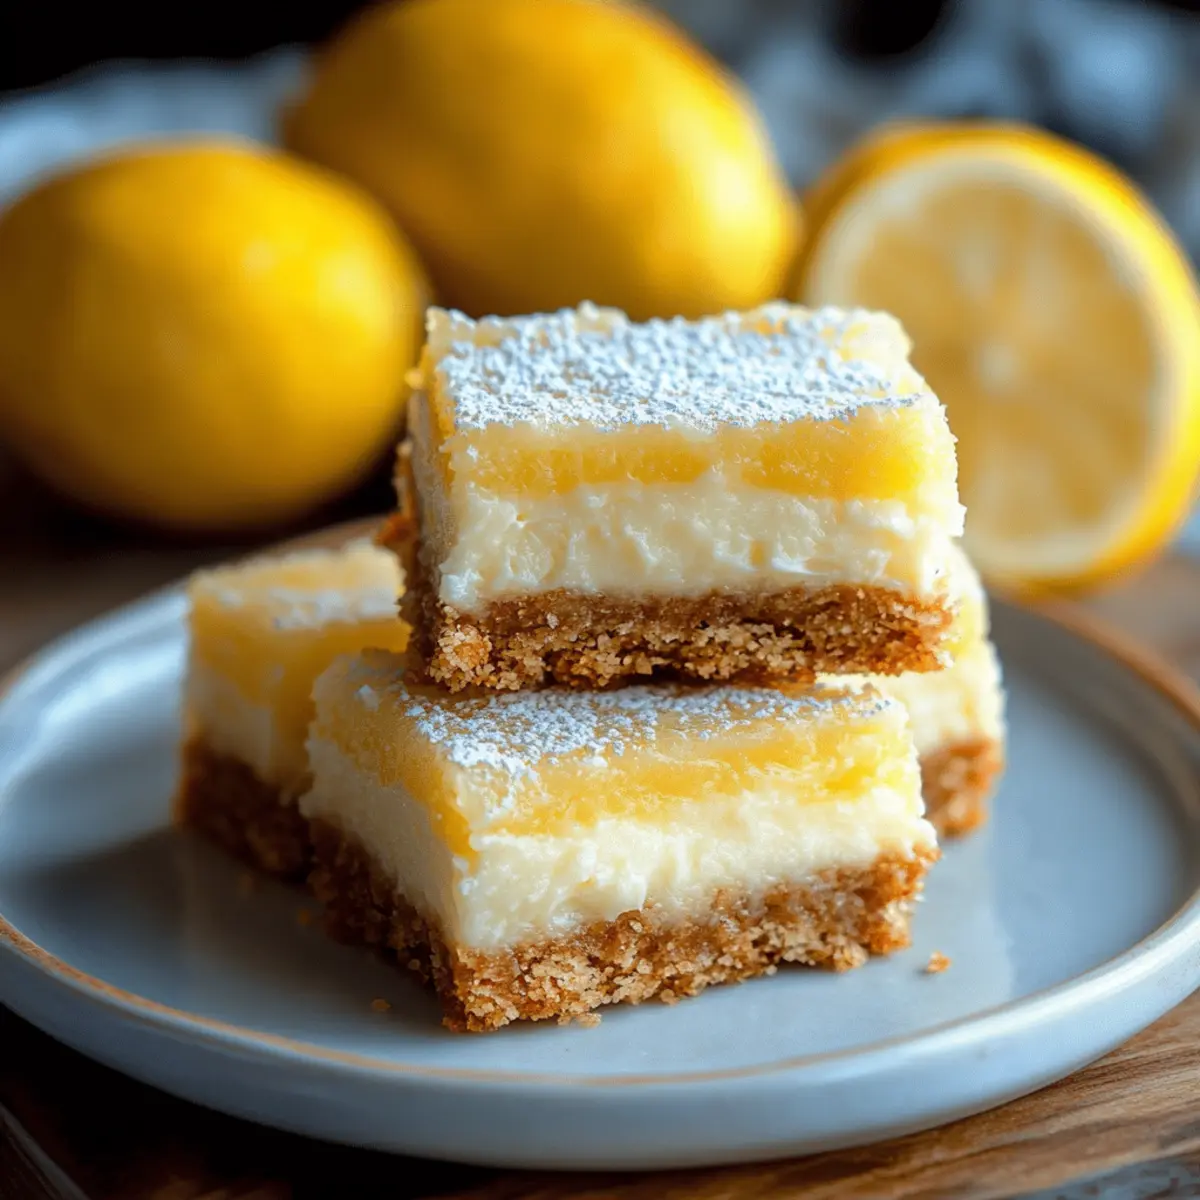
When you’re ready to serve, optionally dust the top with powdered sugar for a beautiful, sweet finish. This simple touch enhances the presentation of your Lemon Cream Cheese Bars, making them an eye-catching dessert for any occasion.
Make Ahead Options
These Lemon Cream Cheese Bars are perfect for meal prep! You can prepare the crust and filling separately up to 24 hours in advance, which makes it easy to whip them together when you need them. Simply follow the crust instructions, cool it, and store it covered in the refrigerator. For the filling, mix the cream cheese, sugar, eggs, and lemon juice, and refrigerate it in an airtight container. When you’re ready to bake, pour the chilled filling over the crust and bake as directed. This way, your bars will remain just as delicious, and you’ll save precious time on busy days while still impressing your guests!
Expert Tips for Lemon Cream Cheese Bars
Fresh Ingredients: Always use fresh lemon juice and zest for optimal flavor; bottled alternatives can lack the vibrancy your bars need.
Cream Cheese Temperature: Ensure your cream cheese is fully softened before mixing to avoid lumps and achieve a smooth filling for your Lemon Cream Cheese Bars.
Cooling Period: Allow the bars to cool completely before refrigeration. This prevents excess moisture which can make your bars soggy.
Watch the Bake Time: Keep a close eye on the baking process. Overbaking can lead to dry bars, so aim for a slight jiggle in the center when removing them from the oven.
Presentation Matters: Dusting with powdered sugar just before serving adds an elegant touch to your Lemon Cream Cheese Bars and enhances the overall appeal.
What to Serve with Lemon Cream Cheese Bars
Elevate your dessert experience with delightful accompaniments that beautifully enhance the creamy citrus bars.
-
Fresh Berries: Strawberries or blueberries add a burst of freshness that complements the tangy bar perfectly, creating a beautiful balance of flavors.
-
Whipped Cream: A dollop of lightly sweetened whipped cream adds a luxurious creaminess that pairs well with the tangy filling. It’s the perfect finishing touch!
-
Iced Tea: A refreshing glass of iced tea, infused with lemon or mint, provides a crisp contrast, making each bite of the bars even more enjoyable.
-
Chocolate Drizzle: A drizzle of rich chocolate sauce brings an unexpected yet delightful sweetness; it creates a decadent pairing with the tart lemon.
-
Lemon Sorbet: Serve alongside a scoop of lemon sorbet for a fun and zesty dessert duo that keeps the refreshing theme flowing!
-
Cheesecake Crumble: A few crumbles of classic cheesecake on the side echo the creamy texture of the bars, creating a rich, indulgent experience with every bite.
Lemon Cream Cheese Bars Variations
Feel free to get creative and make these Lemon Cream Cheese Bars uniquely yours with these fun variations!
-
Lime Twist: Substitute lime juice and zest for a refreshing lime variation that brightens the flavor profile beautifully. The zesty lime adds a delightful twist that’s perfect for summer gatherings!
-
Berry Burst: Top your bars with fresh berries, like strawberries or blueberries, for a fruity garnish. This not only looks stunning but also adds a lovely sweetness that complements the tangy filling.
-
Raspberry Swirl: Swirl in some raspberry puree into the filling before baking for a delightful berry-flavored twist. The tartness of raspberries pairs beautifully with the creamy lemon filling!
-
Chocolate Drizzle: Melt some dark chocolate and drizzle it over the cooled bars for an indulgent chocolate-lemon combination. This twist is sure to impress chocolate lovers at your next gathering.
-
Coconut Cream: Add shredded coconut to the filling for added texture and a hint of tropical flavor. A sprinkle of toasted coconut on top before serving makes it a stunning showstopper!
-
Honey Sweetness: Replace granulated sugar with honey for a more natural sweetness in the filling. It adds a unique depth of flavor that brings a lovely floral note to the bars.
-
Chai Spice: Add a sprinkle of chai spices (cinnamon, nutmeg, and ginger) to the filling for a warm, aromatic flavor. It’s a cozy twist that adds a unique touch to the citrus bars!
-
Matcha Infusion: For a vibrant green twist, mix in some matcha powder for a subtle earthy flavor that contrasts beautifully with the lemon’s brightness. It’s not just tasty — it’s also visually striking!
With these delicious variations, you can transform your Lemon Cream Cheese Bars into a delightful treat that suits any occasion. Enjoy experimenting and discovering new favorites!
How to Store and Freeze Lemon Cream Cheese Bars
Fridge: Store your Lemon Cream Cheese Bars in an airtight container for up to 1 week. Make sure they’re covered to prevent drying out and to maintain their creamy texture.
Freezer: If you want to prolong their freshness, wrap them tightly in plastic wrap and store in the freezer for up to 2 months. Thaw overnight in the fridge before serving.
Reheating: If you prefer them slightly warmed, simply pop a slice in the microwave for about 10-15 seconds. Enjoy the creamy delight at its best!
Serving Cold: These bars are best served chilled, enhancing the refreshing lemon flavor that will brighten up any dessert table.
Lemon Cream Cheese Bars Recipe FAQs
How do I choose the right lemons for this recipe?
Absolutely! Select firm, bright yellow lemons that feel heavy for their size; this indicates they’re juicy. Avoid lemons with dark spots or wrinkles, as these can be overripe or dry. The ideal choice would be organic lemons for a more vibrant flavor, especially since their zest will be key in your bars!
What is the best way to store Lemon Cream Cheese Bars?
You can store your Lemon Cream Cheese Bars in an airtight container in the refrigerator for up to 1 week. Make sure to seal them well to prevent drying out. I often place a piece of parchment paper between layers if you stack them, to maintain their perfect texture while they sit in the fridge.
Can I freeze Lemon Cream Cheese Bars?
Yes! These bars freeze beautifully. To freeze, wrap each piece tightly in plastic wrap and then place them in a freezer-safe container. They can last up to 2 months in the freezer. Just remember to thaw them overnight in the fridge before serving to keep that creamy texture intact.
What should I do if my bars don’t set properly?
If your bars don’t set after baking, it might be that they were underbaked. When checking for doneness, look for a center that is just set but still has a slight jiggle. You can return them to the oven for an additional 5 minutes, checking frequently to avoid overbaking. Cooling time is equally crucial; give them a full 2 hours in the fridge to firm up nicely.
Are Lemon Cream Cheese Bars suitable for those with dietary restrictions?
While this recipe is not specifically gluten-free or vegan, you can adjust it to cater to dietary needs. For gluten sensitivity, substitute the graham cracker crumbs with gluten-free options like almond flour or gluten-free cookies. If you’re avoiding dairy, consider using vegan cream cheese as a substitute—although the texture and flavor might slightly differ, it can still be a tasty alternative!
How should I serve Lemon Cream Cheese Bars for best presentation?
For an appealing presentation, serve your Lemon Cream Cheese Bars chilled, dusted lightly with powdered sugar and garnished with fresh lemon slices or berries. A sprinkle of lemon zest on top can also enhance the visual and flavor profile, making them stand out beautifully at gatherings!

Lemon Cream Cheese Bars: A Zesty Treat for Every Occasion
Ingredients
Equipment
Method
- Preheat your oven to 350°F (175°C) and prepare a 9x9 inch baking pan by greasing it lightly or lining it with baking paper.
- In a mixing bowl, combine graham cracker crumbs, melted unsalted butter, and granulated sugar. Mix until it resembles a coarse, crumbly texture.
- Press the crumb mixture evenly into the bottom of the prepared pan and bake for 8 to 10 minutes until golden brown. Let it cool slightly.
- In a separate bowl, beat the softened cream cheese until smooth and creamy. This is crucial for achieving a lump-free filling.
- Add granulated sugar, eggs, vanilla extract, lemon zest, lemon juice, and salt to the cream cheese. Mix until well combined and smooth.
- Pour the filling over the cooled crust, spreading it evenly with a spatula.
- Return the pan to the oven and bake for an additional 20 to 25 minutes until the center is set but has a slight jiggle.
- Remove the pan from the oven and allow the bars to cool to room temperature. Refrigerate for at least 2 hours to set properly.
- Optionally dust the top with powdered sugar before serving for a beautiful finish.
Leave a Reply