
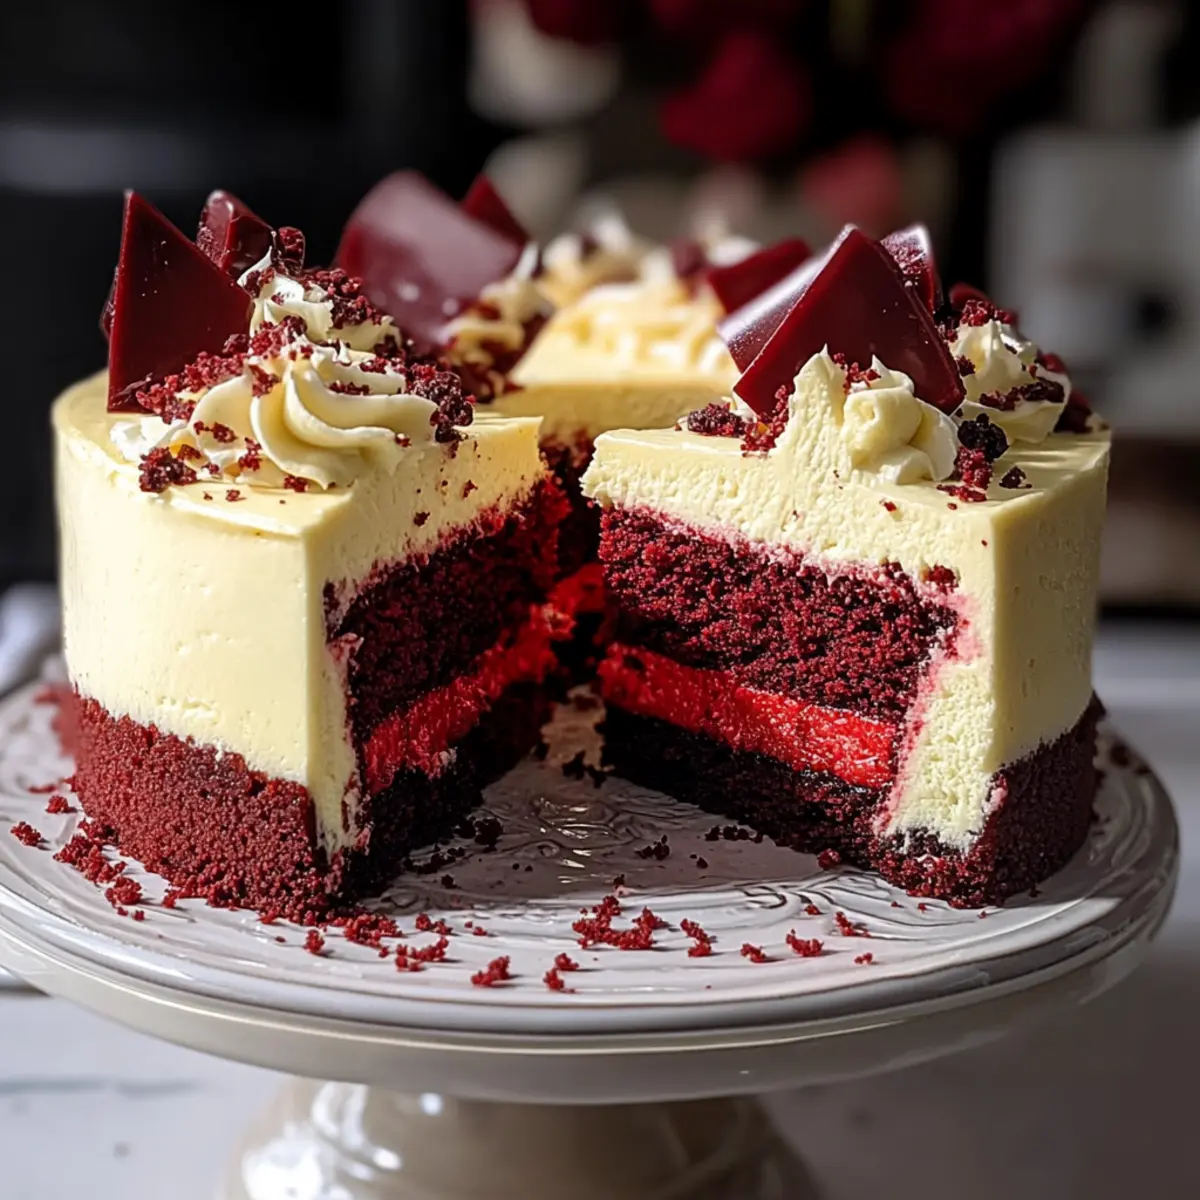
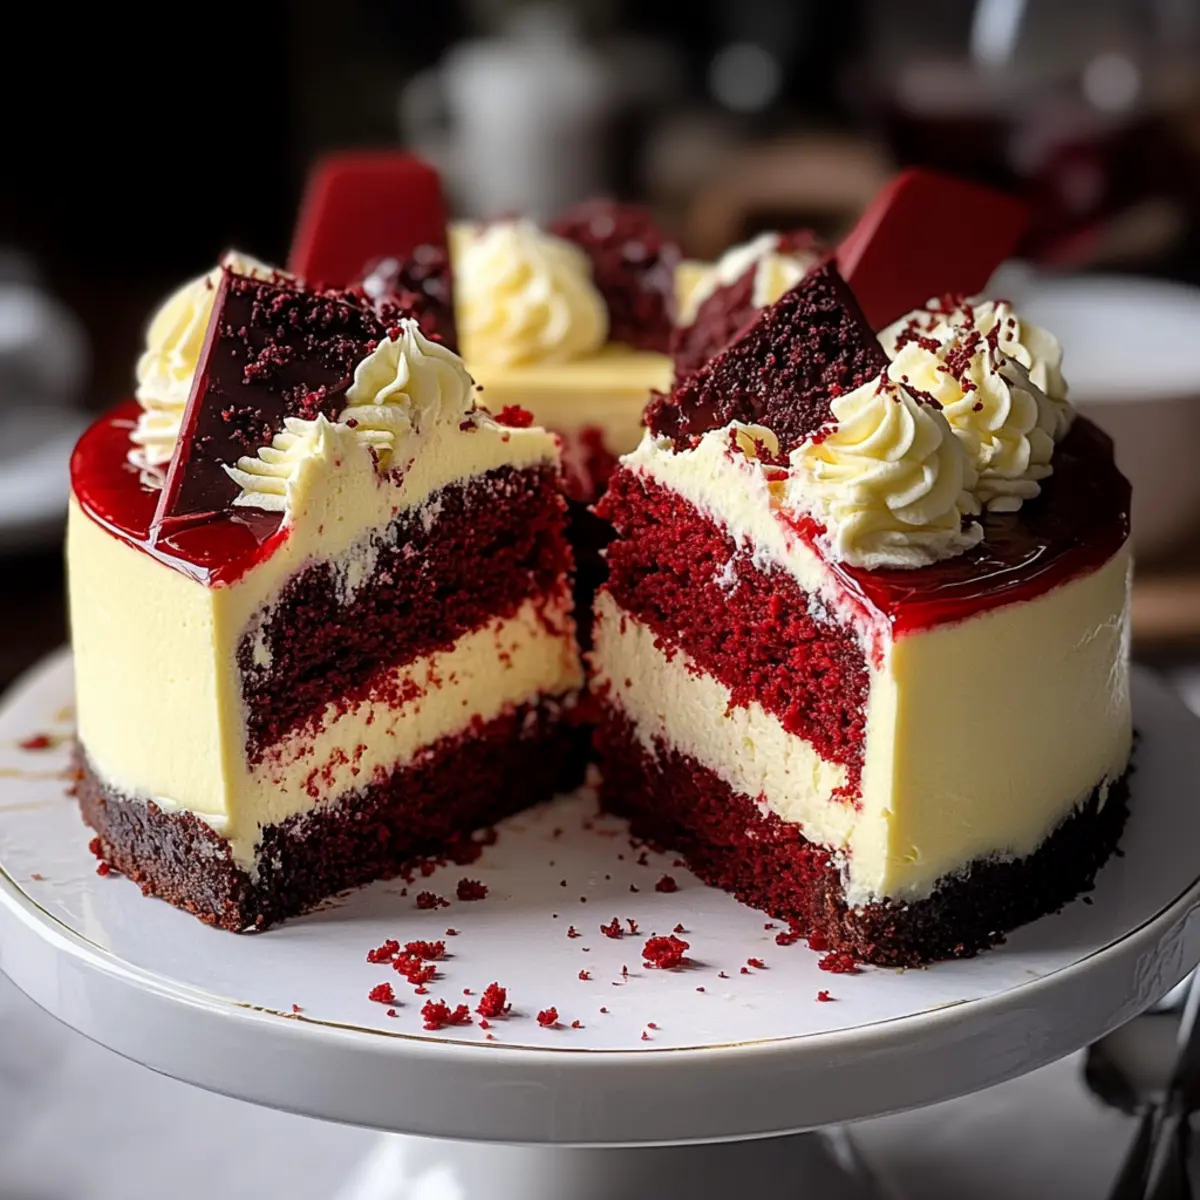
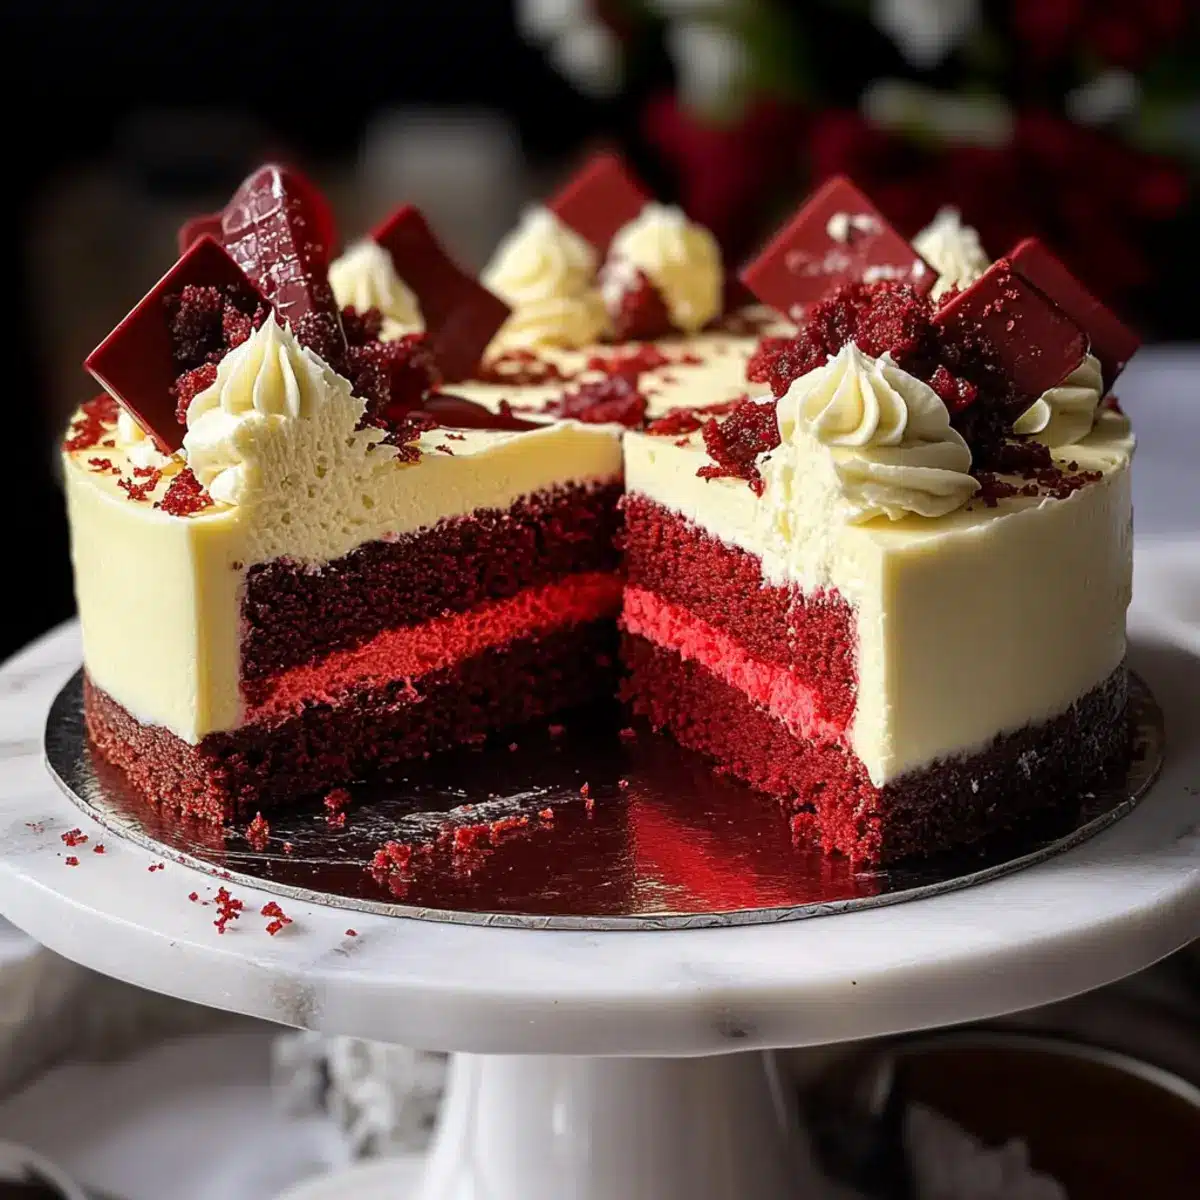
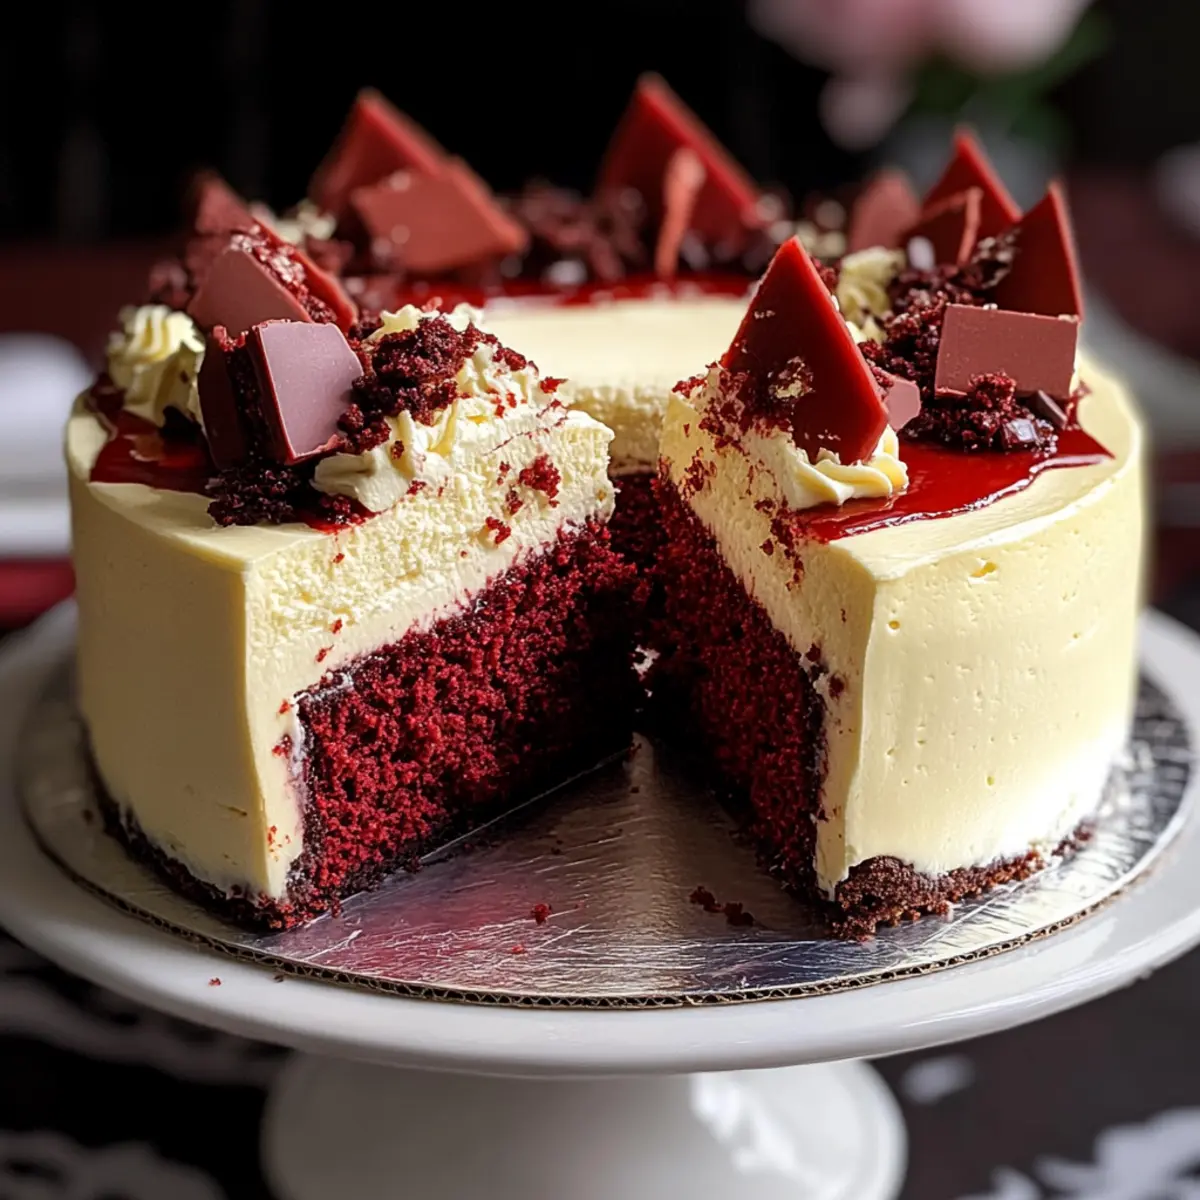
As the sun sets and the scent of baked goods fills the air, I find myself in the kitchen crafting something truly special: The Ultimate Red Velvet Cheesecake. This dual-layer dessert effortlessly marries the classic creaminess of cheesecake with the moist, vibrant indulgence of red velvet cake. The beauty of this recipe lies not just in its stunning presentation but also in its versatility; it can be tailored for every occasion, whether you’re hosting a festive gathering or simply treating yourself. Plus, it has the incredible perk of being both a crowd-pleaser and customizable for different dietary needs, like gluten-free adjustments. Curious to see how you can make this exquisite delight your own? Let’s dive into the recipe and create something unforgettable!
Why is Red Velvet Cheesecake a Must-Try?
Versatile and Customizable: This dessert can easily be adapted to fit various dietary needs, whether you’re gluten-free or looking for a non-alcoholic twist. Visual Showstopper: Its vibrant red color and creamy layers make it a stunning centerpiece for any table. Rich Flavor Combination: The harmony of tangy cheesecake and chocolatey red velvet creates a flavor explosion that’s hard to resist. Easy to Make: While it looks impressive, the recipe is straightforward, making it perfect even for novice bakers. Perfect for Celebrations: Whether it’s a birthday or holiday gathering, nothing elevates the occasion like a slice of this luxurious cheesecake. Check out our Basque Cheesecake Loaf for another crowd-pleaser!
Red Velvet Cheesecake Ingredients
Curious what goes into this delicious dessert?
For the Crust
- Graham Cracker Crumbs – Provides a buttery, crunchy base; try crushed digestive biscuits for a different flavor.
- Unsalted Butter – Binds the crust ingredients together; can be replaced with coconut oil for a dairy-free option.
- Sugar – Sweetens the crust and cheesecake; brown sugar adds a richer flavor.
For the Cheesecake Filling
- Cream Cheese – Main ingredient for filling, creating a smooth texture; use full-fat for best results or Neufchâtel cheese for a lighter option.
- Sour Cream – Adds tanginess and creaminess; Greek yogurt is a great substitute.
- Eggs – Provide structure and richness; use flaxseed meal as an egg substitute for vegan options.
- Vanilla Extract (Alcohol-free) – Enhances flavor; try almond or lemon extract for a unique twist.
- All-Purpose Flour – Used in crust and cake layers; substitute with gluten-free flour for a gluten-free version.
- Cocoa Powder – Contributes to the red velvet flavor; ensure it’s unsweetened for better sweetness control.
- Red Food Coloring – Gives the cheesecake its characteristic color; beet juice can be used as a natural alternative.
- Baking Soda & Salt – Essential for leavening and balance in the cake; no substitutes needed.
- Buttermilk – Adds moisture and tenderness; if unavailable, use milk mixed with a teaspoon of vinegar.
- Vinegar – Reacts with baking soda for leavening; use white or apple cider vinegar.
For the Red Velvet Layer
- Granulated Sugar – Sweetens the cake layer; you can use less for a lightened version.
- More Cocoa Powder – Deepens the chocolate undertones in the red layer; it’s crucial for the red velvet taste.
Step‑by‑Step Instructions for The Ultimate Red Velvet Cheesecake
Step 1: Prepare the Crust
Begin by preheating your oven to 350°F (175°C). In a medium bowl, combine graham cracker crumbs, melted unsalted butter, and sugar. Mix until the crumbs are evenly coated. Press this mixture firmly into the bottom of a 9-inch springform pan, creating an even layer. Bake for 8-10 minutes until lightly golden and set, then remove from the oven to cool.
Step 2: Make the Cheesecake Filling
In a large mixing bowl, beat together room temperature cream cheese and granulated sugar until smooth and creamy. Add the eggs one at a time, mixing well after each addition to ensure a homogeneous batter. Then, mix in sour cream and alcohol-free vanilla extract until fully combined. Pour the creamy cheesecake filling over the cooled crust, spreading it evenly.
Step 3: Bake the Cheesecake
Lower the oven temperature to 325°F (160°C), then place the springform pan in the oven. Bake the cheesecake for 60-70 minutes, until the edges are firm but the center has a slight wobble. Keep an eye on it to prevent overbaking, which can lead to cracks. Once done, turn off the oven and let the cheesecake cool inside with the door slightly ajar for about 1 hour.
Step 4: Chill the Cheesecake
After the cool-down period, transfer the cheesecake to the refrigerator and let it chill for at least 4 hours, or ideally overnight. This step is crucial for the cheesecake to set properly, achieving that delightful texture that complements the rich flavors of the Red Velvet Cheesecake.
Step 5: Prepare the Red Velvet Layer
In a separate bowl, whisk together all-purpose flour, granulated sugar, unsweetened cocoa powder, baking soda, and salt. In another bowl, combine buttermilk, vegetable oil, eggs, red food coloring, and vinegar. Mix the wet ingredients into the dry ingredients until just combined; be careful not to overmix. Pour this vibrant batter gently over the chilled cheesecake layer.
Step 6: Bake the Red Velvet Layer
Return the cheesecaked pan to the oven and bake at 350°F (175°C) for an additional 25-30 minutes. The red velvet layer should rise and set, becoming firm to the touch but still moist. Once baked, check for doneness with a toothpick; it should come out clean from the cake layer.
Step 7: Cool Completely
Remove the cheesecake from the oven and allow it to cool completely at room temperature. After cooling, carefully remove the sides of the springform pan. To enhance the flavor and texture, frost the top with your favorite cream cheese frosting once it has completely cooled.
Step 8: Assemble and Garnish
Finally, it’s time to assemble your Ultimate Red Velvet Cheesecake! Place your chilled cheesecake layer on a serving platter and top it generously with the whipped cream cheese frosting. For an elegant touch, garnish with chocolate shavings, fresh berries, or even a drizzle of chocolate sauce for that perfect finishing touch.
Make Ahead Options
These Ultimate Red Velvet Cheesecake preparations are a lifesaver for busy home cooks! You can prepare the crust and filling up to 24 hours in advance—simply follow the initial steps, cool the crust, and refrigerate the cheesecake filling separately. Store the crust in an airtight container to maintain its crunchiness. When you’re ready to serve, pour the chilled filling over the crust and bake. This method not only saves time but also allows the flavors to deepen overnight, ensuring your cheesecake is just as delicious as if made fresh that day. With these make-ahead tips, you’ll impress your guests effortlessly!
Red Velvet Cheesecake Variations & Substitutions
Feel free to explore and personalize this delightful recipe with these fun twists and substitutions!
-
Gluten-Free: Use gluten-free graham cracker crumbs and flour to make a completely gluten-free version without sacrificing taste.
-
Dairy-Free: Substitute coconut oil for butter and coconut cream for cream cheese for a lovely vegan alternative. The rich flavor remains delightful!
-
Chocolate Lovers: Mix in ½ cup of chocolate chips into the red velvet batter for a decadently chocolatey layer that elevates every bite.
-
Natural Color: Replace synthetic red food coloring with beet juice for a gorgeous, naturally vibrant hue. It’s a healthy option that surprises everyone!
-
Fruit Infusion: Add a layer of fresh raspberries or strawberries atop the cheesecake before covering with red velvet for a refreshing fruit twist.
-
Nutty Crunch: Fold in chopped pecans or walnuts into the red velvet batter for a delightful texture contrast. It brings warmth and crunch to every slice.
-
Frosting Options: For an exciting twist, top with chocolate ganache instead of traditional cream cheese frosting. This decadent layer adds a rich note to the dessert.
-
Flavor Boost: Experiment with flavored extracts like almond or hazelnut in place of vanilla for an unforgettable taste profile.
For more creative cheesecakes, be sure to check out the Strawberry Crunch Cheesecake or the rich and delightful Basque Cheesecake Loaf! Enjoy crafting your own unique dessert!
How to Store and Freeze Red Velvet Cheesecake
- Fridge: Store uneaten Red Velvet Cheesecake in an airtight container in the fridge for up to 5 days to maintain its creamy texture and vibrant flavor.
- Freezer: For longer storage, wrap slices individually in plastic wrap or aluminum foil, then place them in a freezer-safe bag for up to 3 months.
- Thawing: To enjoy previously frozen cheesecake, transfer it to the fridge and let it thaw overnight for the best results.
- Reheating: If desired, you can microwave individual slices for about 15-20 seconds to enjoy them warm, but remember, this may alter the texture slightly.
What to Serve with The Ultimate Red Velvet Cheesecake
Indulging in a slice of delightful cheesecake invites endless possibilities for a memorable meal experience.
- Fresh Berries: Bright, tart berries like strawberries or raspberries contrast beautifully with the rich layers, adding a refreshing touch.
- Whipped Cream: Light and airy, it complements the cheesecake’s creaminess, enhancing each bite and elevating the presentation.
- Chocolate Ganache: A decadent drizzle of warm chocolate ganache adds a luxurious touch that beautifully balances the flavors.
- Coffee: The robust flavor of a freshly brewed cup brings out the richness of the red velvet, making it an ideal pairing.
- Vanilla Ice Cream: Creamy vanilla ice cream melts into the cheesecake, creating a deliciously indulgent dessert experience.
- Nutty Biscotti: Serve alongside crunchy biscotti for a delightful textural contrast that enhances your dessert ritual.
- Champagne: A glass of bubbly adds a festive touch and cuts through the richness of the cheesecake, perfect for celebrations.
- Mint Candies: Fresh mint candies or chocolate mints provide a sweet, refreshing finish that compliments the dessert beautifully.
- Lemon Tart: The zesty brightness of a lemon tart offers a citrusy contrast that refreshes the palate after each rich bite.
Expert Tips for Red Velvet Cheesecake
- Prevent Cracks: Using a water bath during baking will help prevent unsightly cracks. Wrap the pan in foil and bake it in a larger dish filled with water.
- Mix with Care: Avoid overmixing your cheesecake filling after adding eggs; this keeps it smooth and prevents unwanted air bubbles.
- Chill Time: Be patient! Allowing your cheesecake to chill overnight not only enhances the flavor but also sets the perfect texture for your Red Velvet Cheesecake.
- Frosting Fix: If cracks do form, don’t worry! Use frosting to cover them up—it adds extra sweetness and a polished look.
- Flavor Variations: Play with your ingredients! Substitute the red food coloring for beet juice or add chocolate chips to the red velvet layer for a delightful twist.
Red Velvet Cheesecake Recipe FAQs
What type of cocoa powder should I use for the Red Velvet Cheesecake?
For the best results, use unsweetened cocoa powder. It provides the essential chocolate flavor without adding extra sweetness, allowing you to control the taste of your cheesecake perfectly.
How should I store leftover Red Velvet Cheesecake?
To keep your cheesecake fresh, store it in an airtight container in the refrigerator for up to 5 days. Make sure it’s well-covered to prevent it from absorbing any odors from your fridge.
Can I freeze Red Velvet Cheesecake?
Absolutely! For longer storage, wrap individual slices tightly in plastic wrap or aluminum foil, then place them in a freezer-safe bag. You can freeze it for up to 3 months. When you want to enjoy a slice, simply transfer it to the refrigerator to thaw overnight for the best texture.
What if my cheesecake cracks during baking?
If you notice cracks forming, don’t worry! You can easily cover them with cream cheese frosting for a beautiful finish. To prevent cracks in the future, consider using a water bath by wrapping the pan in foil and placing it in a larger pan filled with water while baking. This helps maintain an even temperature.
Can I make this cheesecake gluten-free?
Yes! You can replace the all-purpose flour in the cheesecake and cake layers with a gluten-free flour blend. Just ensure that all other ingredients are also gluten-free, like using gluten-free graham cracker crumbs for the crust.
Irresistible Red Velvet Cheesecake to Elevate Your Desserts
Ingredients
Equipment
Method
- Preheat your oven to 350°F (175°C). In a medium bowl, combine graham cracker crumbs, melted unsalted butter, and sugar. Mix until the crumbs are evenly coated. Press this mixture firmly into the bottom of a 9-inch springform pan, creating an even layer. Bake for 8-10 minutes until lightly golden and set, then remove from the oven to cool.
- In a large mixing bowl, beat together room temperature cream cheese and granulated sugar until smooth and creamy. Add the eggs one at a time, mixing well after each addition to ensure a homogeneous batter. Then, mix in sour cream and alcohol-free vanilla extract until fully combined. Pour the creamy cheesecake filling over the cooled crust, spreading it evenly.
- Lower the oven temperature to 325°F (160°C), then place the springform pan in the oven. Bake the cheesecake for 60-70 minutes, until the edges are firm but the center has a slight wobble. Once done, turn off the oven and let the cheesecake cool inside with the door slightly ajar for about 1 hour.
- Transfer the cheesecake to the refrigerator and let it chill for at least 4 hours, or ideally overnight.
- In a separate bowl, whisk together all-purpose flour, granulated sugar, unsweetened cocoa powder, baking soda, and salt. In another bowl, combine buttermilk, vegetable oil, eggs, red food coloring, and vinegar. Mix the wet ingredients into the dry ingredients until just combined; be careful not to overmix. Pour this vibrant batter gently over the chilled cheesecake layer.
- Return the cheesecake pan to the oven and bake at 350°F (175°C) for an additional 25-30 minutes until the red velvet layer has set. Check for doneness with a toothpick; it should come out clean from the cake layer.
- Remove the cheesecake from the oven and allow it to cool completely at room temperature. Once cooled, carefully remove the sides of the springform pan.
- Place the chilled cheesecake layer on a serving platter and top it generously with the whipped cream cheese frosting. Garnish with chocolate shavings, fresh berries, or a drizzle of chocolate sauce.
Leave a Reply