Ingredients
Equipment
Method
Prepare the Crust
- Preheat your oven to 350°F (175°C). In a medium bowl, combine graham cracker crumbs, melted unsalted butter, and sugar. Mix until the crumbs are evenly coated. Press this mixture firmly into the bottom of a 9-inch springform pan, creating an even layer. Bake for 8-10 minutes until lightly golden and set, then remove from the oven to cool.
Make the Cheesecake Filling
- In a large mixing bowl, beat together room temperature cream cheese and granulated sugar until smooth and creamy. Add the eggs one at a time, mixing well after each addition to ensure a homogeneous batter. Then, mix in sour cream and alcohol-free vanilla extract until fully combined. Pour the creamy cheesecake filling over the cooled crust, spreading it evenly.
Bake the Cheesecake
- Lower the oven temperature to 325°F (160°C), then place the springform pan in the oven. Bake the cheesecake for 60-70 minutes, until the edges are firm but the center has a slight wobble. Once done, turn off the oven and let the cheesecake cool inside with the door slightly ajar for about 1 hour.
Chill the Cheesecake
- Transfer the cheesecake to the refrigerator and let it chill for at least 4 hours, or ideally overnight.
Prepare the Red Velvet Layer
- In a separate bowl, whisk together all-purpose flour, granulated sugar, unsweetened cocoa powder, baking soda, and salt. In another bowl, combine buttermilk, vegetable oil, eggs, red food coloring, and vinegar. Mix the wet ingredients into the dry ingredients until just combined; be careful not to overmix. Pour this vibrant batter gently over the chilled cheesecake layer.
Bake the Red Velvet Layer
- Return the cheesecake pan to the oven and bake at 350°F (175°C) for an additional 25-30 minutes until the red velvet layer has set. Check for doneness with a toothpick; it should come out clean from the cake layer.
Cool Completely
- Remove the cheesecake from the oven and allow it to cool completely at room temperature. Once cooled, carefully remove the sides of the springform pan.
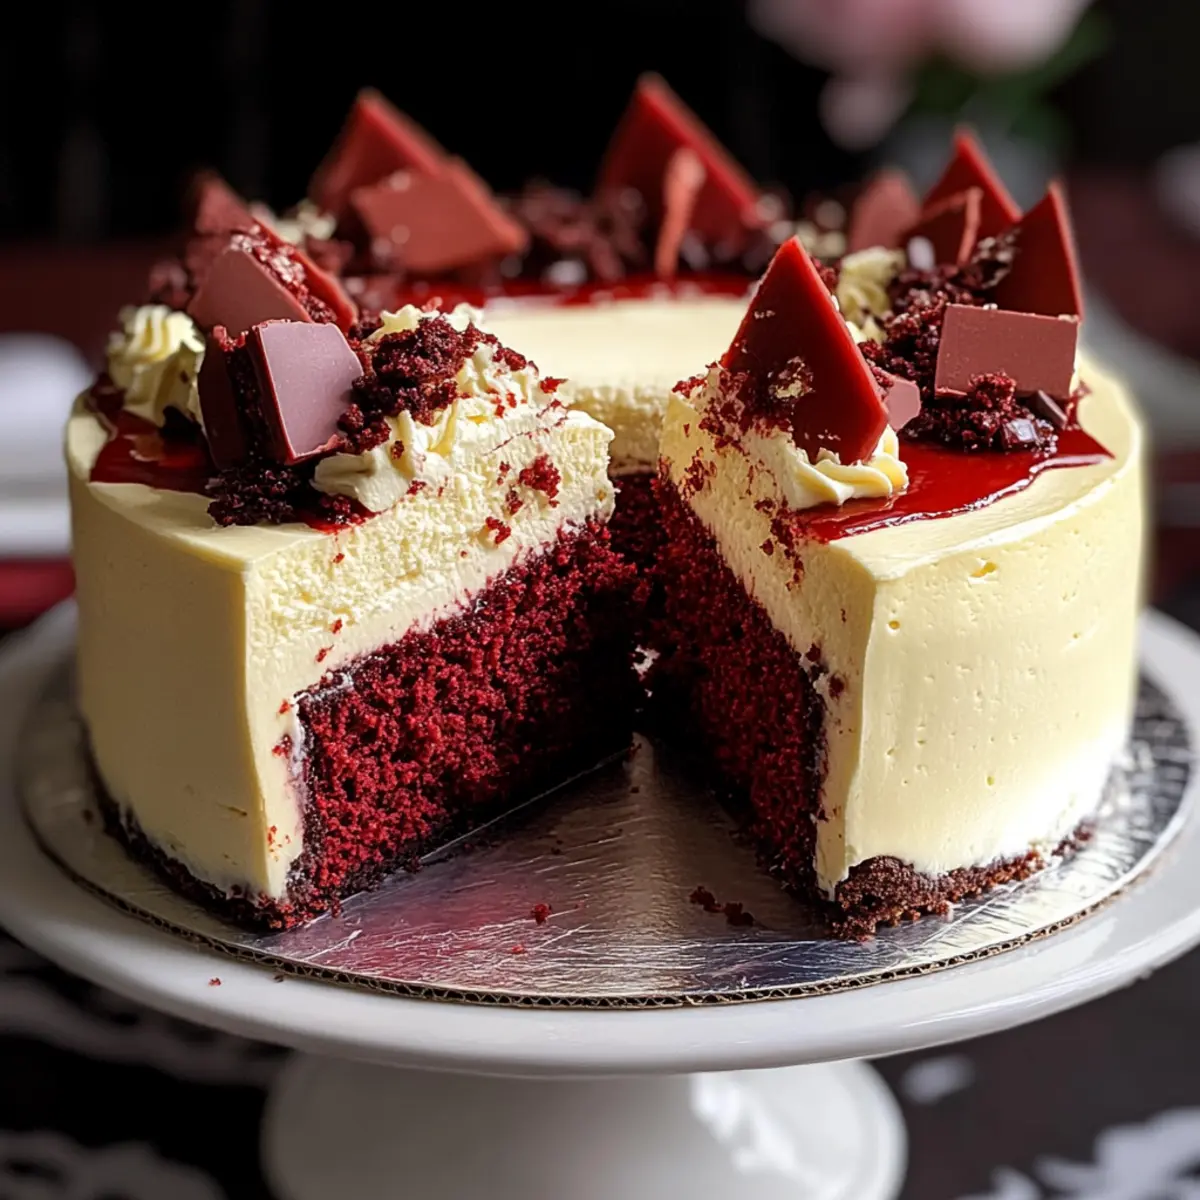
Assemble and Garnish
- Place the chilled cheesecake layer on a serving platter and top it generously with the whipped cream cheese frosting. Garnish with chocolate shavings, fresh berries, or a drizzle of chocolate sauce.
Nutrition
Notes
Tips include using a water bath to prevent cracks, avoiding overmixing the filling, and allowing to chill overnight for the best texture.