
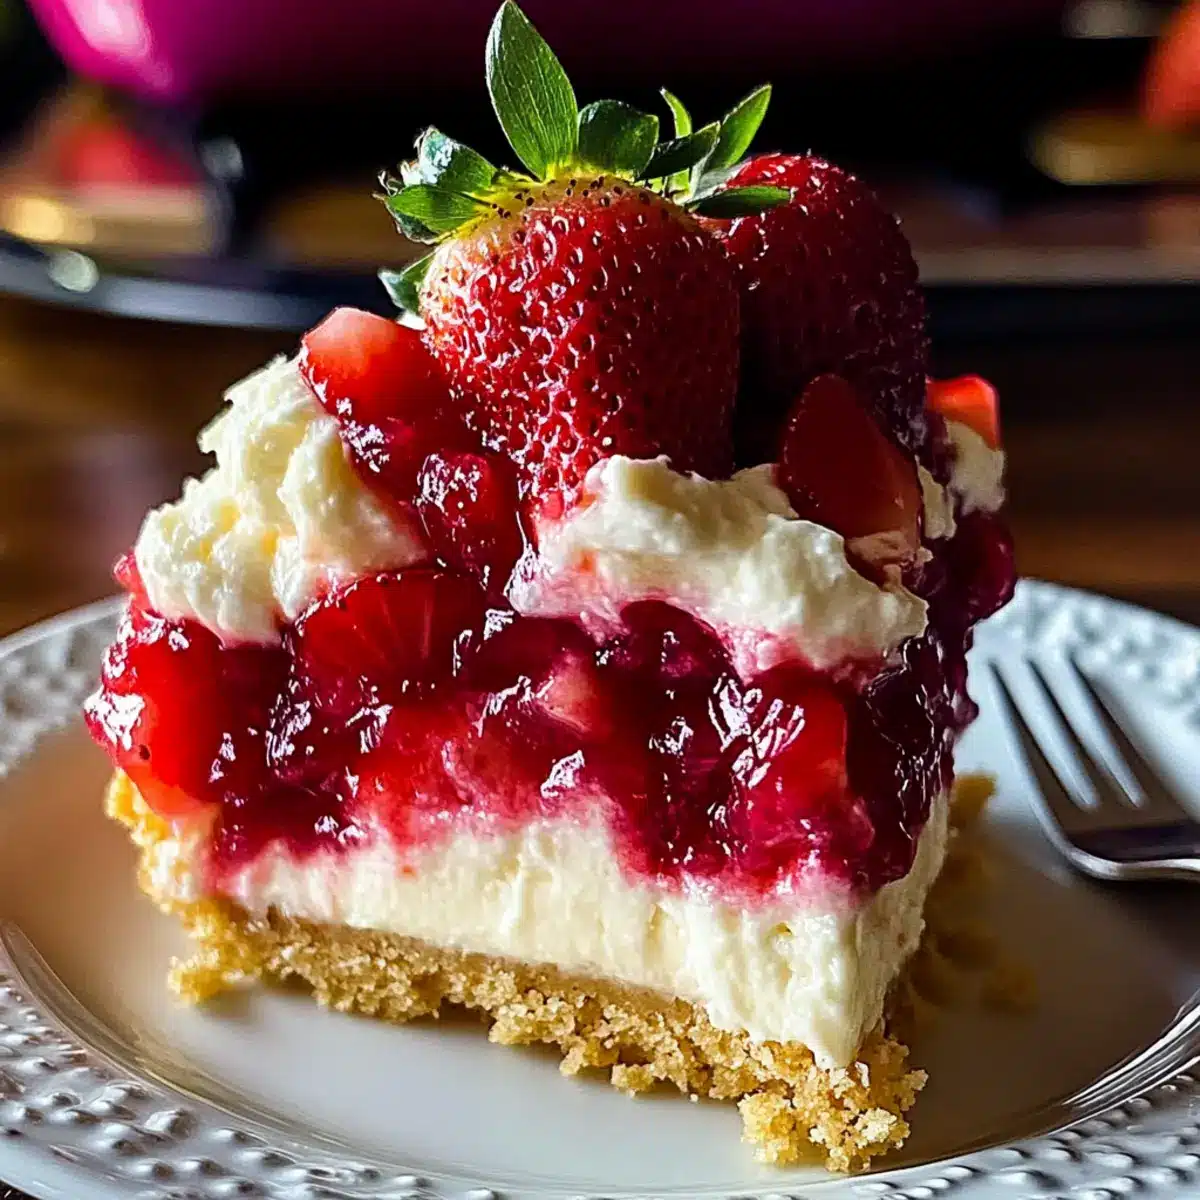
Walking through the vibrant aisles of a farmers’ market, the inviting scent of strawberries drew me in, igniting my craving for something sweet and creamy. That’s when I stumbled upon the idea for The Ultimate Strawberry Cheesecake Dump Cake. This easy dessert is a game-changer for anyone looking to impress at their next gathering without slaving away in the kitchen. With just a few simple ingredients and no complicated techniques, I love that it not only serves as a delightful crowd-pleaser but is also make-ahead friendly, letting you enjoy your own event stress-free. Whether you’re celebrating a special occasion or just treating yourself to a cozy evening, this delectable cake brings the warmth and comfort of home right to your table. Are you ready to dive into this luscious creation?
Why is this dump cake so special?
No-Fuss Baking: This Strawberry Cheesecake Dump Cake is designed for ease, requiring minimal prep and no complicated techniques. Indulgent Flavor: The enticing combination of creamy cheesecake and fresh strawberries creates a delectable flavor profile that is hard to resist. Crowd-Pleaser: Perfect for gatherings, this dessert is guaranteed to impress friends and family alike. Versatile Options: Easily adaptable; whether you want to mix in berries or alter the toppings, the possibilities are endless. Plus, if you need a delightful brunch option, try serving mini portions with vanilla Greek yogurt! Celebrate with this luscious dessert, or consider pairing it with a scoop of vanilla bean ice cream for an extra special touch.
Strawberry Cheesecake Dump Cake Ingredients
For the Cheesecake Layer
- Cream Cheese – Adds richness and creaminess; reduced-fat cream cheese can lighten the dessert.
- Whipped Topping – Provides a light, fluffy finish; making homemade whipped cream elevates the taste.
For the Strawberry Layer
- Strawberry Pie Filling – Brings sweetness and fruit flavor; fresh strawberries can be cooked down with sugar and cornstarch for a homemade approach.
For the Cake Mix Topping
- Yellow Cake Mix – Forms the base and topping layer; substitute with white or strawberry cake mixes if desired.
- Butter – Adds a rich, buttery flavor; drizzle melted butter evenly to avoid dry spots in the cake.
Feel free to enjoy a slice of Strawberry Cheesecake Dump Cake while reminiscing about those vibrant farmer’s market trips!
Step‑by‑Step Instructions for Strawberry Cheesecake Dump Cake
Step 1: Preheat and Prepare
Begin by preheating your oven to 350°F (175°C). While the oven is heating, grab a 9×13 inch baking dish and lightly grease it with cooking spray or butter to ensure easy removal later. This simple preparation sets the stage for your delicious Strawberry Cheesecake Dump Cake.
Step 2: Spread the Strawberry Layer
Once the oven is ready, open your can of strawberry pie filling and spread it evenly across the bottom of the prepared baking dish. Use a spatula to smooth it out and create a beautiful layer of vibrant color. This fruity foundation will complement the creamy cheesecake beautifully, tantalizing your taste buds from the start.
Step 3: Cream the Cheesecake Filling
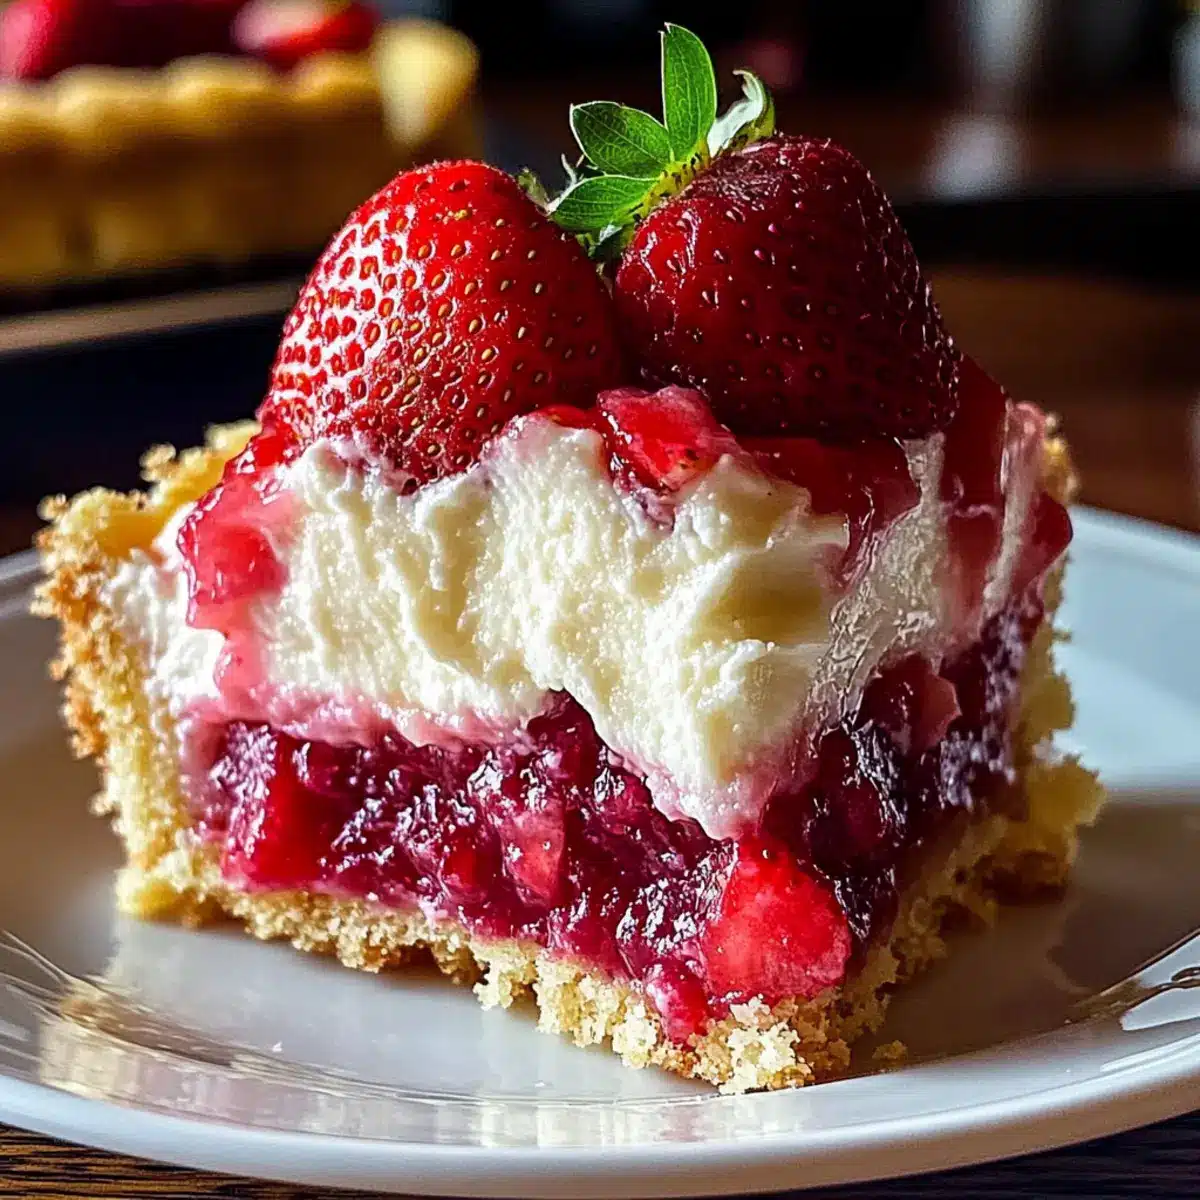
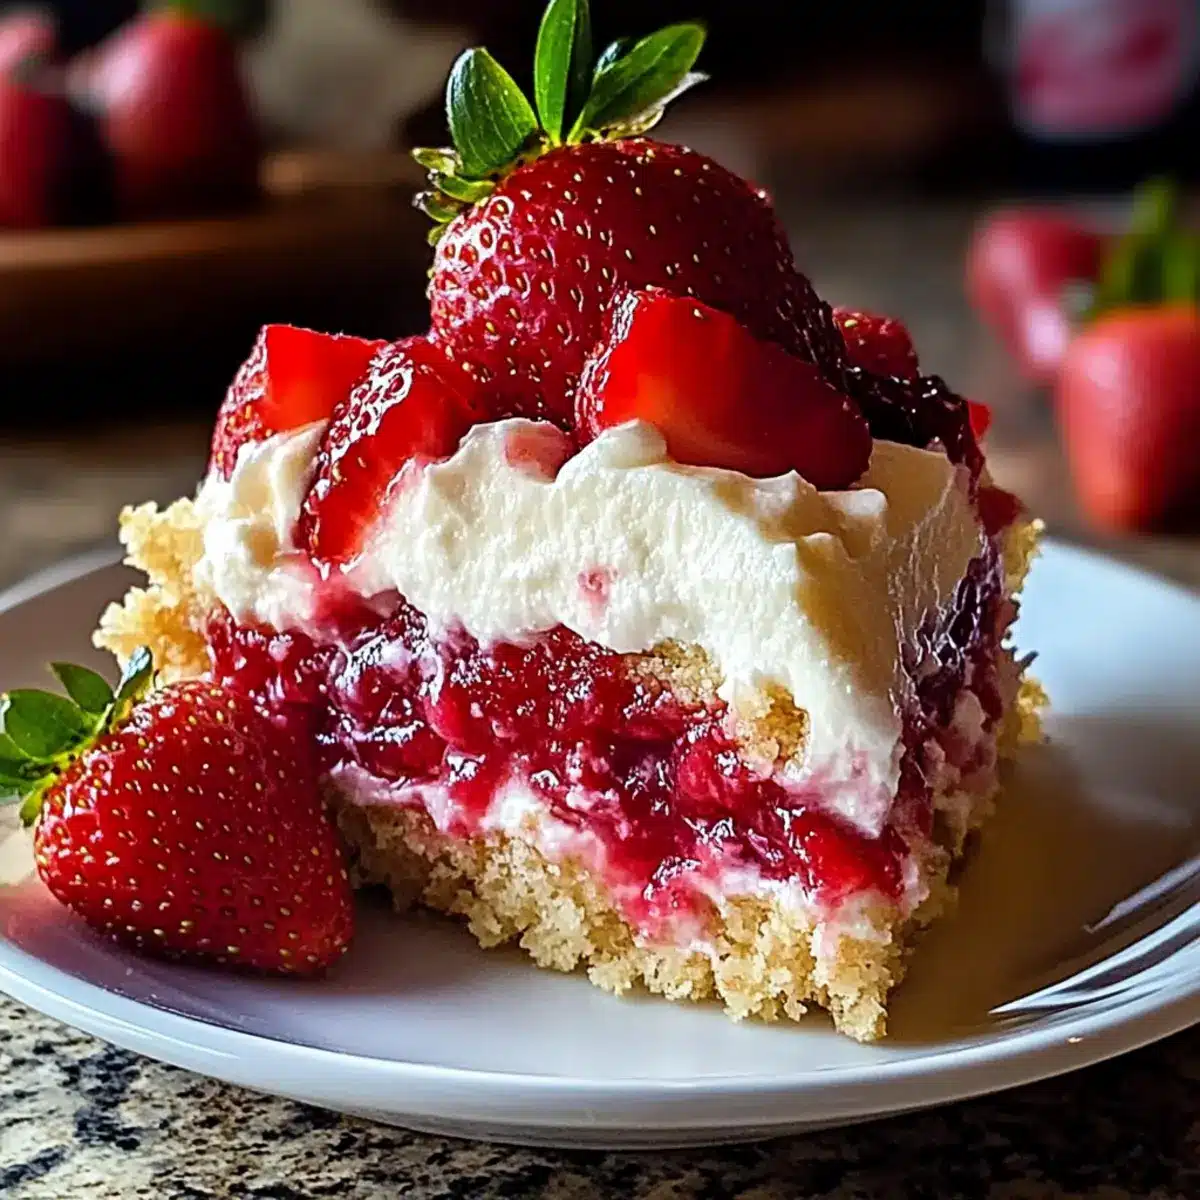
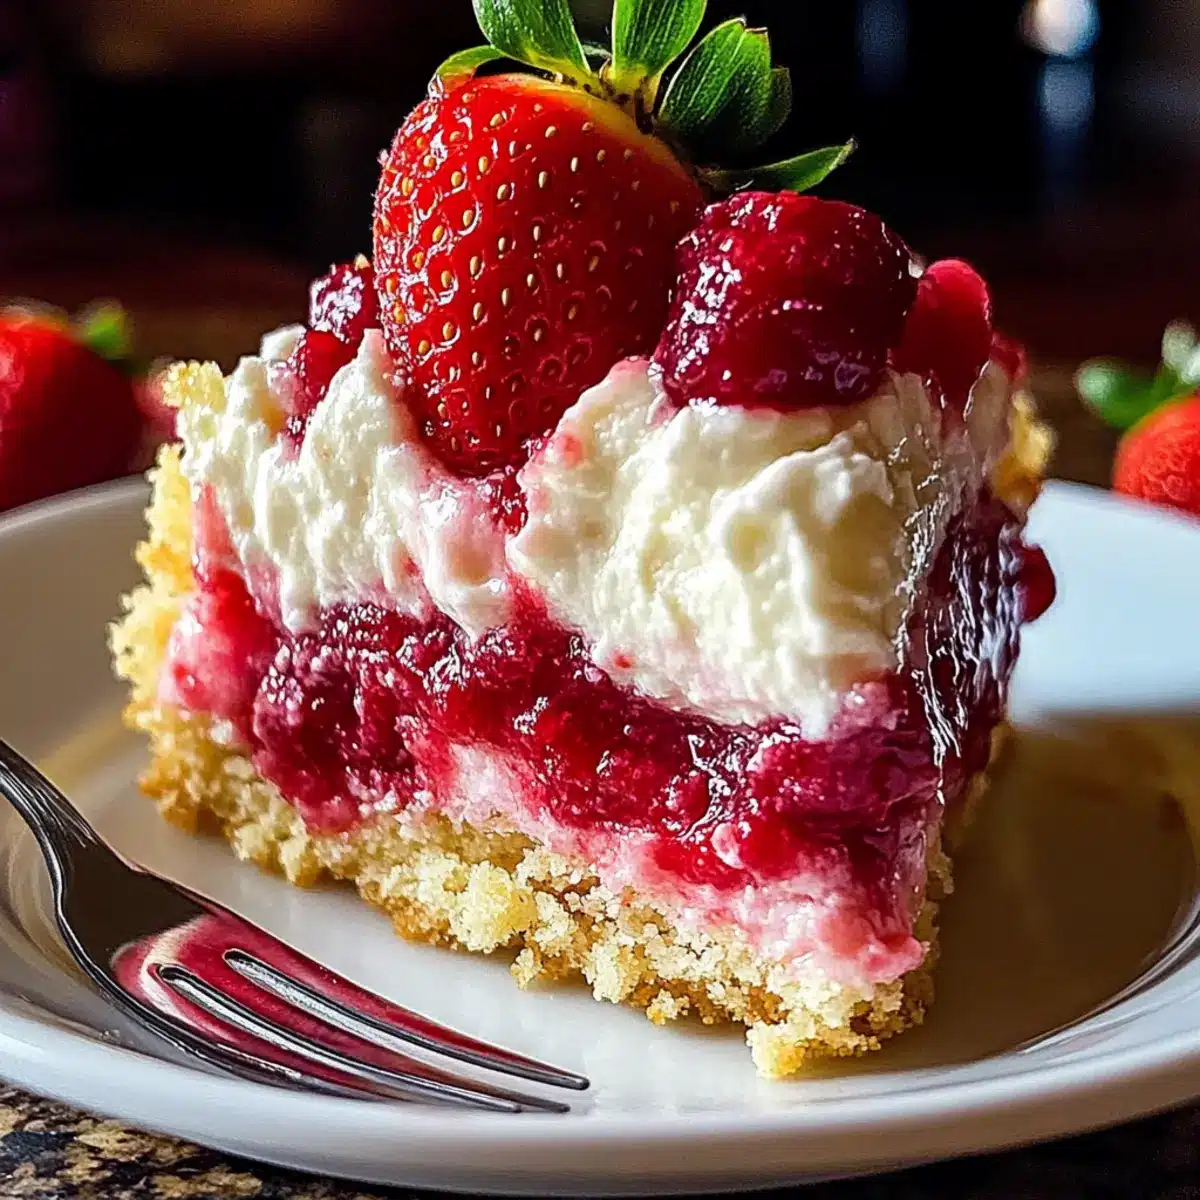
In a mixing bowl, take your softened cream cheese and beat it until smooth and fluffy using a hand mixer or a whisk. Once creamy, gently spread this cheesecake layer over the strawberry filling. Make sure to cover the strawberries as evenly as possible, creating a luscious base for your Strawberry Cheesecake Dump Cake.
Step 4: Add the Cake Mix
Now it’s time to sprinkle the dry yellow cake mix over the cream cheese layer. Evenly distribute it so that every bite of the cake will have that delightful buttery crumb topping. Don’t worry about mixing it; the cake mix will form its own crust while baking, giving your dump cake texture and flavor.
Step 5: Drizzle the Butter
Melt your butter and drizzle it evenly over the cake mix layer. This is crucial; make sure no dry spots are visible to prevent any areas from becoming too dry during baking. The melted butter will seep through, creating a golden, crispy topping that will be irresistible once baked.
Step 6: Bake the Cake
Carefully place the baking dish in your preheated oven and let it bake for 45 minutes. Keep an eye on your Strawberry Cheesecake Dump Cake as it bakes; it’s ready when the top is golden brown and the center is set. A toothpick inserted in the center should come out clean—this indicates perfection!
Step 7: Cool Before Serving
Once baked, remove your cake from the oven and allow it to cool for at least 15 minutes. If you can wait, letting it cool for longer or even overnight will meld the flavors beautifully. This decadent dessert is best served slightly warm or chilled, topped with whipped cream just before enjoying!
Make Ahead Options
These Strawberry Cheesecake Dump Cakes are perfect for meal prep enthusiasts! You can prepare the strawberry layer and cream cheese filling up to 24 hours in advance, storing them separately in the refrigerator. Simply spread the strawberry pie filling in your baking dish, cover it tightly, and refrigerate. For the cheesecake layer, beat the cream cheese until smooth, then cover it as well. When you’re ready to bake, layer the cheesecake mix over the strawberries, sprinkle the cake mix on top, drizzle with melted butter, and bake according to the recipe instructions. This way, you save time and enjoy the same delicious flavors, with the added bonus of enhanced taste from an overnight chill!
How to Store and Freeze Strawberry Cheesecake Dump Cake
Fridge: Store leftover cake in an airtight container for up to 3 days to maintain its creamy texture and flavor.
Freezer: If you want to freeze the cake, wrap it tightly in plastic wrap followed by aluminum foil. It can be frozen for up to 2 months.
Reheating: Thaw the cake in the fridge overnight, then reheat individual slices in the microwave for 15-20 seconds for a warm treat.
Serving Tip: This dessert is best enjoyed chilled or slightly warm, so feel free to tailor it to your preference just before serving!
What to Serve with The Ultimate Strawberry Cheesecake Dump Cake
Indulging in this delightful dessert opens up a world of delicious pairing possibilities to elevate your meal.
-
Vanilla Bean Ice Cream: The rich, creamy flavor of vanilla complements the luscious strawberry cheesecake, creating a classic dessert pairing.
-
Fresh Berry Salad: A vibrant mix of seasonal berries brings freshness and a pop of color, enhancing the fruity flavors of the cake.
-
Chocolate-Covered Strawberries: Elevate your dessert spread with these decadent treats, balancing sweetness with a touch of indulgence that’s hard to resist.
-
Citrus Sorbet: The refreshing zest of lemon or orange sorbet offers a bright contrast, cleansing the palate and lifting the sweet notes of the dump cake.
-
Whipped Cream: Add a generous dollop of homemade whipped cream for that velvety finish, making each bite even more delightful.
-
Almond Biscotti: The crunch of biscotti with a hint of almond pairs beautifully as a crunchy side, providing a delightful texture contrast to the soft cake.
-
Chilled Rosé: A glass of rosé adds a touch of elegance and complements the strawberry flavor, enhancing your dessert experience.
-
Coffee or Espresso: The boldness of a well-brewed cup of coffee or espresso balances the sweetness of the cake, making for a wonderful after-dinner treat.
Strawberry Cheesecake Dump Cake Variations
Feel free to experiment with this delicious dessert to create your perfect version that tantalizes your taste buds.
-
Berry Medley: Mix in blueberries or raspberries along with the strawberries for a delightful burst of flavor. The sweet tartness from the berries adds an extra layer of deliciousness that will make this cake even more unforgettable.
-
Mini Size Treats: For a fun twist, bake in smaller ramekins to create individual desserts. Layer each one with vanilla Greek yogurt to incorporate a creamy and tangy touch suitable for brunch or a party.
-
Citrus Zest: Top with zesty lemon or orange peel to brighten the flavors of the cake. The fresh citrus kick complements the sweetness of the strawberries beautifully, giving your dessert a refreshing finish.
-
Chocolate Drizzle: Drizzle melted chocolate or caramel over the whipped topping before serving to give it an indulgent flair. This decadence can make every bite a heavenly experience.
-
Nutty Crunch: Sprinkle some chopped nuts, such as almonds or pecans, over the whipped cream for a delightful crunch. It not only adds texture contrast but also elevates the overall flavor profile.
-
Gluten-Free Friendly: Substitute with a certified gluten-free cake mix to ensure everyone can enjoy this scrumptious dessert. With a few adjustments, your Strawberry Cheesecake Dump Cake can be accessible to all guests.
-
Seasonal Fruits: Try using fresh peaches or cherries during their peak seasons for a delicious flavor change. The sweetness from these fruits can create a delightful surprise in every bite.
-
Dessert Bar: Set up a mini dessert bar featuring your Strawberry Cheesecake Dump Cake alongside Cinnamon Roll Pancakes and Spanish Churro Pancakes. Guests can mix and match their favorites for a festive gathering!
By exploring these variations, you can create a dessert that’s uniquely yours, ensuring every slice brings joy to those lucky enough to taste it!
Expert Tips for the Best Strawberry Cheesecake Dump Cake
-
Butter Distribution: Ensure the melted butter is evenly drizzled over the cake mix to prevent any dry spots in your dump cake.
-
Cheesecake Consistency: Beat the cream cheese until it’s completely smooth to avoid lumps in the cheesecake layer, enhancing the cake’s creaminess.
-
Fruit Freedom: Feel free to experiment by mixing in fresh berries like blueberries or raspberries for a colorful and fruity twist on this delicious dessert.
-
Chill for Flavor: Allow the cake to cool and chill in the refrigerator overnight for improved flavor integration; it really makes a difference!
-
Serving Style: Consider serving individual portions with dollops of whipped cream or ice cream, making it an elegant surprise for guests!
Strawberry Cheesecake Dump Cake Recipe FAQs
What type of strawberries should I use for the filling?
Absolutely! When it comes to strawberries, fresh is always best for vibrant flavor. Opt for ripe, sweet strawberries without dark spots. If using strawberry pie filling, check for quality brands with simple ingredients for a smoother taste.
How should I store leftovers?
Very! Store any leftover Strawberry Cheesecake Dump Cake in an airtight container in the refrigerator for up to 3 days. This keeps the cake creamy and delicious. If you notice it losing moisture, try covering the surface of the cake with plastic wrap before sealing it in the container.
Can I freeze this dump cake?
Yes, you can freeze it! To freeze, first let the cake cool completely. Then, wrap the entire dish tightly in plastic wrap, followed by aluminum foil. This method prevents freezer burn and keeps it fresh for up to 2 months. When ready to enjoy, simply thaw it in the refrigerator overnight.
What if I accidentally overbake it?
No worries! If your Strawberry Cheesecake Dump Cake turns out a little overbaked, it may still be salvageable. Look for areas that are dry; try serving it with extra whipped cream or ice cream on the side to balance the textures and flavors. You could also chop it up and layer it with fresh fruit and cream for an easy trifle!
Is this dessert suitable for everyone regarding dietary needs?
Definitely! If you’re hosting guests with dietary considerations, you can easily adapt the recipe. Use gluten-free cake mix and brands of whipped topping that cater to dietary restrictions. For nut allergies, check that all ingredients are nut-free. Always communicate with your friends to ensure the dessert meets their needs!
Strawberry Cheesecake Dump Cake: Easy Bliss in Every Bite
Ingredients
Equipment
Method
- Preheat your oven to 350°F (175°C) and grease a 9x13 inch baking dish.
- Spread the strawberry pie filling evenly across the bottom of the prepared baking dish.
- Beat softened cream cheese until smooth and spread it over the strawberry filling.
- Sprinkle the dry yellow cake mix evenly over the cream cheese layer.
- Drizzle melted butter evenly over the cake mix layer.
- Bake for 45 minutes or until the top is golden and the center is set.
- Allow to cool for at least 15 minutes before serving.
Leave a Reply